How to Check Whether Tonight Is Good for Stargazing

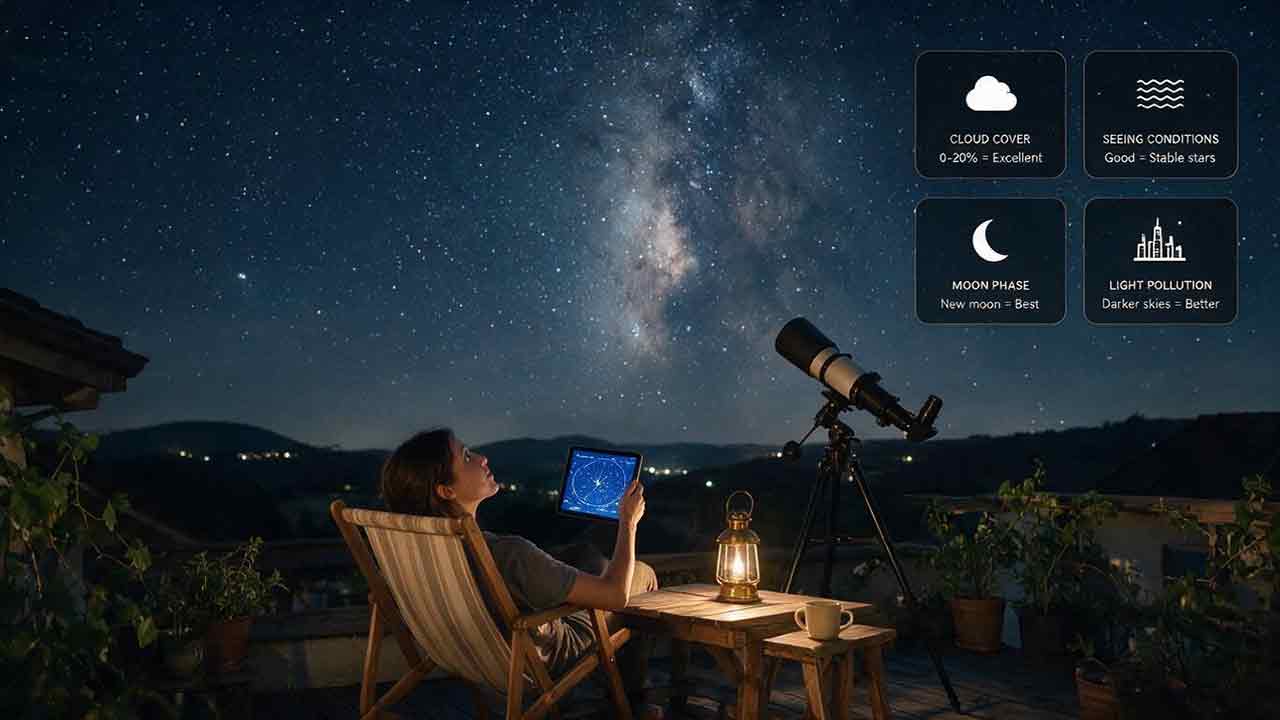
Check tonight’s hourly cloud cover, precipitation and lightning risk, atmospheric transparency, Moon position, darkness times, wind, and the altitude of your target. A clear weather icon alone is not enough: faint galaxies need dark, transparent air, while planets depend more on steady atmospheric seeing. Make the final decision using the exact observing hours and location, then verify conditions outside before traveling far.
Key Takeaways
- Check the hourly forecast, not only the daily weather icon.
- Separate cloud cover, transparency, and seeing because they affect different targets.
- Moonrise, moonset, twilight, target altitude, smoke, haze, dew, and wind can change an otherwise clear night.
- Match the conditions to the target: planets can succeed under moonlight, while the Milky Way and faint galaxies need darker skies.
- Safety overrides astronomy. Postpone an outdoor session when thunderstorms, hazardous travel, wildfire smoke, or site restrictions create unacceptable risk.
This guide provides a 10-minute decision process, a target-matching table, a worked example, a troubleshooting guide, and a checklist for deciding whether tonight is good for stargazing.
This guide is based on official weather and astronomical data services, observatory terminology, and practical planning criteria rather than a claimed test of every forecast application.
What Does “Good for Stargazing” Actually Mean?
A good stargazing night is one in which the conditions suit the object, equipment, location, and observing goal. There is no single forecast number that describes every kind of astronomy.
A clear night can still be poor for faint objects because of haze, smoke, moonlight, or artificial skyglow. A night with mediocre transparency can still be productive for the Moon, bright planets, or double stars if the atmosphere is steady.
The decision therefore has two parts:
- Are the conditions safe and usable?
- Are the conditions suitable for the targets you want to observe?
What Should You Check First?
Start with conditions that can end the session before image quality matters.
Check Active Hazards
Review official watches, warnings, and advisories for the observing location and travel route. Thunderstorms, dense fog, ice, flooding, high wind, extreme heat or cold, wildfire, and road closures may make a session unsafe even when gaps in the clouds appear.
The U.S. National Weather Service advises moving to a substantial enclosed building or hard-topped vehicle when thunder is heard and waiting at least 30 minutes after the last thunder before resuming outdoor activity.[1]
Do not use a telescope, tripod, isolated tree, picnic shelter, or open-sided structure as lightning protection.
Check Access and Site Rules
Confirm:
- Opening and closing hours
- Overnight parking rules
- Gate schedules
- Permit requirements
- Fire restrictions
- Wildlife or seasonal closures
- Road conditions
- Cellular coverage
- Emergency access
- Whether headlights or equipment lights will disturb other visitors
A perfect sky forecast is not useful if the site is closed or the return route becomes unsafe.
How Can You Check Tonight’s Stargazing Conditions in 10 Minutes?
Use the following sequence. The order prevents you from spending time on detailed astronomy forecasts when the night already fails a basic weather or safety check.
Step 1: Check the Hourly Sky Cover
Open an hourly forecast for the exact observing location. The National Weather Service hourly graph can show sky cover, precipitation, wind, humidity, and other weather elements hour by hour.[2]
The National Digital Forecast Database defines sky cover as the predicted percentage of the sky covered by opaque clouds.[3] This percentage is an area forecast, not a guarantee that your target’s direction will be clear.
Ask:
- When is the lowest cloud-cover window?
- Is cloud cover increasing or decreasing?
- Is the clear period long enough for setup and observing?
- Are clouds expected in the target’s part of the sky?
- Does the forecast show a brief gap or a stable clear period?
Step 2: Check Rain and Thunderstorm Risk
Cloud gaps do not make a thunderstorm night safe. Review precipitation probability, radar trends, lightning information, and active warnings.
A low probability of measurable precipitation is not the same as “no cloud,” and a high cloud forecast does not always mean rain. Treat precipitation and cloud cover as separate checks.
Step 3: Check Transparency
Transparency describes how clearly light passes through the atmosphere. Good transparency makes faint stars, the Milky Way, galaxies, and nebulae easier to see.
Look for:
- High reported visibility
- Low haze
- No smoke layer
- No thin cloud veil
- Clear horizon
- Limited dust
- No widespread fog
- Minimal artificial skyglow in the target direction
The AirNow Fire and Smoke Map provides information about fine-particle pollution and wildfire smoke in the United States.[4] Satellite-detected smoke aloft does not always mean poor ground-level air quality, but it can still indicate a possible transparency problem.
Step 4: Check the Moon and Twilight
Use a location-specific astronomical data service to check:
- Sunset
- End of civil twilight
- End of nautical twilight
- End of astronomical twilight
- Moonrise
- Moonset
- Lunar phase
- Illuminated fraction
The U.S. Naval Observatory provides Sun and Moon rise, set, transit, twilight, phase, and illumination data for a selected location and date.[5]
Moon phase alone is not enough. A bright Moon below the horizon may not interfere, while a smaller Moon near the target can still reduce contrast.
Step 5: Check Your Target’s Altitude and Direction
A target is generally easier to observe when it is higher above the horizon because its light passes through less atmosphere.
Check:
- Rise and set time
- Maximum altitude
- Time of meridian transit
- Direction of the target
- Obstructions such as trees, buildings, and mountains
- Whether the target is near the Moon or a city light dome
A target only 10 degrees above the horizon may be technically visible but difficult because of extinction, haze, turbulence, and blocked sightlines.
Step 6: Check Seeing and Wind
Astronomical seeing is the blurring and motion of incoming starlight caused by atmospheric turbulence.[6]
Seeing matters most for:
- Planets
- Lunar detail
- Double stars
- High-magnification observing
- High-resolution planetary imaging
Wind matters separately because it can:
- Shake a tripod or telescope
- Move a Dobsonian tube
- Increase wind chill
- Blow dust onto equipment
- Make charts and accessories difficult to manage
- Create local turbulence around buildings and warm surfaces
Step 7: Check Dew and Fog Risk
Humidity alone does not determine dew. Compare the forecast temperature with the dew point and watch for expected fog, calm conditions, cooling after sunset, and nearby water or low ground.
When air temperature approaches the dew point, condensation and fog become more likely. There is no universal temperature–dew-point gap that predicts dew for every site.
Prepare:
- A lens hood or dew shield
- Dew-heater straps
- Spare power
- Lens cloths for non-optical exterior surfaces
- A safe plan for packing wet equipment
- Extra time for optics to dry indoors before storage
Do not wipe a wet telescope mirror or optical coating casually in the field.
Step 8: Make a Target-Specific Decision
Do not ask only, “Is the night good?” Ask, “Is the night good for this target between these hours?”
Use the target table later in this guide to decide whether to go, change the observing window, or switch objects.
Step 9: Recheck Shortly Before Departure
Forecast timing changes. Review the hourly forecast, satellite imagery, radar, smoke information, and warnings again before leaving.
A forecast created in the morning may no longer represent an evening cloud boundary accurately.
Step 10: Verify the Sky at the Site
After arrival:
- Look for halos around the Moon or bright lights.
- Check whether stars are visible near the horizon.
- Watch bright stars for rapid twinkling.
- Inspect optics for condensation.
- Confirm the target area is clear.
- Allow your eyes to dark-adapt.
- Compare conditions with the forecast.
The sky at the site is the final source of truth.
What Is the Difference Between Cloud Cover, Transparency, and Seeing?
These terms describe different limitations and should not be used interchangeably.
| Condition | Definition | Most affected observations | Typical signs |
|---|---|---|---|
| Cloud cover | Portion of the sky obscured by clouds | All targets when clouds cross the line of sight | Missing stars, opaque patches |
| Transparency | Clarity of the atmosphere between the observer and space | Galaxies, nebulae, Milky Way, faint stars | Washed-out sky, weak horizon clarity |
| Seeing | Atmospheric steadiness and turbulence | Planets, lunar detail, close double stars | Twinkling, boiling planetary image |
| Sky darkness | Background brightness from Moon and artificial light | Faint diffuse targets | Bright gray or colored sky background |
| Wind stability | Mechanical and local-air stability at the site | High magnification and imaging | Telescope shake, moving image |
| Dew or fog | Condensation or suspended droplets | All observations and equipment | Halos, wet optics, reduced visibility |
Can a Clear Night Have Poor Transparency?
Yes. Smoke, haze, dust, humidity, and thin cirrus can reduce transparency even when the sky appears mostly cloud-free.
A clear but hazy night may be suitable for Jupiter yet disappointing for a low-surface-brightness galaxy.
Can a Transparent Night Have Poor Seeing?
Yes. After a cold front, the air may be exceptionally clear but turbulent. Faint deep-sky objects may look good at low magnification while planetary detail constantly shifts.
Can Seeing Be Good Under Light Pollution?
Yes. Artificial skyglow reduces contrast but does not directly determine atmospheric turbulence. An urban site can occasionally provide steady planetary views even when faint galaxies are inaccessible.
How Much Cloud Cover Is Acceptable?
The answer depends on cloud type, location, movement, and target.
The National Weather Service uses sky-condition terms based on the portion of the sky covered by opaque clouds.[7] Numerical sky cover is useful, but it does not tell you whether the open area will remain over your target.
Practical Cloud-Cover Guide
The following is an editorial planning guide, not a visibility guarantee.
| Forecast pattern | Likely observing value | Decision |
|---|---|---|
| Clear or nearly clear for several hours | Strong general opportunity | Go if other checks pass |
| Mostly clear with stable gaps | Usually workable | Match targets to open sky |
| Partly cloudy with slow-moving breaks | Conditional | Favor portable equipment and bright targets |
| Variable cloud near a boundary | Uncertain | Recheck satellite imagery and stay flexible |
| Mostly cloudy with brief openings | Low value for complex setup | Consider binoculars or postpone |
| Overcast, rain, or thunderstorms | Poor or unsafe | Postpone |
A small percentage of high cloud can still affect astrophotography or faint-object contrast. Conversely, a partly cloudy forecast may leave one region of the sky usable for an hour.
How Do You Judge Transparency?
Transparency is not represented perfectly by relative humidity or surface visibility alone. Use several clues together.
Forecast Clues
- Visibility
- Smoke or air-quality maps
- Cloud-layer information
- Fog forecast
- Dew point
- Recent rainfall or dust
- Wind direction from smoke or pollution sources
- Local forecast discussion
On-Site Clues
- Is the horizon crisp?
- Are stars visible low in the sky?
- Does the Moon have a large halo?
- Are bright stars surrounded by glow?
- Is the Milky Way visible where expected?
- Does a familiar faint star field look sparse?
- Does the telescope background appear unusually bright?
Why Is Relative Humidity Not Enough?
High relative humidity can occur with clear air, and lower humidity does not guarantee freedom from smoke or dust. Humidity is relevant to fog and dew but is not a complete transparency forecast.
Use humidity as one input, not a final decision.
How Do You Judge Astronomical Seeing?
Forecast models can estimate seeing, but a quick star test at the site is valuable.
Naked-Eye Test
Choose a bright star reasonably high above the horizon.
- Strong, rapid twinkling may indicate turbulence.
- A steadier star may indicate better seeing.
- Stars near the horizon normally twinkle more because their light passes through more atmosphere.
This is a rough test, not a measurement.
Telescope Test
Aim at a bright star or planet and increase magnification gradually.
Poor seeing may produce:
- Rapidly changing focus
- A boiling planetary disk
- Unstable diffraction patterns
- Fine detail appearing only for brief moments
- Star images that expand and contract
Good seeing may allow:
- Stable focus
- Smaller stellar images
- Consistent planetary detail
- Useful higher magnification
Local conditions can imitate poor atmospheric seeing. A telescope placed over warm pavement, near a roof, or beside an idling vehicle may look through rising heat currents.
How Does Moonlight Change the Decision?
Moonlight mainly raises sky brightness and reduces contrast for faint objects. It does not affect every target equally.
NASA explains that the lunar phase cycle repeats about every 29.5 days and that Moon rise and set patterns vary with phase.[8]
| Moon condition | Strong target choices | Targets most affected |
|---|---|---|
| Moon below horizon | Faint galaxies, nebulae, Milky Way, meteors | Few lunar restrictions |
| Thin crescent | Most targets away from the Moon | Very faint targets near the Moon |
| Quarter Moon | Moon, planets, clusters, double stars | Diffuse objects while Moon is high |
| Gibbous Moon | Bright targets and lunar observing | Milky Way and faint galaxies |
| Full Moon | Moon, planets, double stars, bright clusters | Most faint diffuse deep-sky objects |
A first-quarter Moon can leave a useful dark period after moonset. A waning Moon may leave a dark evening before moonrise. Check the actual hours.
When Is the Sky Dark Enough?
Sunset is not the same as full darkness.
| Twilight stage | Sun’s position below horizon | Practical meaning |
|---|---|---|
| Civil twilight | Up to 6 degrees | Outdoor detail remains visible |
| Nautical twilight | 6–12 degrees | The sky is darker, but the horizon remains visible |
| Astronomical twilight | 12–18 degrees | The remaining solar glow continues fading |
| Astronomical night | More than 18 degrees | The Sun contributes minimal direct twilight glow |
The exact usefulness of each stage depends on the target. The Moon and bright planets can be observed during twilight, while the Milky Way and faint galaxies benefit from astronomical darkness.
At high latitudes during some seasons, astronomical night may be short or absent. In that case, choose bright targets or plan for a different season.
How High Should the Target Be?
Higher is generally better, but there is no universal minimum altitude for every target.
Target-Altitude Guide
| Target altitude | Typical limitations | Practical use |
|---|---|---|
| Very low above horizon | Strong extinction, haze, obstructions, turbulence | Only if the event or target is time-critical |
| Low | Noticeable atmospheric path and local light domes | Bright targets and wide views |
| Moderate | Improved contrast and steadiness | Most routine observing |
| High | Shorter atmospheric path | Best period for demanding observations |
| Near zenith | Excellent atmospheric path but awkward telescope position for some mounts | Use if equipment permits |
Avoid converting this guide into a rigid rule. A clear southern horizon may outperform a hazy target that is technically higher in another direction.
Which Conditions Matter Most for Different Targets?
| Target | Highest-priority conditions | Conditions it can tolerate |
|---|---|---|
| Milky Way | Darkness, transparency, broad clear sky, low Moon | Moderate seeing |
| Faint galaxy | Transparency, darkness, target altitude | Moderate seeing |
| Diffuse nebula | Transparency, darkness, suitable filter when relevant | Moderate seeing |
| Planet | Good seeing, target altitude, stable telescope | Moonlight and urban skyglow |
| Moon | Seeing, target altitude, comfortable glare control | Significant light pollution |
| Double star | Seeing, target altitude, optical collimation | Moonlight |
| Open cluster | Clear sky, target altitude | Some moonlight and moderate transparency |
| Globular cluster | Target altitude, transparency, aperture | Moderate moonlight for brighter examples |
| Meteor shower | Broad clear sky, darkness, Moon timing | Poor telescopic seeing |
| Comet | Transparency, darkness, ephemeris accuracy | Seeing unless the coma is compact |
| Astrophotography | Cloud stability, transparency, wind, dew control, target tracking | Depends strongly on subject and equipment |
This table is more useful than a single “stargazing score.”
A CLEAR Decision Framework
Use the CLEAR framework before committing to the session.
| Letter | Check | Pass question |
|---|---|---|
| C | Clouds and precipitation | Is the target direction likely to remain open and safe? |
| L | Light from Moon and cities | Is the sky dark enough for the chosen target? |
| E | Extinction from haze, smoke, fog, and dust | Is the atmosphere transparent enough? |
| A | Air stability, wind, and dew | Is seeing or equipment stability adequate? |
| R | Reachability of target and site | Is the target high enough, and is the site safely accessible? |
GO
Choose GO when all critical factors pass and the forecast is stable through the planned window.
CONDITIONAL GO
Choose CONDITIONAL GO when the night suits some targets but not others, or when a short clear interval requires flexible equipment.
POSTPONE
Choose POSTPONE when safety fails, the target remains clouded or below the horizon, or the expected conditions do not justify the travel and setup.
Worked Example: Is Tonight Worth the Trip?
This hypothetical example demonstrates the decision process and is not a forecast for a real location.
Planned Session
- Goal: Observe Jupiter, a bright open cluster, and the Milky Way
- Travel time: 45 minutes
- Setup time: 20 minutes
- Planned observing window: 9:00 p.m. to midnight
Forecast
- Mostly clear around 9:00 p.m.
- Increasing cloud after 11:30 p.m.
- No rain or thunderstorm warning
- Light wind
- Some haze near the horizon
- Moonset at 10:20 p.m.
- Astronomical twilight ends at 9:40 p.m.
- Jupiter is high early
- Milky Way region improves after 10:30 p.m.
CLEAR Assessment
| Factor | Assessment |
|---|---|
| Clouds | Useful clear window, but clouds increase late |
| Light | Moon interferes early; better after moonset |
| Extinction | Mild horizon haze, acceptable overhead |
| Air | Light wind; seeing uncertain |
| Reachability | Targets available within the window |
Decision
CONDITIONAL GO
The observer begins with Jupiter and the open cluster, then switches to the Milky Way after moonset and full darkness. The observer uses portable equipment and plans to pack before the cloud increase.
Why the Decision Is Not Simply “Clear”
The night is good for different targets at different times. The target sequence turns a limited forecast into a productive session.
Should You Trust a General Weather App or an Astronomy Forecast?
Use both, but understand their strengths.
| Tool | Strength | Limitation |
|---|---|---|
| Official hourly weather forecast | Hazards, cloud cover, wind, humidity, precipitation | May not include astronomy-specific seeing or transparency |
| Astronomy forecast | Convenient seeing, transparency, darkness, and cloud summaries | Model output can be oversimplified into one score |
| Satellite imagery | Shows recent cloud movement and development | Does not guarantee future conditions |
| Weather radar | Shows precipitation movement | Does not show every non-precipitating cloud |
| Smoke map | Identifies smoke and particle concerns | Elevated smoke may differ from surface air quality |
| Planetarium app | Target altitude, direction, Moon separation | Does not evaluate weather safety |
| On-site observation | Represents actual local sky | Available only after arrival |
Never let an astronomy app’s favorable color box override an official hazard warning.
What Are the Most Common Planning Mistakes?
Looking Only at the Daily Icon
A partly cloudy day can become clear after midnight, while a clear day can cloud over after sunset. Use hourly timing.
Treating Cloud Cover as Transparency
A cloud-free sky can still be hazy or smoky. Check visibility and atmospheric clarity.
Treating Transparency as Seeing
Sharp Milky Way structure does not guarantee steady planetary views. These are different atmospheric qualities.
Ignoring the Moon’s Actual Position
Illumination percentage does not show whether the Moon is above the horizon or close to the target.
Forgetting Astronomical Twilight
Sunset may occur long before the sky is dark enough for faint-object observing.
Checking the Forecast for the Nearest City
A dark-sky site on a mountain, coast, valley floor, or plateau may have different clouds, wind, fog, and temperature from the city.
Using One Forecast Run
Cloud boundaries and fog can shift. Recheck before departure and after arrival.
Ignoring Dew
A clear calm night can end early when lenses and corrector plates fog.
Ignoring Target Altitude
A target near the horizon may be hidden by haze or obstructions even under a clear forecast.
Cancelling Because One Condition Is Poor
Poor seeing does not ruin a wide-field Milky Way session. Moonlight does not ruin planetary observing. Change targets when possible.
How Can You Rescue a Marginal Night?
If Clouds Are Patchy
- Use binoculars or a small portable telescope.
- Observe bright targets in open areas.
- Avoid a long imaging setup.
- Watch satellite movement.
- Keep equipment ready to cover.
If Transparency Is Poor
- Switch from galaxies to the Moon, planets, and double stars.
- Observe targets high above the haze.
- Avoid low horizons and city light domes.
- Reduce travel expectations.
If Seeing Is Poor
- Lower magnification.
- Observe open clusters and wide-field targets.
- Wait for brief steady moments.
- Move away from warm roofs, pavement, and vehicles.
- Allow the telescope to reach ambient temperature.
If the Moon Is Bright
- Observe the Moon.
- Choose planets, double stars, or bright clusters.
- Work on finder alignment and star hopping.
- Wait for moonset if a dark window remains.
If Dew Is Forming
- Start dew heaters early.
- Use a shield.
- Keep caps dry.
- Avoid touching optical surfaces.
- Pack equipment safely if moisture cannot be controlled.
If Wind Is Stronger Than Expected
- Lower the tripod.
- Add safe, non-swinging ballast when the manufacturer permits it.
- Use a sheltered position without creating local turbulence.
- Avoid large dew shields that act like sails.
- Stop if equipment stability or personal safety is compromised.
What Should You Check Outside Before Driving Far?
A five-minute backyard check can prevent an unnecessary trip.
- Identify a familiar bright star or constellation.
- Look for thin cloud around bright stars or the Moon.
- Check whether the horizon appears hazy.
- Watch a bright star for strong twinkling.
- Check nearby trees for wind movement.
- Compare the sky with the latest satellite image.
- Confirm that no new warning has appeared.
- Verify that your target will be above site obstructions.
Your backyard may not match a distant site, but it can reveal a regional cloud deck, smoke layer, or forecast timing error.
Tonight’s Stargazing Checklist
Safety and Access
- Check official watches, warnings, and advisories
- Check thunderstorm and lightning risk
- Check road, gate, and site access
- Check wildfire, smoke, flood, snow, ice, or fog concerns
- Tell someone the location and return time when appropriate
- Pack clothing, water, lights, and emergency supplies
Weather
- Check hourly sky cover
- Check precipitation probability
- Check satellite imagery
- Check wind and gusts
- Check visibility and haze
- Check smoke or air-quality information
- Check temperature and dew point
- Prepare dew control
Astronomy
- Check sunset and astronomical twilight
- Check Moon phase, rise, set, and target separation
- Check target altitude and direction
- Check seeing if using high magnification
- Check local light-pollution direction
- Prepare a backup target list
- Plan time for dark adaptation
Final Decision
- Choose GO, CONDITIONAL GO, or POSTPONE
- Recheck shortly before leaving
- Verify the sky after arrival
- Change targets if the conditions differ from the forecast
- Leave promptly if safety deteriorates
Decide by Target, Time, and Location
Tonight is good for stargazing when the safe observing window, sky conditions, and target requirements overlap. Check hourly cloud cover, precipitation, transparency, Moon timing, astronomical darkness, target altitude, seeing, wind, and dew rather than trusting a single weather icon.
For faint galaxies, nebulae, and the Milky Way, prioritize darkness and transparency. For planets, the Moon, and close double stars, prioritize target altitude and steady seeing. For a marginal forecast, use portable equipment and a backup target list. Postpone whenever thunderstorms, hazardous travel, smoke, site closures, or unstable equipment create unacceptable risk.
Recommended Next Step by Situation
- Clear, dark, transparent night: Prioritize faint deep-sky targets and the Milky Way.
- Clear but turbulent night: Use lower magnification and observe wide-field targets.
- Moonlit night: Observe the Moon, planets, double stars, and bright clusters.
- Patchy-cloud night: Use binoculars or a portable telescope and stay flexible.
- Short clear window: Choose one high-priority target and minimize setup time.
- Unsafe forecast: Postpone and use the time for planning, maintenance, or image processing.
Frequently Asked Questions
What Cloud-Cover Percentage Is Good for Stargazing?
There is no universal cutoff. Low cloud cover over a stable period is preferable, but cloud location, type, direction, and movement matter. A small amount of thin cloud can reduce faint-object contrast, while a partly cloudy sky may leave one target area open.
Is High Humidity Always Bad for Stargazing?
No. High relative humidity does not automatically mean poor transparency, but it can increase dew and fog risk when the temperature approaches the dew point. Check visibility, haze, fog forecasts, and condensation at the site.
Can Tonight Be Good for Planets but Bad for Galaxies?
Yes. Planets are bright and depend strongly on steady seeing, while faint galaxies depend more on darkness and transparency. Moonlight or artificial skyglow may ruin a galaxy session without preventing useful planetary observing.
Does a Clear Forecast Mean Good Seeing?
No. Clear sky describes cloud cover, while seeing describes atmospheric turbulence. A cloudless night can have unstable, rapidly moving planetary images.
How Often Should I Recheck the Forecast?
Check during planning, again shortly before departure, and at the observing site. Recheck more often when clouds, fog, smoke, or thunderstorms are near the area.
Should I Go Stargazing If Thunderstorms Are Nearby?
No outdoor location is safe during a thunderstorm. Follow official warnings and move to a substantial building or hard-topped vehicle if thunder is heard. Wait at least 30 minutes after the last thunder before resuming the activity.
Sources
- National Weather Service, Lightning Safety Overview. Accessed August 4, 2026.
- National Weather Service, Get Your Hourly Weather Forecast From the NWS. Accessed August 4, 2026.
- National Weather Service, National Digital Forecast Database Metadata. Accessed August 4, 2026.
- U.S. Environmental Protection Agency and U.S. Forest Service, AirNow Fire and Smoke Map. Accessed August 4, 2026.
- U.S. Naval Observatory, Complete Sun and Moon Data for One Day. Accessed August 4, 2026.
- European Southern Observatory, Astronomical Glossary: Seeing. Accessed August 4, 2026.
- National Weather Service, Forecast Terms and Sky Conditions. Accessed August 4, 2026.
- NASA Science, Moon Phases. Accessed August 4, 2026.
More from Observing Conditions
How Clouds, Humidity, and Air Turbulence Affect Stargazing
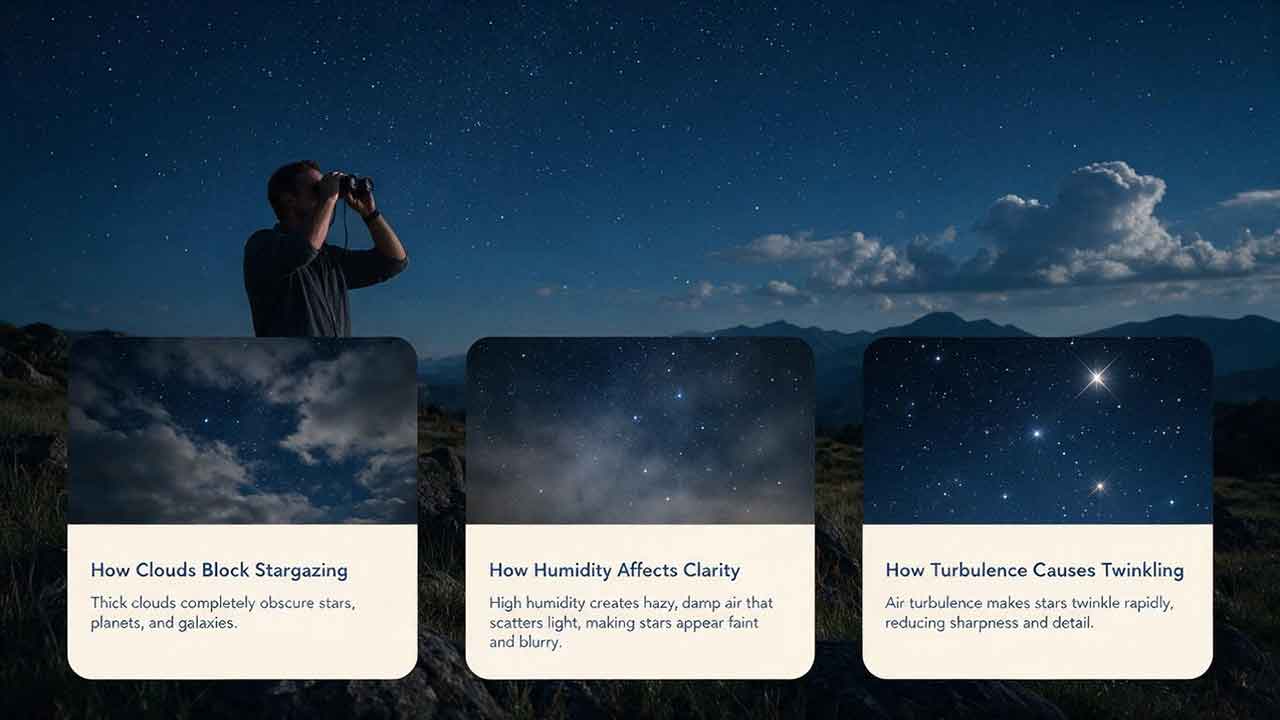
Clear skies do not always produce sharp telescope views, and high humidity does not automatically make a night unsuitable for astronomy. This practical guide separates cloud cover, transparency, moisture, dew risk, and atmospheric seeing so observers can diagnose conditions accurately. It explains how thin cirrus can weaken faint objects, why dew point is more useful than relative humidity alone for predicting condensation, and how turbulent air blurs planetary and lunar detail. The article introduces the original CAST planning framework—Clouds, Air moisture, Seeing, and Target—to help readers interpret forecasts and match each night to appropriate observing goals. A temperature–dew point calculation, target-selection tables, realistic observing scenarios, a go/change-target/cancel matrix, troubleshooting guide, and pre-session checklist turn weather data into practical decisions. Authoritative material from NASA, NOAA, the National Weather Service, the European Southern Observatory, and telescope-manufacturer documentation supports the scientific and equipment-care guidance.
How Long Does It Take Your Eyes to Adjust to Darkness?
Your eyes begin adapting to darkness within seconds, but useful night vision develops in stages. Pupil dilation happens quickly, cone sensitivity improves during the first several minutes, and rod-based sensitivity can continue increasing for roughly 20–40 minutes after strong light exposure. This guide explains how rods, cones, rhodopsin, glare, age, eye health, and previous lighting affect the timing. Readers will learn how to preserve dark adaptation with dim red light, use averted vision for faint targets, organize a safe observing site, and match the waiting period to the Moon, planets, star clusters, galaxies, nebulae, or meteor showers. The article also includes an ADAPT planning framework, a real-world observing timeline, a light-source comparison, troubleshooting guidance, a detailed checklist, and signs that persistent night-vision difficulty should be evaluated by an eye-care professional.
How Moonlight Affects Stargazing
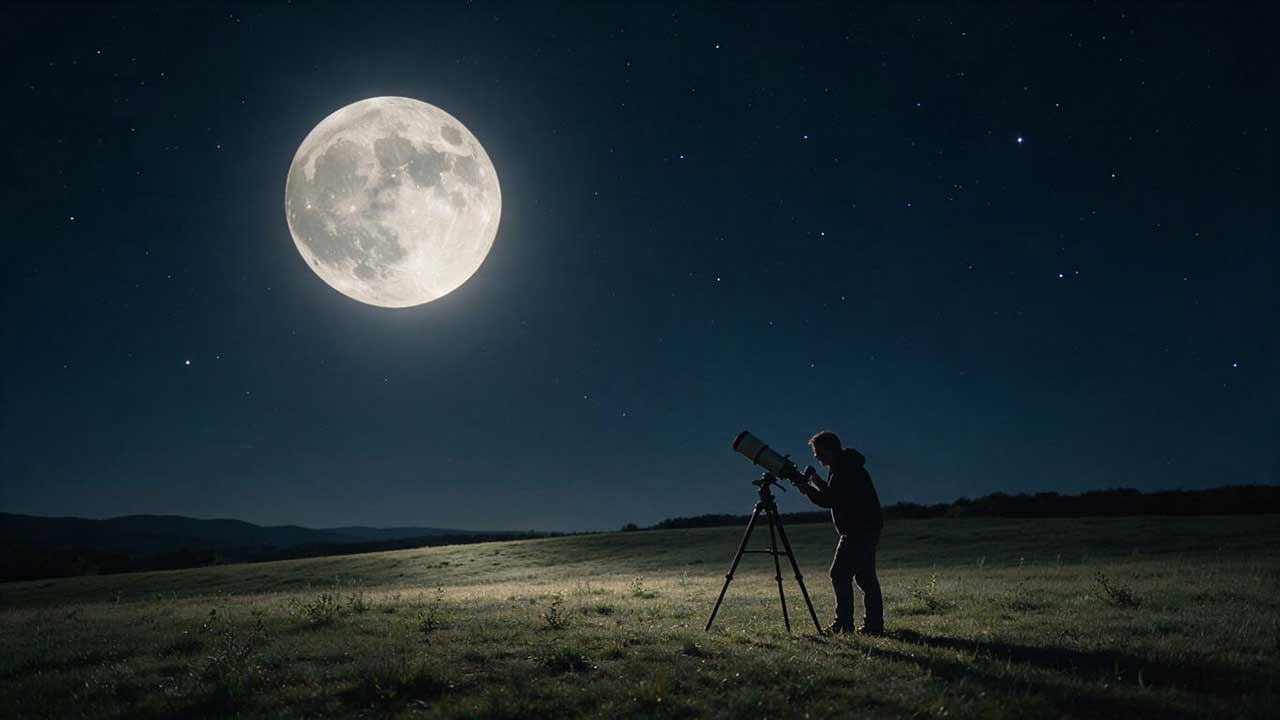
Moonlight affects stargazing by brightening the sky background and reducing the contrast of faint celestial objects. This guide explains why galaxies, diffuse nebulae, the Milky Way, zodiacal light, and weak meteors are more vulnerable than planets, double stars, bright clusters, and the Moon itself. It shows why lunar illumination alone is not enough for planning: moonrise, moonset, altitude, target separation, atmospheric transparency, and local light pollution also shape the result. Readers will learn how each major Moon phase changes the best observing window, how to protect dark adaptation, when magnification or filters may help, and how to rescue an unexpectedly bright session. The article also includes a PHASE–TIME–HEIGHT–DISTANCE–AIR–TARGET planning framework, a first-quarter worked example, target-selection tables, common mistakes, a practical checklist, and useful FAQs.
Explore More Topics
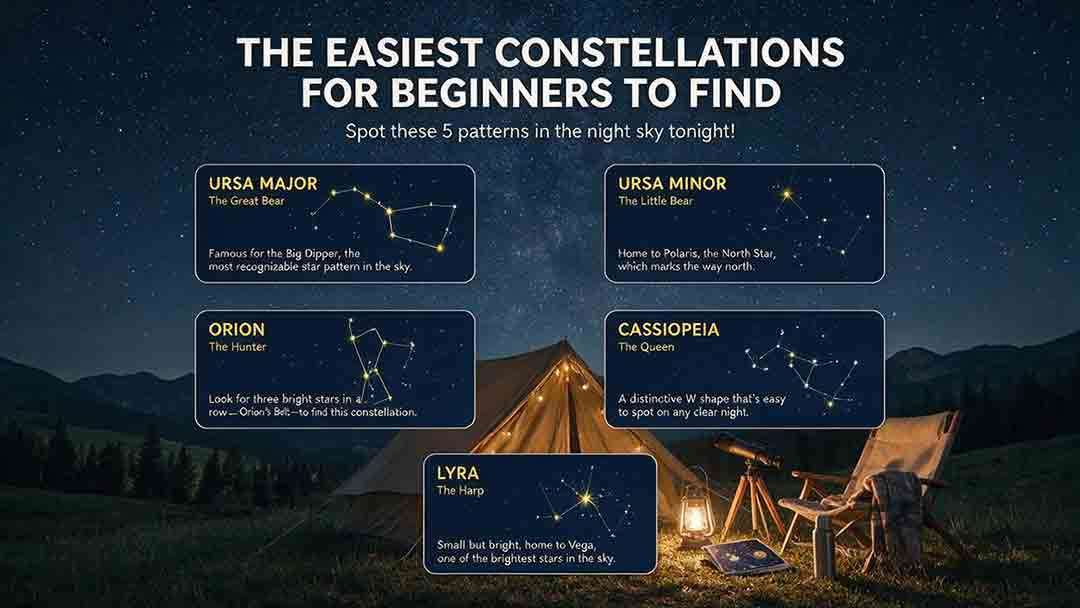
The Easiest Constellations for Beginners to Find
This beginner-friendly guide explains how to find Orion, Ursa Major through the Big Dipper, Cassiopeia, Cygnus, and Scorpius using clear naked-eye observing steps. It compares each pattern through an original Beginner Visibility Score and shows readers how to choose a first target based on season, latitude, light pollution, moonlight, and horizon visibility. The guide also clarifies the difference between constellations and asterisms, explains how the Big Dipper can point toward Polaris, and provides dedicated recommendations for Southern Hemisphere observers, including Crux. Practical tools include the Anchor-Pattern Method, the Three-Check Rule, a 10-minute observing session, city-sky guidance, troubleshooting advice, an equipment comparison, and a safety checklist. Authoritative references from the International Astronomical Union, NASA, NSF NOIRLab, and the European Southern Observatory support the key astronomical facts.
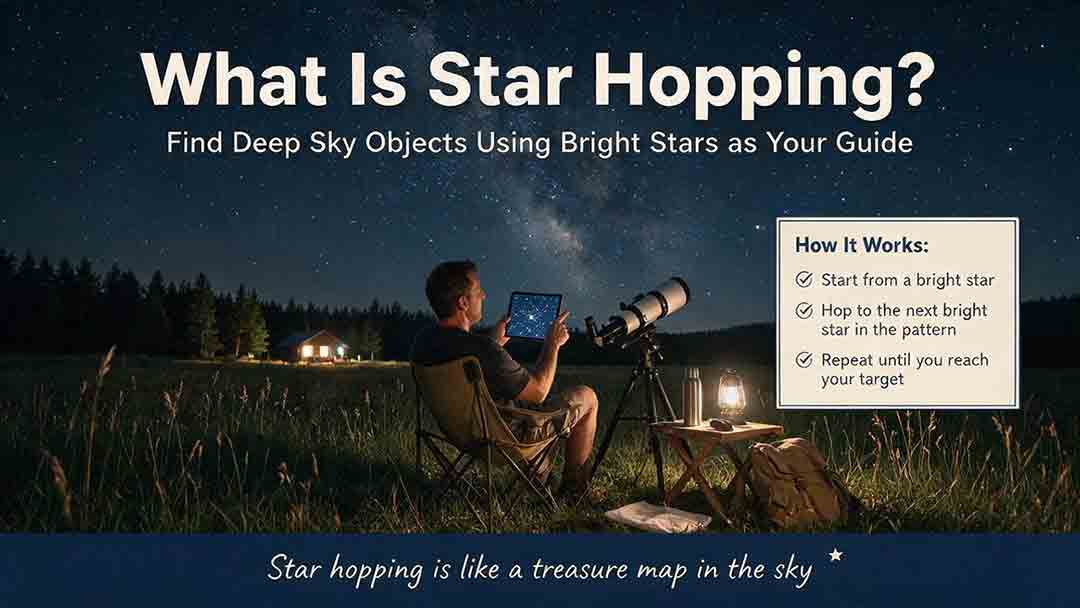
What Is Star Hopping and How Do You Do It?
Star hopping is a practical way to navigate the night sky by moving from a bright, recognizable star to a fainter target through a sequence of visible star patterns. This guide explains how beginners can plan a reliable route, align a finder, match a star chart to a telescope’s field of view, and recognize rotated or mirror-reversed images. It introduces the Anchor–Path–Field–Confirm method, provides a step-by-step observing process, and shows how field-of-view estimates can help determine a practical chart scale. A worked example demonstrates how to locate Messier 13 using the Keystone of Hercules, while the troubleshooting table addresses common problems such as finder misalignment, excessive magnification, incorrect chart orientation, and targets that remain invisible despite correct pointing. The included field checklist gives binocular and telescope users a repeatable method for planning and completing future star hops.
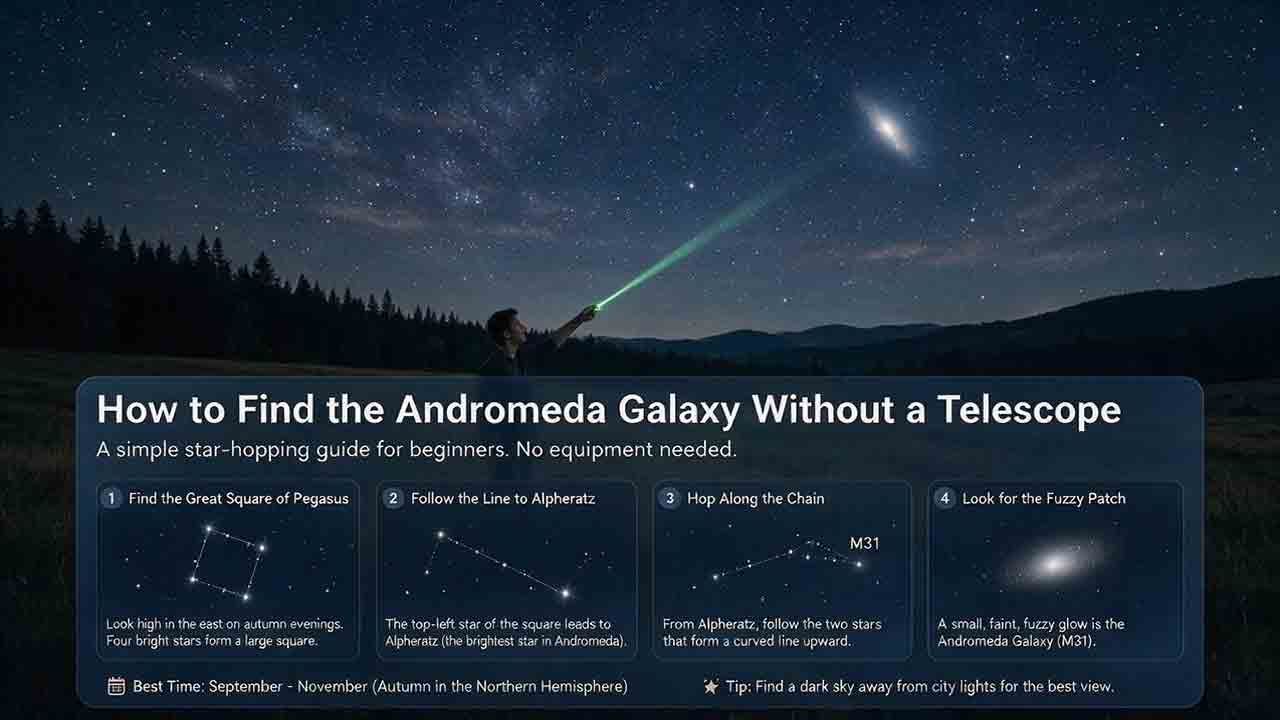
How to Find the Andromeda Galaxy Without a Telescope
Finding the Andromeda Galaxy without a telescope is possible when you know which stars to use as landmarks. This practical guide explains how to start at the Great Square of Pegasus, identify Alpheratz, follow the Andromeda star chain to Mirach, and use two nearly equal short hops to reach Mu Andromedae and M31. It also explains what the galaxy realistically looks like to the naked eye, why dark skies and averted vision matter, and how binoculars can help confirm the target. Beginners can use the six-point observing checklist, three-night practice method, troubleshooting guidance, and reusable observation log to improve each attempt. The guide distinguishes calculated angular distances from practical field estimates and clearly explains its source-checking process without claiming personal testing. It is designed primarily for Northern Hemisphere observers while also addressing visibility limitations from Southern Hemisphere locations.