How Long Does It Take Your Eyes to Adjust to Darkness?

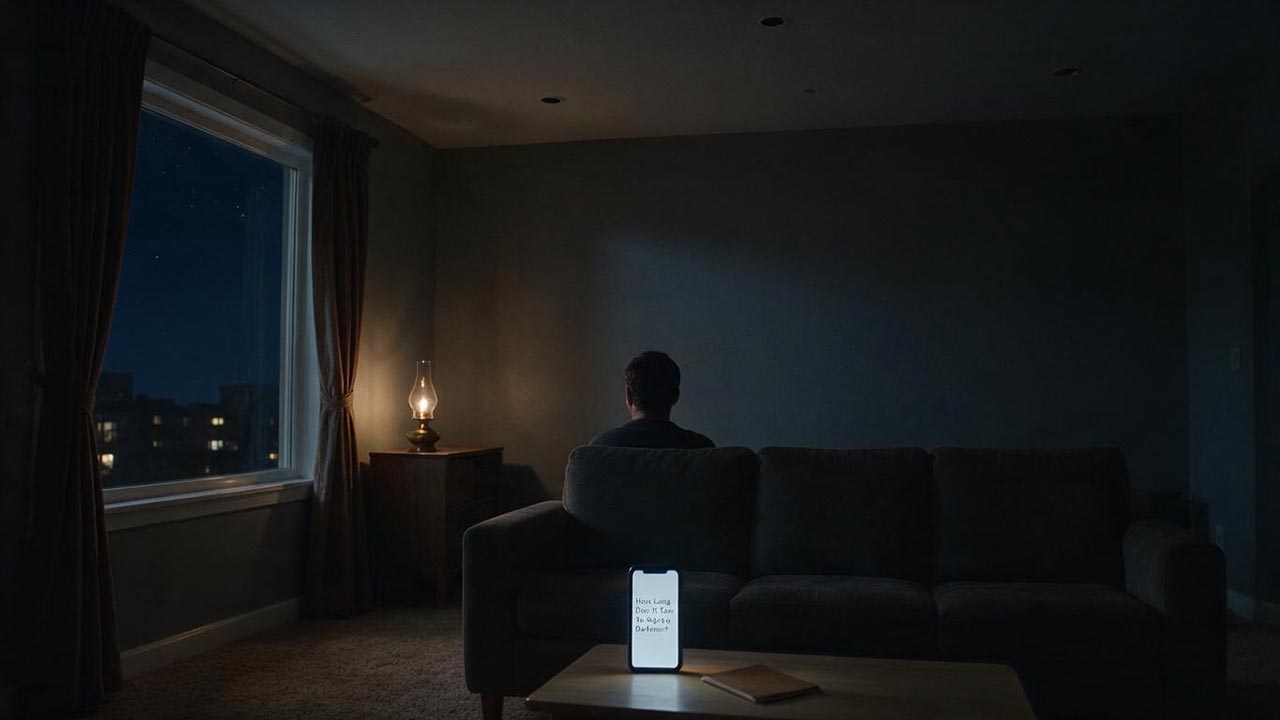
Your eyes begin adapting within seconds, but useful night vision develops in stages. Pupil dilation happens quickly, cone-based sensitivity improves during the first several minutes, and rod-based sensitivity continues increasing for roughly 20–40 minutes after strong light exposure. The exact time depends on the previous light level, age, eye health, glare, and how dark the environment actually is.
Key Takeaways
- Dark adaptation is gradual, not an on/off event.
- Pupil dilation helps within seconds to minutes, but retinal sensitivity changes account for much of the later improvement.
- Cone vision recovers first; rod vision takes longer and supports the faint, mostly colorless detail needed for stargazing.
- A bright phone, headlight, flashlight, or direct view of the Moon can partially reduce dark adaptation.
- Dim red light is usually less disruptive than white light, but brightness matters as much as color.
This guide explains what changes during the first 40 minutes in darkness, how to protect night vision at an observing site, why averted vision works, and when slow adaptation may justify an eye examination.
This guide is based on published vision-science references, government guidance, and practical observing criteria rather than a claimed clinical test or hands-on comparison of every lighting device.
How Long Does Dark Adaptation Take at Each Stage?
Most people notice some improvement within a few minutes, but sensitivity to very faint light can continue increasing for about 30–40 minutes after substantial bright-light exposure. The time course depends on how strongly the retina was exposed to light before entering darkness.
| Time in darkness | Main change | What an observer may notice |
|---|---|---|
| First seconds | Pupils begin enlarging | More light enters the eyes, but faint stars may still be difficult |
| About 1–5 minutes | Cone-mediated sensitivity recovers quickly | Brighter stars, paths, and equipment become easier to see |
| About 5–10 minutes | Rod vision becomes increasingly important | Faint objects begin appearing more clearly, especially off-center |
| About 20–40 minutes | Rod sensitivity continues improving | Dim stars, nebulae, and low-contrast detail become easier to detect |
| Beyond 40 minutes | Smaller improvements may continue under very dark conditions | The benefit depends on prior exposure, age, eye health, and sky brightness |
The National Library of Medicine’s Webvision reference describes a two-part dark-adaptation curve: cone sensitivity improves first, while the rod pathway becomes dominant after several minutes and approaches its lowest detection threshold at roughly 40 minutes under the described laboratory conditions.[1] A review of rod-mediated dark adaptation similarly describes cone recovery as a short initial phase, often within about five minutes in normally sighted adults, followed by a longer rod-recovery phase.[2]
These figures are useful planning ranges, not a stopwatch. A person walking from a dim room into a rural night may adapt faster than someone who has just looked at bright headlights or a high-luminance phone screen.
What Changes Inside the Eye During Dark Adaptation?
Dark adaptation combines several processes. The most visible change is pupil dilation, but the largest improvement in faint-light sensitivity comes from changes in the retina and visual system.
How Quickly Do the Pupils Dilate?
The iris enlarges the pupil when the environment becomes darker, allowing more light to reach the retina. The American Academy of Ophthalmology explains that this larger pupil is one component of night vision.[3]
Pupil dilation happens relatively quickly and contributes to the early improvement. It does not explain the full 20–40-minute adaptation period because retinal photoreceptors also need to recover sensitivity.
What Do Cones Do in Low Light?
Cones support detailed, color-rich vision in bright conditions. During the first few minutes in darkness, cone sensitivity improves quickly, allowing an observer to navigate and recognize brighter objects.
Cones are concentrated in the central retina, including the fovea. They remain important during twilight and brighter night conditions, but they are not as sensitive as rods to extremely faint light.
What Do Rods Do in Low Light?
Rods are highly sensitive photoreceptors that support vision in dim conditions. Rod-dominated vision has poor color discrimination and lower fine-detail resolution, but it is much better for detecting faint light.
The American Academy of Ophthalmology notes that rods are more sensitive in low light and that very dim vision is mostly or entirely black and white.[3] The National Eye Institute also distinguishes cone function in bright light from rod function in dim light.[4]
Why Does Rhodopsin Matter?
Rhodopsin is a light-sensitive visual pigment used by rod cells. Bright light bleaches part of the available pigment, and sensitivity improves as the visual cycle restores the rod system.
Dark adaptation is more complex than simply “making more rhodopsin,” but rhodopsin regeneration is a central part of rod-mediated sensitivity recovery. Scientific reviews describe the process as involving the retinal pigment epithelium, retinoid recycling, and regeneration of visual pigment.[2]
Why Is Dark Adaptation Gradual Instead of Instant?
The eyes operate across an enormous range of light levels, from bright daylight to faint starlight. A single sensitivity setting would either overload the visual system in daylight or fail to detect dim light at night.
The visual system therefore changes sensitivity in stages:
- The pupil changes the amount of incoming light.
- Cones recover sensitivity relatively quickly.
- Rod pathways become more influential as the light level falls.
- Visual pigments and retinal signaling continue adjusting.
- The brain becomes better able to interpret weak contrast and peripheral signals.
This staged response explains why the ground may become visible before a faint galaxy does. Basic navigation requires far less sensitivity than detecting a low-contrast object through a telescope.
Does Everyone Need the Same Amount of Time?
No. The useful adaptation time varies with the person and the observing conditions.
Important Variables
| Variable | Likely effect | Practical response |
|---|---|---|
| Brightness before darkness | Stronger light exposure can delay recovery | Dim screens and cabin lights before arrival |
| Duration of bright exposure | Longer exposure can cause more disruption | Avoid extended viewing of bright displays |
| Actual darkness of the site | Streetlights and moonlight prevent full dark conditions | Block glare and choose the darkest available position |
| Age | Rod-mediated recovery may become slower with aging | Allow more time and reduce glare |
| Eye health | Cataracts, retinal conditions, and other problems can affect night vision | Seek professional evaluation for persistent changes |
| Corrective prescription | Uncorrected refractive error can blur night vision | Use the correct glasses or contact lenses |
| One eye versus both eyes | One eye may retain adaptation if protected | Keep the observing eye shielded during brief light exposure |
| Target brightness | Bright planets need less adaptation than faint galaxies | Match waiting time to the target list |
Research on aging and age-related macular degeneration shows that rod-mediated dark adaptation can slow with age and retinal disease.[2][5] This does not mean that every older observer has a medical problem, but it does mean that one fixed adaptation time cannot describe everyone.
How Does Previous Light Exposure Change the Timing?
The intensity and duration of the previous light exposure affect dark adaptation. Webvision identifies pre-adapting light intensity and duration among the factors that shape the dark-adaptation curve.[1]
Consider three arrival scenarios:
| Before observing | Expected adaptation challenge |
|---|---|
| Sitting in a dim room with a low screen brightness | Relatively modest transition |
| Driving at night with dashboard and traffic lights | Repeated glare and partial adaptation |
| Walking from a brightly lit store or viewing a white phone screen | Stronger reset and longer recovery |
| Looking directly at a bright Moon through a telescope | Strong local glare before returning to faint targets |
A short flash does not always erase every part of adaptation, but bright light can substantially reduce rod sensitivity. The result depends on brightness, duration, wavelength, and the portion of the retina exposed.
What Can Reset or Reduce Dark Adaptation?
Any sufficiently bright light can reduce sensitivity, even if exposure is brief.
Common Sources at an Observing Site
- Unfiltered white flashlights
- Vehicle headlights
- Interior car lights
- Phone lock screens
- Bright astronomy applications
- Camera LCD screens
- Laptop displays
- Smartwatch screens
- Nearby porch or security lights
- Direct observation of the bright Moon
- Red lights set much brighter than necessary
The U.S. National Park Service warns that bright light can disrupt rod-based night vision and recommends dim red lighting for astronomy activities.[6] The same guidance notes that a bright red source can still be disruptive, so “red” should not be treated as permission to use excessive brightness.
Does One Quick Phone Check Start the Entire Process Again?
Not always from zero, but it can noticeably reduce sensitivity. The amount of loss depends on the display brightness, viewing distance, duration, color, and how much of the visual field the screen fills.
A practical rule is to avoid testing exactly how bright a screen can be. Set the display to its lowest usable brightness, use a red or night mode, cover unnecessary interface areas, and look away as soon as the task is complete.
Is Red Light Always Best for Preserving Night Vision?
Dim red light is generally a practical choice because rod vision is less sensitive to long-wavelength red light than to much of the visible spectrum. However, brightness is crucial.
| Light choice | Effect on night observing | Best use |
|---|---|---|
| Bright white light | Highly disruptive and produces glare | Emergencies and safety-critical tasks |
| Dim white light | Still disruptive, but less than a bright beam | Tasks where accurate color is essential |
| Dim red light | Usually less disruptive to rod-based sensitivity | Charts, equipment controls, and walking carefully |
| Bright red light | Can still reduce adaptation and annoy nearby observers | Avoid unless safety requires more illumination |
| Phone night mode | Better than a bright white screen but still luminous | Brief checks at minimum brightness |
| No light | Best for faint-object sensitivity | Seated observing in a safe, organized area |
The wavelength and brightness of consumer lights vary. A red plastic cover does not guarantee purely red output, and some red screens remain very bright. Use the least light required to complete the task safely.
How Can You Prepare Your Eyes Before Stargazing?
Step 1: Reduce Bright Light Before Arrival
Lower the brightness of phones, navigation screens, dashboards, and cabin lights during the final part of the trip when it is safe to do so. Never compromise driving safety to preserve dark adaptation.
Complete equipment assembly and reading in a lit area before beginning the adaptation period whenever practical.
Step 2: Organize the Site Before Turning Lights Off
Place eyepieces, caps, charts, cables, and bags in predictable positions. Remove trip hazards and identify safe walking routes.
A well-organized site requires fewer emergency flashes of white light.
Step 3: Start a Realistic Adaptation Window
Allow at least several minutes before expecting good low-light performance. For faint galaxies, nebulae, and the Milky Way, plan around 20–40 minutes without strong glare.
Use the early period for:
- Telescope cooling
- Polar alignment that can be completed under dim light
- Reviewing bright targets
- Listening to an audio observing list
- Adjusting a chair
- Checking equipment by touch
Step 4: Use Only the Dimmest Necessary Red Light
Aim the light downward, shield the beam, and switch it off immediately after the task. Avoid shining it toward another observer.
A headlamp can be convenient, but it can also point directly into someone’s eyes when the wearer turns their head. A hand-held light with a shielded beam may be easier to control.
Step 5: Observe Bright Targets Before or After Faint Targets Strategically
For maximum faint-object sensitivity, observe galaxies, nebulae, and the Milky Way before looking at the Moon or another bright source.
Planets are bright enough that they can usually be observed without full dark adaptation. If the session includes both faint and bright targets, save lunar observing for later.
Step 6: Use Averted Vision
Averted vision means looking slightly to one side of a faint object rather than directly at it. The technique places the object on a rod-rich part of the retina instead of the cone-dominated central fovea.
The National Park Service describes averted vision as a useful astronomy technique for faint objects.[6]
Do not look far away from the target. Shift your gaze slightly around it and learn which direction works best for each eye.
What Is the Best Dark-Adaptation Strategy for Different Activities?
| Activity | Adaptation priority | Practical recommendation |
|---|---|---|
| Viewing the Moon | Low | Full dark adaptation is unnecessary |
| Observing bright planets | Low to moderate | Control glare, but do not wait 40 minutes unnecessarily |
| Splitting bright double stars | Moderate | A short period away from bright lights is usually sufficient |
| Viewing open clusters | Moderate | Ten or more minutes may improve the surrounding star field |
| Viewing faint galaxies | High | Protect 20–40 minutes of adaptation and use averted vision |
| Viewing diffuse nebulae | High | Use a dark site, dim red light, and an appropriate filter when useful |
| Seeing the Milky Way | High | Avoid moonlight and direct artificial glare |
| Watching a meteor shower | High | Adapt before the peak viewing period and keep screens off |
| Walking or equipment setup | Safety first | Use enough controlled light to prevent falls or damage |
These are practical priorities, not medical thresholds. The required sensitivity depends on target brightness, sky conditions, telescope aperture, magnification, and observer experience.
A Practical ADAPT Framework
Use the ADAPT framework to protect night vision:
| Letter | Action | Purpose |
|---|---|---|
| A | Avoid unnecessary bright light | Prevent repeated sensitivity loss |
| D | Dim every necessary display and lamp | Reduce glare and retinal bleaching |
| A | Allow enough time for the target | Bright planets need less; faint nebulae need more |
| P | Position faint targets off-center | Use rod-rich peripheral retina through averted vision |
| T | Test and adjust conditions | Compare screens, lights, eyepieces, and target visibility |
The framework separates actions you can control from biological timing that you cannot accelerate.
Worked Example: Arriving at a Dark-Sky Site
An observer parks at 9:00 p.m. after driving on a road with oncoming headlights. The planned targets are Jupiter, a bright open cluster, and a faint galaxy.
9:00–9:05 p.m.: Safety and Setup
The observer uses a shielded dim red light to unload equipment and checks the ground for hazards. The eyes begin adapting, but headlights and the car interior have left substantial glare.
9:05–9:15 p.m.: Bright Targets
The observer focuses the telescope and views Jupiter. Full dark adaptation is not required because Jupiter is bright.
9:15–9:25 p.m.: Transition
The observer moves to the open cluster, keeps the phone off, and lowers the red light further. More faint cluster members become visible as sensitivity improves.
9:25–9:40 p.m.: Faint Target
The observer attempts the galaxy, uses averted vision, and compares two magnifications. The galaxy becomes easier to detect after more than 20 minutes without strong light.
What the Example Shows
Dark adaptation did not need to be completed before the telescope was used. The observer matched the target order to the evolving visual sensitivity and avoided wasting the early part of the session.
Does an Eye Patch Preserve Dark Adaptation?
Covering one eye can preserve that eye’s adaptation during a brief necessary light exposure, provided the eye remains fully shielded. This is the principle behind the traditional “pirate eye patch” demonstration.
The technique can be useful when:
- Reading an unavoidable bright display
- Entering a lit building briefly
- Adjusting equipment that requires white light
- Switching between lunar and faint-object observing
Do not press on the eye. Make sure the covered eye can open comfortably in darkness afterward.
An eye patch does not protect the uncovered eye, and light leaking around the patch reduces the benefit.
Can Sunglasses Help Before Night Observing?
Dark or tinted lenses may reduce bright exposure before sunset, but they are not a shortcut to full rod adaptation. They can also create safety problems when driving, walking, or working in low light.
Do not wear sunglasses for night driving or any situation where they reduce hazard visibility. The safer strategy is to reduce unnecessary indoor and screen brightness before observing, then allow normal adaptation at the site.
What Common Mistakes Slow Dark Adaptation?
Treating 30 Minutes as a Guaranteed Finish Time
Adaptation is continuous and individual. Some useful sensitivity arrives early, while maximum rod sensitivity can take longer after intense light exposure.
Using a Red Light That Is Too Bright
Color does not cancel brightness. Set a red light low enough that nearby objects are visible without flooding the entire observing area.
Checking a Phone Repeatedly
Many brief checks can prevent the eyes from reaching a stable low-light state. Use an audio list, printed chart, covered screen, or memorized plan.
Staring Directly at a Faint Object
Central vision is rich in cones but poor for the faintest rod-mediated detail. Use averted vision and gently scan around the expected position.
Looking at the Moon Before Galaxies
The bright lunar disk produces glare and reduces faint-target sensitivity. Reverse the observing order when possible.
Confusing Poor Transparency With Poor Adaptation
Haze, smoke, thin cloud, moonlight, and artificial skyglow reduce contrast even when the observer is fully adapted.
Ignoring Vision Correction
An outdated glasses prescription, dirty lenses, or dry contact lenses can blur stars and create glare that waiting in darkness will not fix.
Why Can Faint Objects Still Be Invisible After 40 Minutes?
Full adaptation cannot overcome poor observing conditions or an unsuitable target.
| Problem | Clue | Response |
|---|---|---|
| Moonlight | Bright sky or direct lunar glare | Wait for moonset or move to a bright target |
| Light pollution | Few stars visible across the sky | Travel to a darker site or choose compact bright objects |
| Haze or smoke | Halos around lights and poor horizon clarity | Observe planets, the Moon, or double stars |
| Target too low | Object viewed through more atmosphere | Wait for greater altitude |
| Wrong magnification | Sky too bright at low power or object too dim at high power | Compare multiple exit pupils |
| Poor focus | Stars remain enlarged | Refocus on a bright star |
| Dew or dirty optics | Glow and loss of contrast | Inspect and correct the optical surface safely |
| Target misidentified | Expected field pattern is absent | Confirm the star chart and finder alignment |
| Vision issue | Persistent trouble in many low-light situations | Arrange a professional eye examination |
Dark adaptation improves the observer’s sensitivity; it does not make the sky itself darker.
When Should Night-Vision Difficulty Be Checked by an Eye Professional?
Occasional difficulty after bright light is normal. Persistent, worsening, sudden, or unequal night-vision problems deserve professional attention.
The American Academy of Ophthalmology lists cataracts, glaucoma, macular degeneration, retinal disorders, refractive error, and vitamin A deficiency among conditions that can affect night vision.[3] Do not diagnose the cause from an astronomy session or attempt high-dose vitamin supplementation without medical advice.
Arrange an eye examination when:
- Night vision has changed noticeably
- One eye performs much worse than the other
- Headlights create increasing glare or halos
- You frequently trip in dim environments
- Stars remain blurry with correct focus and clean optics
- Dark adaptation seems unusually slow across many situations
- You have new flashes, floaters, a curtain-like shadow, or sudden vision loss
Sudden vision loss, a curtain or shadow, or a rapid increase in flashes and floaters can require urgent medical assessment.
Dark-Adaptation Checklist for Stargazing
Before Leaving
- Prepare the observing list and star charts
- Set astronomy apps to a red or night mode
- Lower display brightness
- Pack a dimmable red light
- Check glasses or contact lenses
- Plan bright targets for the beginning or end
- Check Moon phase, moonrise, and moonset
- Choose a safe observing site
At the Site
- Remove trip hazards before switching off bright lights
- Keep vehicle and cabin lights controlled
- Start with bright targets while sensitivity improves
- Avoid direct views of white lights and phone screens
- Aim red lights downward
- Use averted vision for faint targets
- Compare more than one magnification
- Allow additional recovery after accidental glare
Before Blaming Your Eyes
- Check transparency and haze
- Check moonlight and local light pollution
- Confirm the target position
- Refocus the telescope
- Inspect for dew
- Clean glasses if needed
- Compare both eyes separately
- Seek professional advice for persistent or worsening changes
Give Your Eyes Time, Then Match the Target to the Conditions
Your eyes start adjusting to darkness immediately, but the most useful rod-based improvement for faint-object stargazing commonly develops over roughly 20–40 minutes. Pupil dilation is fast, cone recovery comes first, and rod sensitivity continues building afterward.
For planets and the Moon, begin observing without waiting for complete adaptation. For galaxies, diffuse nebulae, meteor showers, and the Milky Way, protect a longer dark interval, use dim red light, and apply averted vision. If low-light difficulty is persistent, worsening, sudden, or markedly different between the eyes, arrange an eye examination rather than assuming more waiting time will solve it.
Recommended Next Step by Observing Goal
- Moon or bright planets: Prioritize stable seeing and comfortable glare control.
- Open clusters and bright deep-sky objects: Allow a moderate adaptation period and compare magnifications.
- Faint galaxies or nebulae: Protect 20–40 minutes from bright light and use averted vision.
- Meteor shower: Adapt before the main observing period and keep all displays dim.
- Mixed target list: Begin with bright targets, move to faint objects after adaptation, and save the Moon for last.
- Persistent night-vision difficulty: Schedule a professional eye examination.
Frequently Asked Questions
Do Your Eyes Fully Adjust to Darkness in 30 Minutes?
Not always. Thirty minutes is a useful planning estimate, but adaptation depends on prior brightness, exposure duration, age, eye health, and the darkness of the environment. Rod sensitivity may continue improving beyond that point.
How Long Does It Take to Recover After Looking at a Phone?
There is no fixed recovery time. A brief, dim red display may have a small effect, while a bright white screen viewed closely can cause a more noticeable setback. Reduce brightness, shorten exposure, and allow several minutes to reassess faint targets.
Why Can I See a Faint Star Better When I Look Beside It?
Looking slightly beside the star places its image on a rod-rich part of the retina. This averted-vision technique improves detection of faint, low-contrast objects that may disappear when viewed directly with the cone-dominated fovea.
Does Red Light Preserve Dark Adaptation Completely?
No. Dim red light is generally less disruptive to rod-based night vision than white light, but a bright red lamp or screen can still reduce sensitivity. Use the lowest practical brightness.
Does Closing Your Eyes Speed Up Dark Adaptation?
Closing the eyes blocks light and can protect adaptation, but it does not bypass the biological recovery process. A fully opaque eye patch can help preserve one eye during a brief necessary light exposure.
Why Is My Night Vision Worse Than It Used to Be?
Aging, refractive changes, cataracts, retinal conditions, medications, and other factors can affect low-light vision. A noticeable, persistent, or worsening change should be evaluated by an eye-care professional.
Sources
- National Library of Medicine, Webvision, Light and Dark Adaptation. Accessed August 4, 2026.
- Owsley C, Curcio CA, Rod-Mediated Dark Adaptation as a Functional Measure. Accessed August 4, 2026.
- American Academy of Ophthalmology, Night Vision. Accessed August 4, 2026.
- National Eye Institute, Scientists Shine Light on How Eyes Adapt to the Dark. Published October 14, 2022. Accessed August 4, 2026.
- Owsley C, Curcio CA, Impaired Rod-Mediated Vision in Aging and Age-Related Macular Degeneration. Published online June 22, 2026. Accessed August 4, 2026.
- U.S. National Park Service, Dark Adaptation of the Human Eye and the Value of Red Flashlights. Accessed August 4, 2026.
More from Observing Conditions
How to Check Whether Tonight Is Good for Stargazing
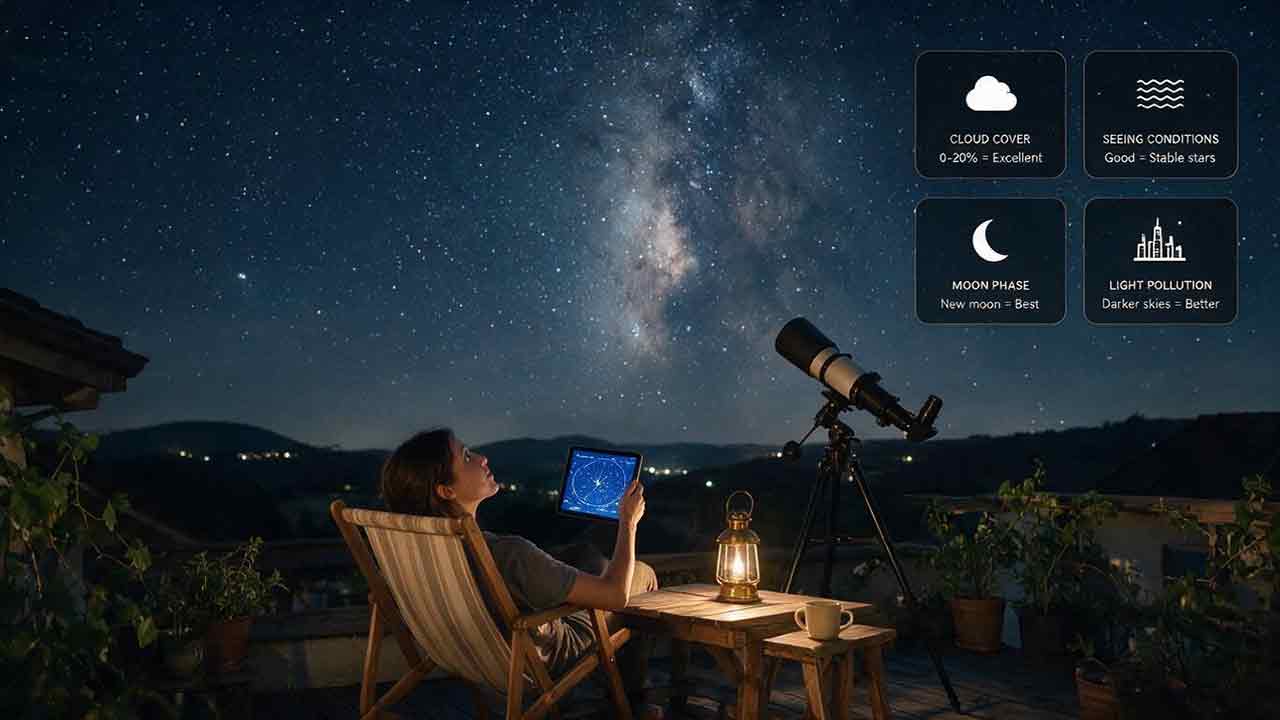
A useful stargazing forecast requires more than a clear-weather icon. This guide explains how to check hourly cloud cover, precipitation and lightning risk, atmospheric transparency, astronomical seeing, Moon position, twilight, target altitude, wind, dew, smoke, light pollution, and site access before deciding whether to observe. Readers will learn why a night can be excellent for planets but poor for galaxies, how to distinguish cloud cover from transparency and seeing, and how to match changing conditions to the Moon, Milky Way, meteor showers, clusters, double stars, and deep-sky objects. The article includes a 10-minute checking process, a CLEAR decision framework, a hypothetical worked example, forecast-tool comparisons, rescue strategies for marginal nights, troubleshooting advice, a complete checklist, and safety guidance for thunderstorms and hazardous travel.
How Clouds, Humidity, and Air Turbulence Affect Stargazing
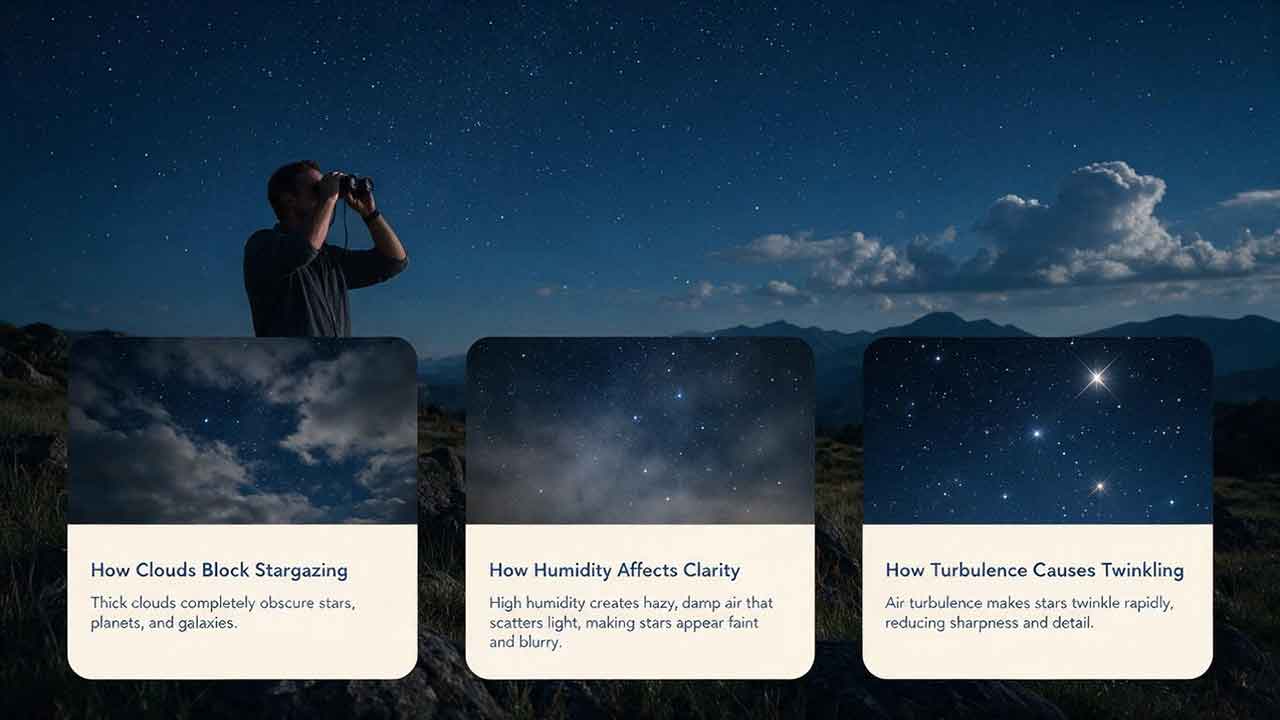
Clear skies do not always produce sharp telescope views, and high humidity does not automatically make a night unsuitable for astronomy. This practical guide separates cloud cover, transparency, moisture, dew risk, and atmospheric seeing so observers can diagnose conditions accurately. It explains how thin cirrus can weaken faint objects, why dew point is more useful than relative humidity alone for predicting condensation, and how turbulent air blurs planetary and lunar detail. The article introduces the original CAST planning framework—Clouds, Air moisture, Seeing, and Target—to help readers interpret forecasts and match each night to appropriate observing goals. A temperature–dew point calculation, target-selection tables, realistic observing scenarios, a go/change-target/cancel matrix, troubleshooting guide, and pre-session checklist turn weather data into practical decisions. Authoritative material from NASA, NOAA, the National Weather Service, the European Southern Observatory, and telescope-manufacturer documentation supports the scientific and equipment-care guidance.
How Moonlight Affects Stargazing
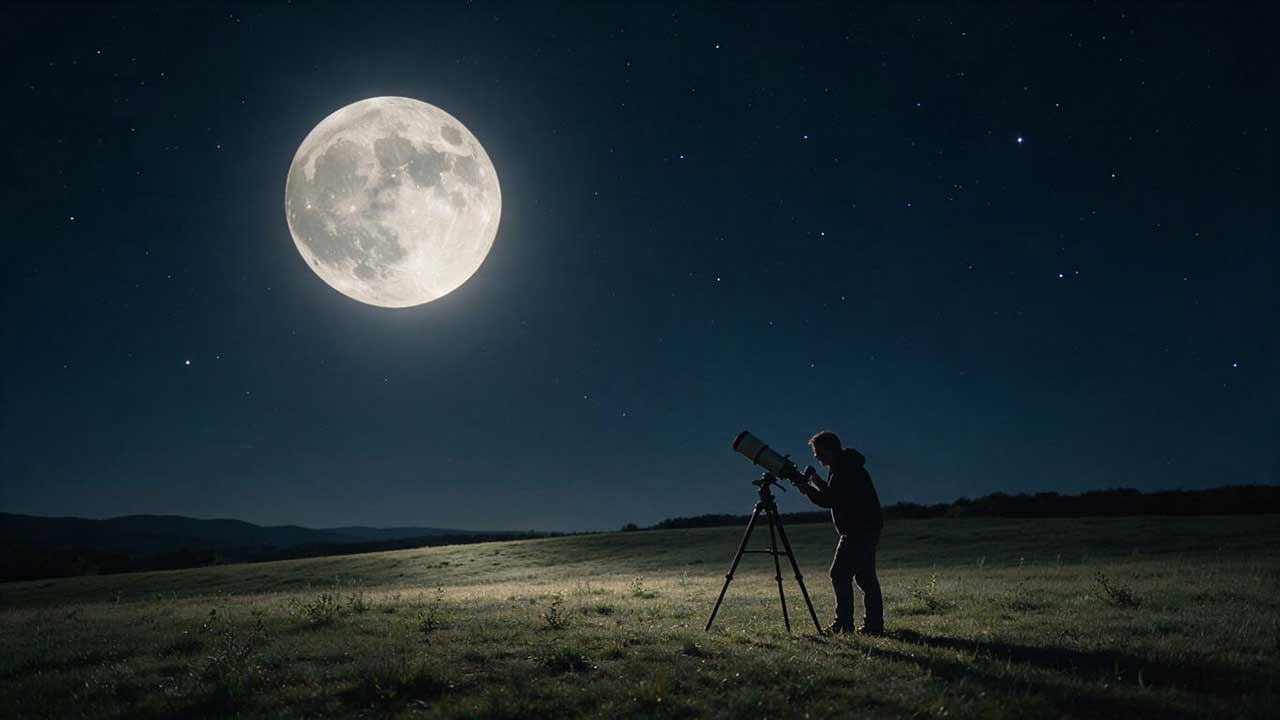
Moonlight affects stargazing by brightening the sky background and reducing the contrast of faint celestial objects. This guide explains why galaxies, diffuse nebulae, the Milky Way, zodiacal light, and weak meteors are more vulnerable than planets, double stars, bright clusters, and the Moon itself. It shows why lunar illumination alone is not enough for planning: moonrise, moonset, altitude, target separation, atmospheric transparency, and local light pollution also shape the result. Readers will learn how each major Moon phase changes the best observing window, how to protect dark adaptation, when magnification or filters may help, and how to rescue an unexpectedly bright session. The article also includes a PHASE–TIME–HEIGHT–DISTANCE–AIR–TARGET planning framework, a first-quarter worked example, target-selection tables, common mistakes, a practical checklist, and useful FAQs.
Explore More Topics
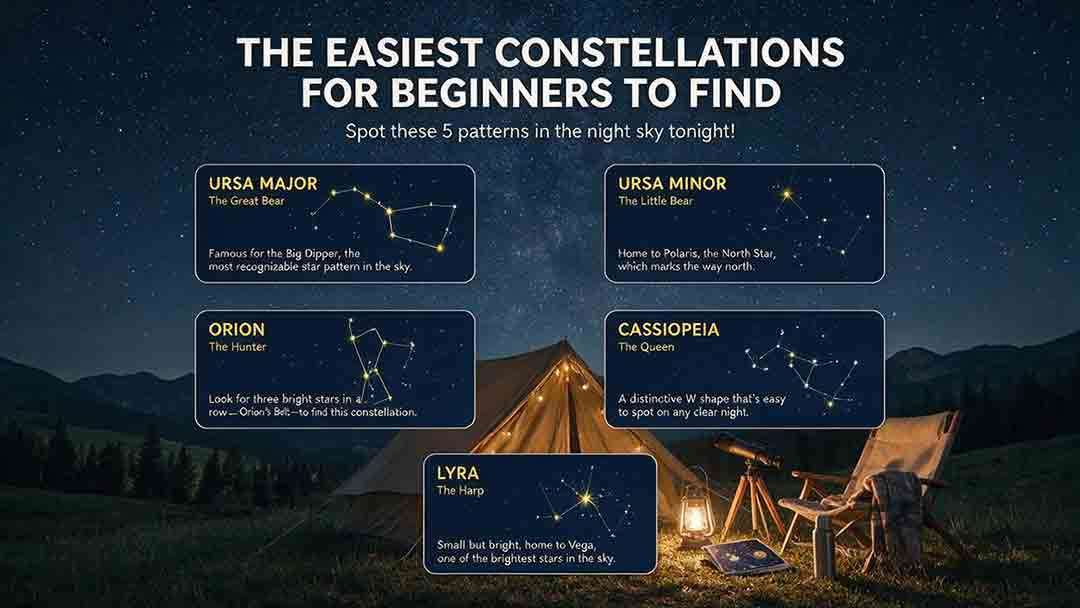
The Easiest Constellations for Beginners to Find
This beginner-friendly guide explains how to find Orion, Ursa Major through the Big Dipper, Cassiopeia, Cygnus, and Scorpius using clear naked-eye observing steps. It compares each pattern through an original Beginner Visibility Score and shows readers how to choose a first target based on season, latitude, light pollution, moonlight, and horizon visibility. The guide also clarifies the difference between constellations and asterisms, explains how the Big Dipper can point toward Polaris, and provides dedicated recommendations for Southern Hemisphere observers, including Crux. Practical tools include the Anchor-Pattern Method, the Three-Check Rule, a 10-minute observing session, city-sky guidance, troubleshooting advice, an equipment comparison, and a safety checklist. Authoritative references from the International Astronomical Union, NASA, NSF NOIRLab, and the European Southern Observatory support the key astronomical facts.
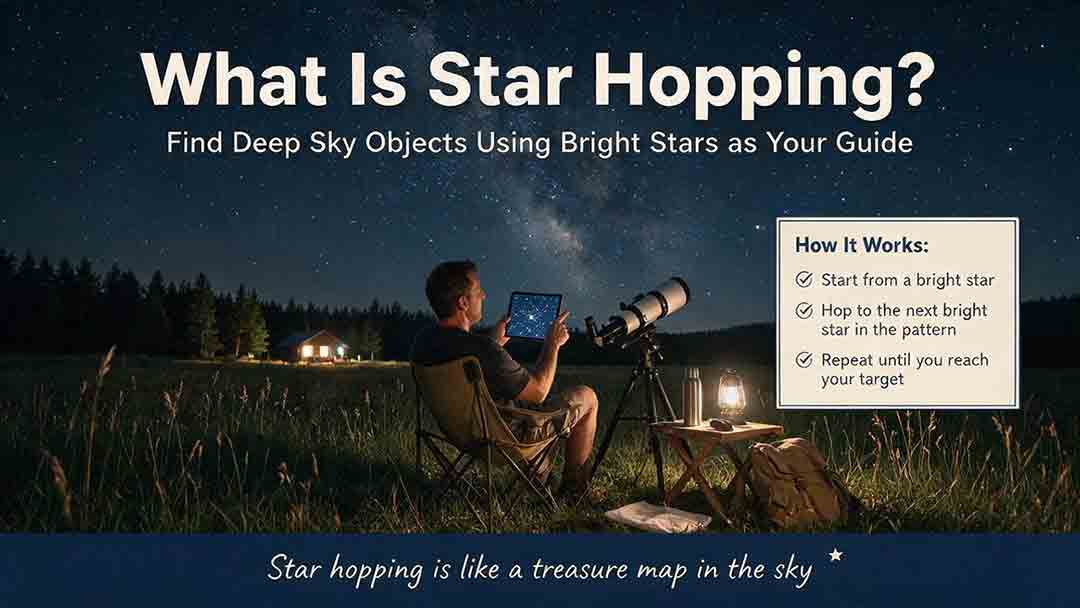
What Is Star Hopping and How Do You Do It?
Star hopping is a practical way to navigate the night sky by moving from a bright, recognizable star to a fainter target through a sequence of visible star patterns. This guide explains how beginners can plan a reliable route, align a finder, match a star chart to a telescope’s field of view, and recognize rotated or mirror-reversed images. It introduces the Anchor–Path–Field–Confirm method, provides a step-by-step observing process, and shows how field-of-view estimates can help determine a practical chart scale. A worked example demonstrates how to locate Messier 13 using the Keystone of Hercules, while the troubleshooting table addresses common problems such as finder misalignment, excessive magnification, incorrect chart orientation, and targets that remain invisible despite correct pointing. The included field checklist gives binocular and telescope users a repeatable method for planning and completing future star hops.
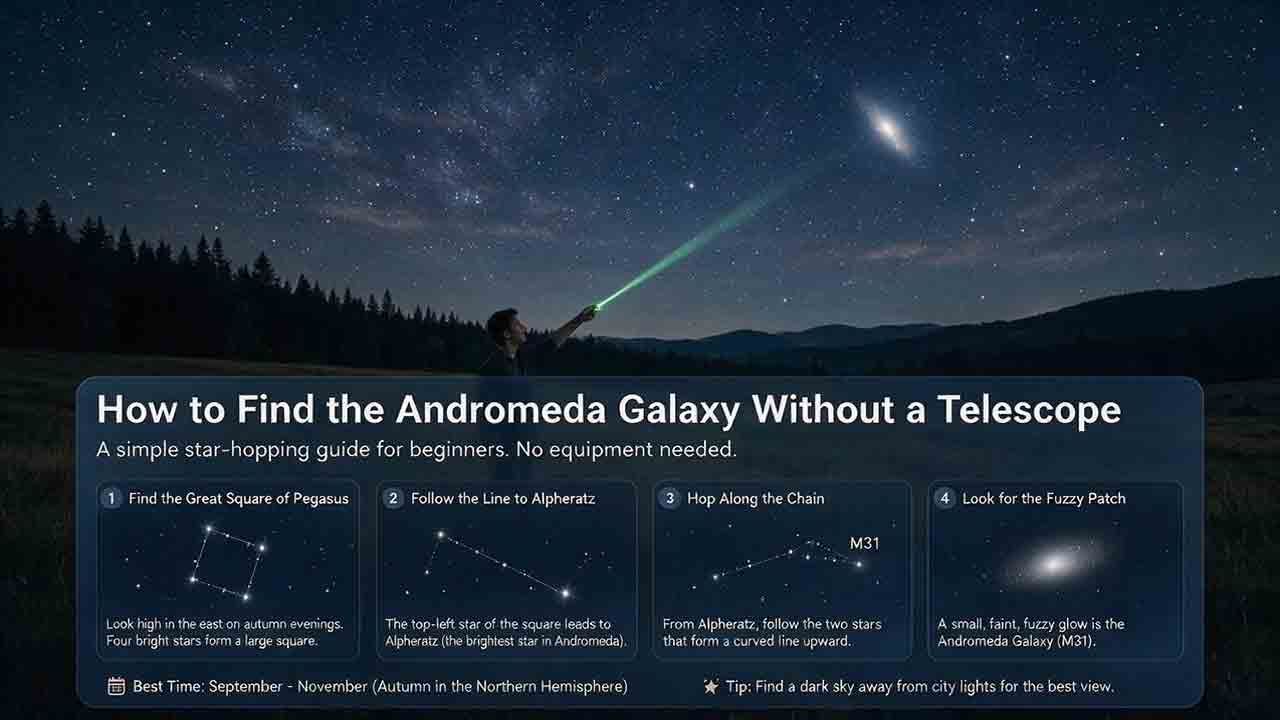
How to Find the Andromeda Galaxy Without a Telescope
Finding the Andromeda Galaxy without a telescope is possible when you know which stars to use as landmarks. This practical guide explains how to start at the Great Square of Pegasus, identify Alpheratz, follow the Andromeda star chain to Mirach, and use two nearly equal short hops to reach Mu Andromedae and M31. It also explains what the galaxy realistically looks like to the naked eye, why dark skies and averted vision matter, and how binoculars can help confirm the target. Beginners can use the six-point observing checklist, three-night practice method, troubleshooting guidance, and reusable observation log to improve each attempt. The guide distinguishes calculated angular distances from practical field estimates and clearly explains its source-checking process without claiming personal testing. It is designed primarily for Northern Hemisphere observers while also addressing visibility limitations from Southern Hemisphere locations.