What Is the Best Time of Night for Stargazing?
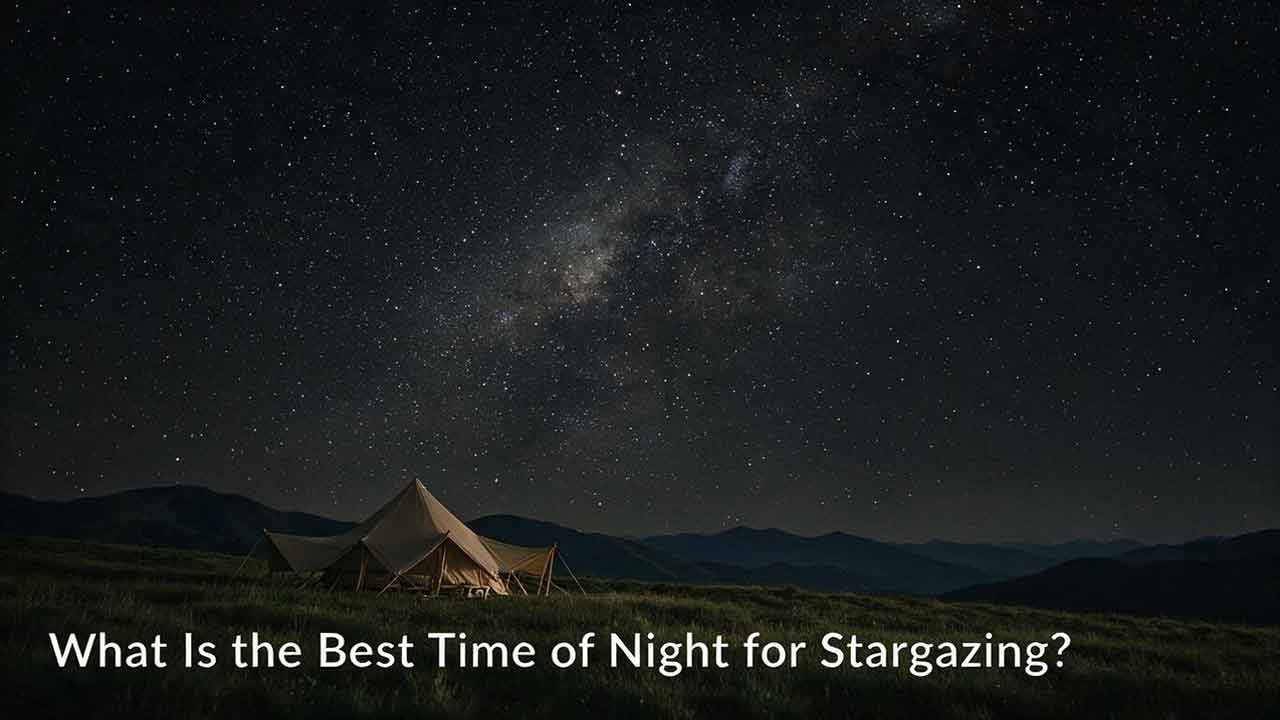
The best time of night for stargazing is usually after astronomical twilight has ended, while the Moon is below the horizon, the sky is clear, and your chosen target is well above local obstructions. For many mid-latitude observers, this begins roughly 90 minutes to two hours after sunset, but the actual window can be earlier, later, or absent altogether.
Key Takeaways
- Midnight is not automatically the best time. The ideal observing window depends on darkness, Moon position, weather, target altitude, and site access.
- For the Milky Way, galaxies, and nebulae, observe after astronomical twilight during a Moon-free interval.
- Bright planets and the Moon can be observed before the sky becomes fully dark.
- A clear 45-minute window can be more useful than several darker but cloudy hours.
- Use local twilight, moonrise, moonset, and hourly weather data instead of relying on sunset alone.
This guide explains how to identify the most productive part of a specific night. It also includes a five-condition planning method, a worked example, and a reusable worksheet for calculating your own observing window.
What Is the Best Time to Stargaze on a Typical Night?
For faint stars and deep-sky objects, the most useful period normally begins after evening astronomical twilight ends. It continues while the Moon is not significantly brightening the sky, the weather remains favorable, and the target is high enough to observe clearly.
Astronomical twilight ends when the center of the Sun is geometrically 18 degrees below the horizon. Under naturally dark conditions, remaining scattered sunlight then has relatively little effect on the background sky.
The 18-degree boundary is a geometric definition, not a guarantee of perfect darkness. Urban skyglow, thin cloud, haze, smoke, airglow, snow-covered ground, and nearby lighting can still make the sky appear bright.
A practical rule is:
Choose the strongest overlap of sufficient darkness, acceptable Moon conditions, clear air, useful target altitude, and safe site access.
The answer is therefore a window rather than a universal hour.
How Long After Sunset Should You Start Stargazing?
For many middle-latitude locations, astronomical darkness begins approximately 90 minutes to two hours after sunset. That range is only a rough starting estimate.
The actual interval depends on:
- Latitude
- Season
- Local terrain
- Elevation
- Atmospheric conditions
- The shape and clarity of the horizon
Twilight is generally shorter near the equator. At high latitudes during summer, astronomical twilight may continue throughout the night, meaning the sky never reaches the formal definition of astronomical darkness.
Use the following table as a rough starting point rather than a promise of what will be visible.
| Stage | Sun’s geometric position | Typical observing use |
|---|---|---|
| Civil twilight | 0° to 6° below the horizon | Moon, Venus, Jupiter, and the brightest stars |
| Nautical twilight | 6° to 12° below the horizon | Bright constellations and more prominent stars |
| Astronomical twilight | 12° to 18° below the horizon | Increasing numbers of faint stars become visible |
| Astronomical darkness | More than 18° below the horizon | Best background darkness for faint objects under suitable local conditions |
The U.S. Naval Observatory’s twilight definitions also note that cloud cover, visibility, atmospheric conditions, and the local horizon affect the amount of natural light present during twilight.
For practical planning:
- The Moon can be observed before sunset, during twilight, or at night.
- Bright planets may be visible during civil or nautical twilight.
- Major constellations become easier to identify as twilight fades.
- The Milky Way and faint deep-sky objects usually require astronomical darkness.
- Meteor showers should be timed according to the specific event, not sunset alone.
Do not treat “two hours after sunset” as a fixed rule. Check the date and location whenever timing matters.
Is Midnight Always the Best Time for Stargazing?
No. Midnight has no special ability to guarantee a dark, clear, or stable sky.
A target may be ideally positioned at 9:30 p.m. and partly hidden behind trees by midnight. A bright Moon may rise at 11:00 p.m., making the earlier evening much better for faint objects. Fog, cloud, smoke, or dew can also develop later.
Midnight may be useful when:
- The Moon sets late in the evening.
- A target rises after sunset and becomes higher later.
- Local commercial lighting decreases.
- A meteor shower improves after midnight.
- Summer twilight ends very late.
Waiting until midnight can make a session worse when:
- A bright Moon is rising.
- Cloud cover is increasing.
- Fog or heavy dew is developing.
- The target is moving toward the horizon.
- The observing site closes.
- Fatigue makes the return journey unsafe.
The most productive session is the period when the important conditions overlap—not simply the latest hour you can remain outside.
Which Is Better: Early Evening or Late Night?
Early evening is usually more convenient. Late night may provide better darkness or target placement, but it also brings colder temperatures, dew, access restrictions, and fatigue.
| Factor | Early evening | Late night |
|---|---|---|
| Convenience | Easier for beginners and families | Requires more planning |
| Twilight | May still brighten the sky | Usually finished |
| Moonlight | May be absent before moonrise | May improve after moonset or worsen after moonrise |
| Target selection | Favors early-setting objects | Favors later-rising objects |
| Local activity | More traffic and nearby lighting | Some local lights may be reduced |
| Temperature | Often warmer | Usually colder |
| Dew and fog | Often less developed | May become more likely |
| Site access | More facilities may be open | Parks and roads may be restricted |
| Driving safety | Less fatigue | Greater fatigue risk |
Choose early evening when:
- Your target sets in the west.
- The Moon will rise later.
- Clouds or fog are expected overnight.
- You are observing with children.
- The location has limited opening hours.
- You are observing the Moon or a bright planet.
Choose late night when:
- The Moon sets during the night.
- The target does not rise until late.
- Summer twilight lasts well into the evening.
- A specific meteor shower favors later hours.
- Nearby lighting or human activity decreases substantially.
Neither period is automatically superior. Compare the real conditions for the night.
How Do Moon Phase, Moonrise, and Moonset Affect Stargazing?
Moonlight brightens the background sky and reduces the contrast of faint celestial objects. For the Milky Way, galaxies, nebulae, and dim stars, whether the Moon is above the horizon can matter as much as its phase.
A Moon phase describes how much of the Moon’s illuminated half is visible from Earth. It does not tell you whether the Moon will be present during your observing session.
NASA’s Moon phase guide explains the broad pattern:
- A new Moon rises and sets near the Sun.
- A first-quarter Moon is prominent during the evening.
- A full Moon rises near sunset and sets near sunrise.
- A last-quarter Moon generally rises around midnight.
These are approximate patterns. Exact rise and set times depend on the date and observing location.
Use this table to identify the most likely dark interval.
| Moon phase | Typical nighttime behavior | Practical strategy for faint targets |
|---|---|---|
| New Moon | Near the Sun and generally absent at night | Much of the night may be dark |
| Waxing crescent | Visible after sunset in the west | Observe after moonset |
| First quarter | Prominent during the evening | Observe later after moonset |
| Waxing gibbous | Bright for much of the evening | Use a later Moon-free interval if available |
| Full Moon | Visible through most of the night | Choose bright targets or another date |
| Waning gibbous | Rises later in the evening | Observe before moonrise |
| Last quarter | Generally rises around midnight | Use the earlier evening |
| Waning crescent | Mainly visible before dawn | Much of the evening may be dark |
Why Moon phase alone is not enough
A calendar may show a bright waning gibbous Moon, but that Moon might not rise until late in your planned session. The first part of the evening could still provide a useful dark window.
The reverse is also possible. A thin crescent may be close enough to a target to produce glare or reduce contrast.
Check four factors:
- The illuminated phase
- Local moonrise and moonset
- The Moon’s altitude
- The angular separation between the Moon and the target
Angular separation simply means how far apart the Moon and your target appear in the sky.
When the Moon appears close to a target, glare and reduced contrast are usually more noticeable. A target on the opposite side of the sky may be less affected, although the overall sky will not become as dark as it would during a Moon-free period.
The National Park Service recommends observing faint features before moonrise or after moonset because moonlight can wash out the Milky Way and other low-contrast detail.
Is new Moon always best?
A date near new Moon is generally favorable for:
- The Milky Way
- Faint galaxies
- Diffuse nebulae
- Dim star clusters
- Wide-field night-sky photography
A new Moon is not automatically the correct date for a meteor shower. Meteor showers occur on specific dates because Earth passes through particular streams of debris.
Plan a meteor session around:
- The shower’s predicted peak
- The radiant’s position
- Your location
- Local weather
- Moon conditions during the real peak
If the peak occurs near new Moon, the dark background may make more faint meteors visible. If the peak occurs near full Moon, observing at the actual peak may still be worthwhile, although moonlight can reduce the number of dim meteors you see.
New Moon is also not the best phase for observing the Moon itself. Crescent and quarter phases often reveal stronger shadows along the terminator, making craters, mountain ranges, and surface relief easier to distinguish.
The terminator is the boundary between lunar day and lunar night.
A full Moon remains useful for viewing:
- The complete lunar disk
- Large dark maria
- Bright ray systems
- Broad surface patterns
- Low-magnification lunar views
However, the full Moon’s high-angle illumination usually produces weaker shadows. Crescent and quarter phases normally reveal more three-dimensional relief near the terminator.
Moonlit nights can also be used for bright planets, double stars, prominent constellations, bright open clusters, or equipment practice.
How High Should a Target Be Above the Horizon?
A celestial object is usually easier to observe when it is higher in the sky.
Light from a low-altitude target travels through more of Earth’s atmosphere. That increases the effects of haze, extinction, dust, turbulence, and distant light pollution. Buildings, trees, mountains, and power lines can also obstruct the view.
These altitude ranges are practical guidelines, not strict thresholds.
| Target altitude | Typical observing condition |
|---|---|
| Below about 15° | Often strongly affected by haze and obstructions |
| About 15°–30° | Observable, but frequently compromised |
| Above about 30° | Usually a more productive observing zone |
| Near its highest point | Often the best available position that night |
The actual result depends on the target’s brightness, the transparency near the horizon, local light domes, elevation, atmospheric turbulence, and the equipment being used.
A bright planet may still be easy to see at a low altitude, although its telescopic image may be unstable. A faint galaxy at the same altitude can be extremely difficult.
What does transit mean?
A target’s transit, also called culmination, is the time when it crosses the local meridian and usually reaches its highest altitude for that observing session.
Transit is a helpful reference, but it does not automatically determine the best time. An earlier period may be better if cloud, moonlight, site closure, or a local obstruction becomes a problem near transit.
When planning from home, check both:
- The calculated altitude of the target
- The real horizon at the observing site
A target that has technically risen may remain hidden behind a hill, building, or tree line for another hour.
What Weather Conditions Are Best for Stargazing?
A rain-free forecast is not enough. Stargazing quality also depends on cloud cover, transparency, atmospheric steadiness, wind, smoke, fog, humidity, and dew.
Transparency and seeing are different
Transparency describes how clearly light passes through the atmosphere.
Good transparency is especially important for:
- The Milky Way
- Galaxies
- Nebulae
- Faint star clusters
- Low-contrast naked-eye targets
Smoke, dust, haze, moisture, and thin cloud can reduce transparency even when a forecast labels the sky “clear.”
Astronomical seeing describes the steadiness of the atmosphere.
Steady seeing is especially important for:
- Planetary detail
- Fine lunar features
- Close double stars
- High-magnification telescope use
A transparent night may still have poor seeing. A slightly hazy night may still provide relatively stable planetary views.
Use this table to identify the likely limiting condition.
| Condition | Main effect | Most affected observations |
|---|---|---|
| Thick cloud | Blocks the sky | All targets |
| Thin high cloud | Reduces contrast and scatters light | Milky Way and deep-sky objects |
| Haze or smoke | Dims targets and brightens the background | Faint and low-altitude objects |
| Unsteady air | Blurs fine detail | Planets, Moon, and double stars |
| Strong wind | Shakes tripods and telescopes | Magnified viewing and photography |
| High dew risk | Fogs optical surfaces | Long observing sessions |
| Fog | Blocks targets and amplifies local light | Most observations |
| Cloud over urban areas | Reflects artificial light downward | Faint targets in light-polluted locations |
The National Park Service explains that aerosols, moisture, dust, haze, and clouds can scatter artificial light and increase skyglow. An overcast urban night may therefore appear much brighter than a clear one.
Use an hourly forecast
A daily weather icon can conceal major changes during the night. A “partly cloudy” forecast might include a clear two-hour interval followed by complete cloud cover.
For locations in the United States, the National Weather Service Hourly Weather Graph provides hour-by-hour information that can include cloud cover, humidity, wind, precipitation, and temperature.
Outside the United States, use a national meteorological service or another authoritative local provider that offers hourly information about cloud cover, visibility, wind, fog, smoke, and precipitation. The World Meteorological Organization’s participating members directory links to official meteorological services in many countries and territories.
For a planned session, compare:
- Hourly cloud cover
- Visibility
- Wind speed and gusts
- Relative humidity
- Temperature and dew point
- Fog forecasts
- Smoke or air-quality alerts
Forecasts remain estimates. Check the visible sky before leaving and be prepared to change plans.
Does high humidity always mean poor stargazing?
No. Relative humidity alone does not determine observing quality.
High moisture can contribute to haze, fog, condensation, and dew, but the result depends on temperature, dew point, wind, terrain, and local air movement. A humid but transparent night may still be productive, while a lower-humidity night affected by smoke or dust may not be.
How Does Light Pollution Change the Best Observing Time?
Light pollution can prevent the sky from appearing naturally dark even after astronomical twilight has ended.
Skyglow is the brightening of the night sky caused by artificial light scattered through the atmosphere. The National Park Service identifies skyglow, glare, and light trespass as major forms of outdoor light pollution.
Late-night observing may help when nearby businesses, sports fields, decorative lights, or household lighting are switched off. The broader glow from a city can remain throughout the night.
Before changing locations, you can sometimes improve conditions by:
- Standing where a wall, fence, building, or tree blocks direct glare
- Facing away from the brightest urban horizon
- Waiting until the target rises above a light dome
- Avoiding faint-object observation under thin cloud
- Turning off unnecessary nearby lighting
- Using a hood or dark cloth to block stray light at the eyepiece
- Keeping phone and flashlight brightness low
These measures can improve contrast, but timing cannot fully compensate for severe light pollution.
For faint galaxies or the Milky Way, traveling to a darker legal site may make a larger difference than waiting several additional hours within a bright city.
Does the Best Stargazing Time Change by Season and Latitude?
Yes. Season and latitude affect both the length of the night and the duration of twilight.
- Mid-latitude winter: Darkness begins earlier and nights are longer, but cold, cloud, frost, and difficult road conditions may limit the session.
- Mid-latitude summer: Sunsets are later and twilight lasts longer, although temperatures may be more comfortable.
- High-latitude summer: Astronomical darkness may not occur at all.
- High-latitude winter: Nights can be long, but severe cold and changing weather require additional preparation.
- Near the equator: Twilight is generally shorter, so full darkness often arrives relatively quickly after sunset.
- Humid or rainy seasons: Cloud, haze, fog, or smoke may matter more than the nominal length of the night.
A longer night is not automatically a better night. The most useful period is still the overlap between darkness, weather, target position, Moon conditions, and safe access.
What Is the Best Time for Different Celestial Targets?
Choose the row that matches your main observing goal.
| Target | Usually favorable timing | Main priority |
|---|---|---|
| Moon | Twilight or night when well positioned | Phase and altitude |
| Bright planets | When high in the sky | Altitude and steady seeing |
| Mercury | Shortly after sunset or before sunrise during a favorable appearance | Clear horizon and solar safety |
| Venus | Evening or morning twilight during a favorable appearance | Altitude and solar safety |
| Bright constellations | Late twilight or darkness | Season and orientation |
| Milky Way | Full darkness during a Moon-free interval | Low sky brightness and transparency |
| Galaxies and nebulae | Astronomical darkness | Moon below horizon and good transparency |
| Open clusters | Full darkness, although brighter clusters tolerate moonlight | Altitude and field of view |
| Meteor showers | The published peak period for that specific shower | Radiant altitude, Moon, weather, and open sky |
| Lunar eclipse | The calculated event time | Moon above the local horizon |
| Satellites | Often near dawn or dusk | Sunlit spacecraft against a darker sky |
A safety note for Mercury and Venus
Mercury and Venus can appear close to the Sun’s direction.
Never sweep near the Sun with binoculars or a telescope while searching for either planet. Accidental solar viewing through magnifying optics can cause immediate and permanent eye injury.
For ordinary evening or morning observation, wait until the Sun is safely below the horizon unless you are following a properly planned solar-safe method with suitable equipment and expertise.
Meteor showers require event-specific timing
Many major meteor showers become more productive after midnight because their radiant rises higher. This is not a universal rule for every shower.
NASA’s Orionids observing guidance, for example, recommends viewing during the hours after midnight. Other showers may have different peak times, radiant positions, or Moon conditions.
A shower cannot simply be postponed until the next new Moon. Observe near its real peak and then account for moonlight, weather, and local timing.
The CosmoBasics Five-Filter Night Window
The CosmoBasics Five-Filter Night Window is an editorial planning framework for choosing an observing period. It is not a scientific formula, peer-reviewed model, or guarantee of conditions.
The method asks five questions:
- Is the sky dark enough for the target?
- Is Moon interference acceptable?
- Is the target high and unobstructed?
- Is the weather suitable?
- Is the location safely and legally accessible?
Darkness: Bright planets and the Moon may be observed during twilight. Faint deep-sky targets generally require astronomical darkness.
Moon conditions: For faint targets, look for a period before moonrise, after moonset, or near new Moon. Bright targets are usually more tolerant of moonlight.
Target position: Determine when the target clears trees, buildings, hills, and bright horizon glow. The official rise time may be earlier than the first usable view.
Weather: Prefer the clearest available period, not merely the latest or theoretically darkest one.
Access and safety: Confirm opening hours, parking rules, legal access, road conditions, weather exposure, and a safe return plan.
The decision rule is simple:
The final start time is set by the last necessary condition to become favorable. The final end time is set by the first limiting condition to arrive.
This approach prevents one favorable factor—such as a new Moon—from hiding other practical problems such as cloud, low target altitude, or site closure.
Worked Example: Should You Observe Early or Wait Until Midnight?
Imagine an observer wants to view a faint star cluster.
The available planning information is:
| Condition | Time |
|---|---|
| Sunset | 8:00 p.m. |
| End of astronomical twilight | 9:35 p.m. |
| Target clears local trees | 9:50 p.m. |
| Moonrise | 11:10 p.m. |
| Increasing cloud expected | After midnight |
| Site closes | 12:30 a.m. |
Three choices are available.
Starting at 8:30 p.m. is convenient, but astronomical twilight has not ended. The cluster may be visible, although the brighter sky will reduce contrast.
Observing from 9:50 to 11:10 p.m. provides the strongest overlap. Twilight has ended, the target is unobstructed, the Moon is below the horizon, the weather remains favorable, and the site is open.
Waiting until midnight produces a weaker session. The Moon has risen, cloud is increasing, and only 30 minutes remain before the site closes.
The most useful observing window is therefore:
9:50 p.m. to 11:10 p.m.
The target clearing the trees determines the start. Moonrise determines the end.
These times are illustrative and are not a forecast for a real location or date.
Tonight’s Stargazing Window
Fill in the final column before leaving home.
| Planning item | Your information |
|---|---|
| Main target | |
| Backup target | |
| Sunset | |
| End of astronomical twilight | |
| Moon phase | |
| Moonrise or moonset | |
| Target clears local obstructions | |
| Target reaches a useful altitude | |
| Best hourly weather period | |
| Site closing time | |
| Planned arrival time | |
| Final observing window |
Use this sequence to make the final decision:
- If the target is bright, you may not need full darkness.
- If the target is faint, wait for astronomical darkness.
- If a bright Moon is present, check whether it will set.
- If the Moon rises later, use the earlier dark interval.
- If clouds are approaching, use the first clear opportunity.
- If the target remains low, wait until it rises higher.
- If the location closes first, choose another legal site or another night.
What Should You Check Before Leaving?
- Choose one main target and one backup target.
- Check sunset and astronomical twilight.
- Check Moon phase, moonrise, and moonset.
- Confirm the target’s direction and altitude.
- Compare the target’s path with trees, roofs, hills, and light domes.
- Review hourly cloud, visibility, wind, fog, smoke, and dew conditions.
- Check the location’s opening hours and rules.
- Confirm that parking and access are legal.
- Download maps or charts before losing mobile service.
- Pack warm layers, water, and a dim red light.
- Allow enough time for safe setup and dark adaptation.
- Plan a rested and safe return journey.
The National Park Service advises allowing approximately 20–30 minutes for the eyes to adjust to darkness after exposure to white light.
A dim red light is less disruptive than a bright white light, but it should still be used sparingly. An excessively bright red screen or flashlight can also reduce dark adaptation.
What Are the Most Common Timing Mistakes?
Treating sunset as full darkness
Sunset marks the Sun’s disappearance below the visible horizon, not the end of twilight.
Better approach: Check astronomical twilight when observing faint targets.
Checking Moon phase but not Moon position
A bright Moon may remain below the horizon during most of your session.
Better approach: Check phase, moonrise, moonset, altitude, and direction.
Assuming later must be better
Moonrise, cloud, fog, smoke, fatigue, and dew can make the second half of the night worse.
Better approach: Use the earliest period in which the important conditions overlap.
Ignoring target altitude
A dark sky does not help when the target is hidden behind trees or buried in a bright horizon glow.
Better approach: Find when the target becomes practically visible, not merely when it technically rises.
Trusting a daily weather icon
A general “clear” or “partly cloudy” label may not describe the actual observing hour.
Better approach: Review an hourly forecast and check the sky again before leaving.
Losing dark adaptation
Phone screens, vehicle headlights, porch lights, and bright flashlights reduce sensitivity to faint stars.
Better approach: Prepare charts in advance and minimize white-light exposure for 20–30 minutes.
How Can You Troubleshoot a Poor View?
| Problem | Likely causes | Practical response |
|---|---|---|
| Fewer stars than expected | Twilight, Moon, glare, haze, cloud, or poor dark adaptation | Wait for greater darkness, block direct light, or choose another date |
| Milky Way is not visible | Moonlight, light pollution, haze, or wrong seasonal position | Check Moon position, transparency, season, and site darkness |
| Planet looks blurry | Poor seeing, low altitude, incorrect focus, or warm equipment | Wait until it rises higher, refocus, and allow equipment to acclimate |
| Lens or eyepiece fogs | Dew formation | Use lens caps, a dew shield, or suitable dew-control equipment |
| Target cannot be found | Wrong time, direction, date, location, or chart setting | Verify time zone, orientation, location, and target altitude |
A disappointing view does not necessarily mean the forecast was wrong or the equipment is defective. Several small limitations can combine: incomplete darkness, a low target, thin cloud, direct glare, and insufficient dark adaptation.
Which Schedule Works Best for Different Observers?
Beginners and families: Start with a comfortable early-evening session and choose bright, recognizable targets. The Moon, Jupiter, Venus, major constellations, and bright star clusters do not always require the darkest part of the night.
A focused one-hour session is often more useful than an exhausting attempt to remain outside until midnight.
Urban observers: Prioritize the Moon, planets, double stars, and bright clusters. Observe when the target is high and face away from the brightest urban horizon.
Waiting for nearby lights to switch off may help, but large-scale city skyglow can remain all night.
Deep-sky observers: Prioritize astronomical darkness, a Moon-free period, good transparency, and a target near its highest altitude.
For faint objects, traveling to a darker legal site usually matters more than selecting a particular late-night clock time within a bright city.
Meteor watchers and astrophotographers: Meteor observers should follow the timing of the specific shower and choose a broad, unobstructed view.
Astrophotographers need additional time for focusing, alignment, test exposures, power checks, and equipment troubleshooting. Their practical imaging window may begin later than the visual observing window.
The Practical Answer
For faint objects, begin after astronomical twilight and use the strongest Moon-free, clear-weather interval available. For the Moon, bright planets, and major constellations, an earlier start may be equally productive and more convenient.
Wait until midnight only when the later hour genuinely improves target altitude, Moon conditions, weather, local lighting, or event timing.
The best time of night for stargazing is the clearest, darkest period when your chosen target is well positioned—not a universal hour on the clock.
Frequently Asked Questions
Can you stargaze immediately after sunset?
Yes, but the target matters.
The Moon, Venus, Jupiter, and the brightest stars may be visible during twilight. Faint stars, the Milky Way, galaxies, and nebulae become easier as the sky grows darker.
Never use binoculars or a telescope to sweep near the Sun while searching for a planet.
Is 2:00 a.m. better than 10:00 p.m. for stargazing?
Only when the relevant conditions improve after 10:00 p.m.
Two o’clock may be better if the Moon has set, the target has risen higher, or local lighting has decreased. It may be worse if fog, cloud, dew, fatigue, or moonrise becomes a problem.
Can you stargaze during a full Moon?
Yes. A full Moon is suitable for viewing the overall lunar disk, large maria, bright ray systems, planets, double stars, and prominent constellations.
It is less suitable for faint galaxies, diffuse nebulae, and the Milky Way. Crescent and quarter phases also tend to reveal stronger lunar surface relief because shadows are longer near the terminator.
What should you do if astronomical twilight never ends?
This can occur at high latitudes during local summer.
Concentrate on the Moon, bright planets, double stars, and the brightest constellations, or wait until later in the season when the Sun travels farther below the nighttime horizon.
How This Guide Was Prepared
This article is based on published astronomical definitions, public-science guidance, and practical planning criteria.
The Five-Filter method is an original CosmoBasics editorial framework designed to organize commonly available observing information. It is not a scientific formula, peer-reviewed forecasting model, or guarantee of sky conditions.
No hands-on test of a particular telescope, application, observing site, or commercial weather service is claimed.
Actual results vary with latitude, elevation, terrain, weather, artificial lighting, eyesight, equipment, site rules, and the selected celestial target.
Sources
U.S. Naval Observatory — Rise, Set, and Twilight Definitions
Definitions and practical limitations of civil, nautical, and astronomical twilight.NASA Science — Moon Phases
Moon phase geometry and typical rise-and-set behavior.NASA Science — Orionids Meteor Shower
An example of event-specific meteor-shower timing guidance.U.S. National Park Service — Stargazing in Zion
Guidance on moonlight, dark adaptation, and responsible observing preparation.National Weather Service — Hourly Weather Forecast
Instructions for accessing official hourly weather forecasts in the United States.World Meteorological Organization — Participating Meteorological Services
Links to official national meteorological and hydrological services worldwide.
More from Night Sky Guides
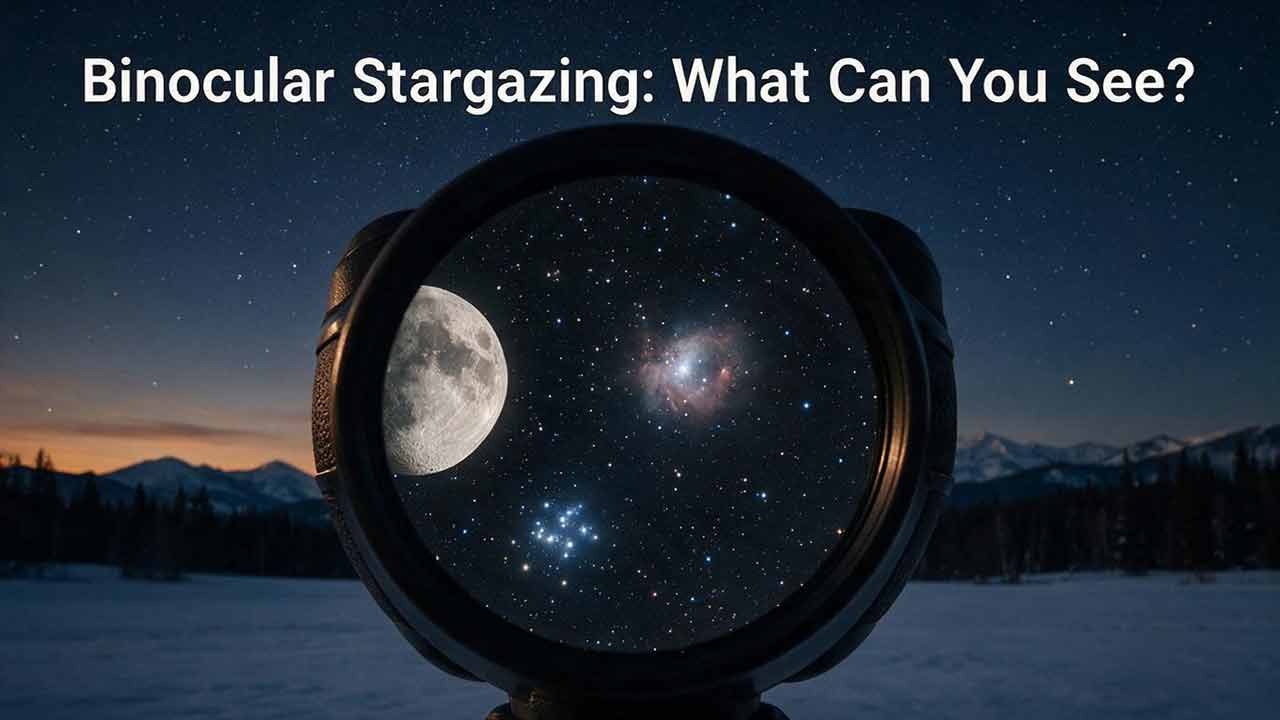
Binocular Stargazing: What Can You See?
This guide explains what beginners can realistically see through binoculars at night and how to get the most from a simple astronomy setup. It covers practical targets including the Moon, Jupiter’s Galilean moons, open star clusters, nebulae, galaxies, Milky Way star fields, and bright comets. The article compares common binocular sizes such as 8x42 and 10x50, explains how magnification, objective diameter, exit pupil, and stability affect observations, and provides a practical framework for choosing suitable targets. It also introduces original tools including a Binocular Target Fit Score, a Jupiter moon tracking table, and a visibility log to help observers understand whether limitations come from sky conditions, target size, or equipment handling. Based on NASA guidance, professional astronomy resources, and official optical documentation, this article focuses on realistic expectations rather than exaggerated views, helping beginners build better observing habits and decide when binoculars are enough or when a telescope may be the next step.
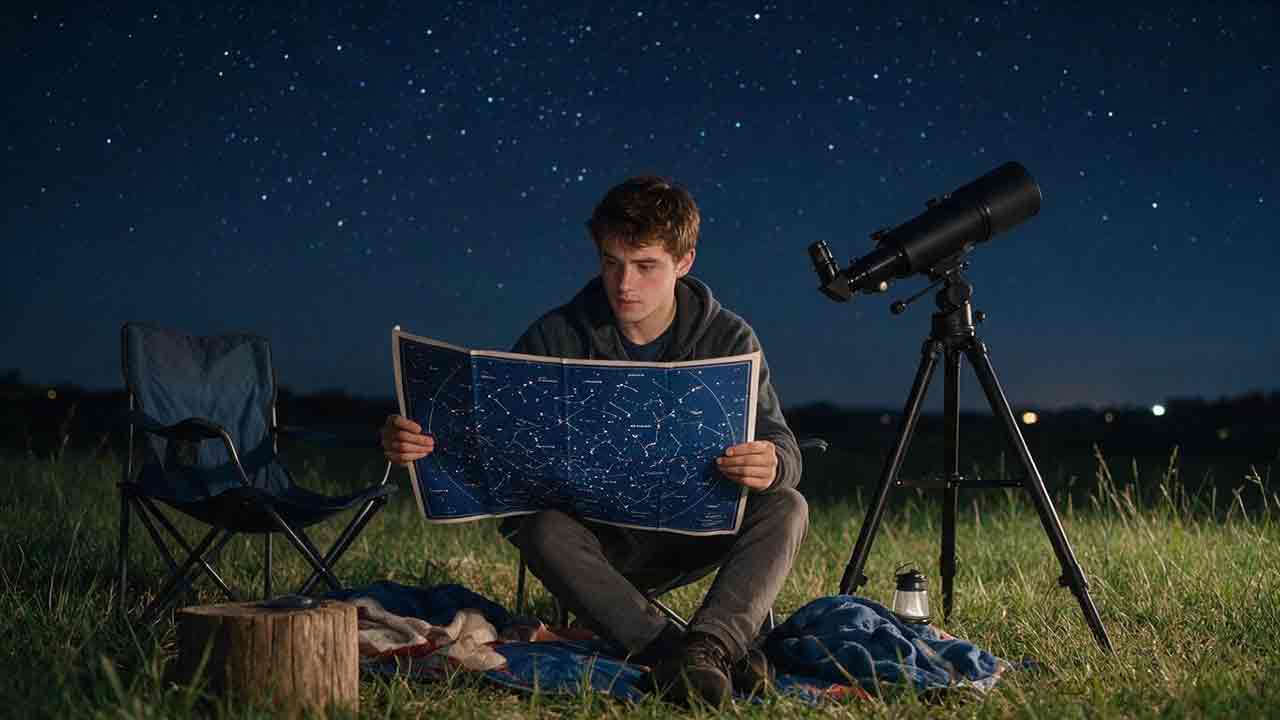
How to Read a Star Chart
Learning how to read a star chart becomes much easier once you understand how the flat map relates to the curved sky above you. This practical beginner’s guide explains how to select the right chart, set the correct location and observing time, align the chart with the horizon, and identify reliable starting points using bright stars and recognizable patterns. It introduces the Three-Anchor Verification Method, which checks direction, brightness, and nearby-star geometry before an identification is accepted. Readers will also learn how magnitude symbols, celestial coordinates, angular distances, planispheres, binocular charts, and telescope finder charts work. A five-minute field exercise, an Orion example, troubleshooting guidance, and a first-night checklist turn the explanations into a repeatable observing process. The guide also addresses light pollution, chart projection distortion, mirrored telescope views, moving planets, and essential solar-viewing safety. It is designed to help beginners move confidently from one confirmed landmark to their first successful star hop.
What Can You See in the Night Sky Without a Telescope?
You do not need a telescope to begin exploring the night sky. This practical guide explains which objects can be seen with unaided eyes, from the Moon, Mercury, Venus, Mars, Jupiter, and Saturn to bright stars, constellations, star clusters, meteors, and artificial satellites. It also describes the darker conditions needed to find the Milky Way, the Andromeda Galaxy, the Orion Nebula, and the Magellanic Clouds. Readers will learn what these objects realistically look like, why astronomical photographs show more color and detail than human vision, and how light pollution, moonlight, altitude, haze, season, and latitude affect visibility. The guide includes a Naked-Eye Visibility Ladder, a realistic 30-minute observing session, location-based target recommendations, a practical checklist, and troubleshooting advice. It also clearly separates dependable beginner targets from advanced challenges while providing essential safety guidance for solar and daytime observing.
Explore More Topics
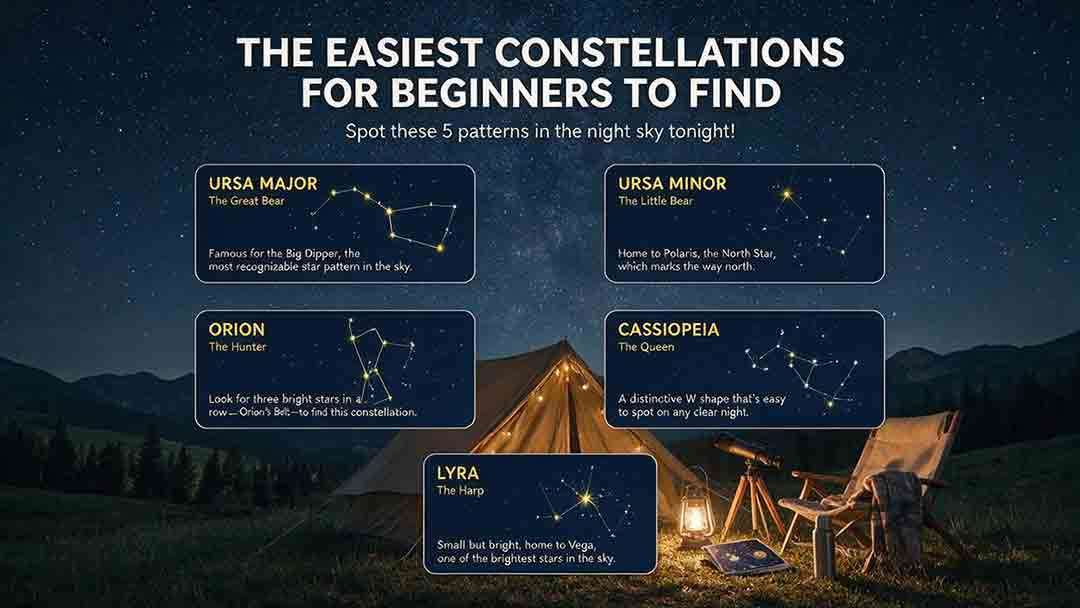
The Easiest Constellations for Beginners to Find
This beginner-friendly guide explains how to find Orion, Ursa Major through the Big Dipper, Cassiopeia, Cygnus, and Scorpius using clear naked-eye observing steps. It compares each pattern through an original Beginner Visibility Score and shows readers how to choose a first target based on season, latitude, light pollution, moonlight, and horizon visibility. The guide also clarifies the difference between constellations and asterisms, explains how the Big Dipper can point toward Polaris, and provides dedicated recommendations for Southern Hemisphere observers, including Crux. Practical tools include the Anchor-Pattern Method, the Three-Check Rule, a 10-minute observing session, city-sky guidance, troubleshooting advice, an equipment comparison, and a safety checklist. Authoritative references from the International Astronomical Union, NASA, NSF NOIRLab, and the European Southern Observatory support the key astronomical facts.
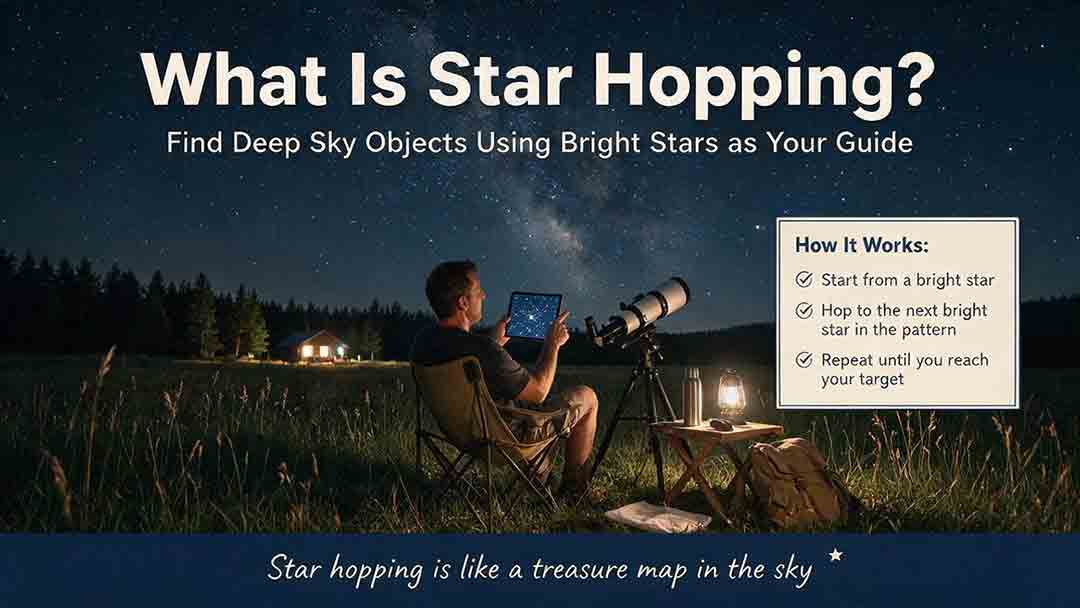
What Is Star Hopping and How Do You Do It?
Star hopping is a practical way to navigate the night sky by moving from a bright, recognizable star to a fainter target through a sequence of visible star patterns. This guide explains how beginners can plan a reliable route, align a finder, match a star chart to a telescope’s field of view, and recognize rotated or mirror-reversed images. It introduces the Anchor–Path–Field–Confirm method, provides a step-by-step observing process, and shows how field-of-view estimates can help determine a practical chart scale. A worked example demonstrates how to locate Messier 13 using the Keystone of Hercules, while the troubleshooting table addresses common problems such as finder misalignment, excessive magnification, incorrect chart orientation, and targets that remain invisible despite correct pointing. The included field checklist gives binocular and telescope users a repeatable method for planning and completing future star hops.
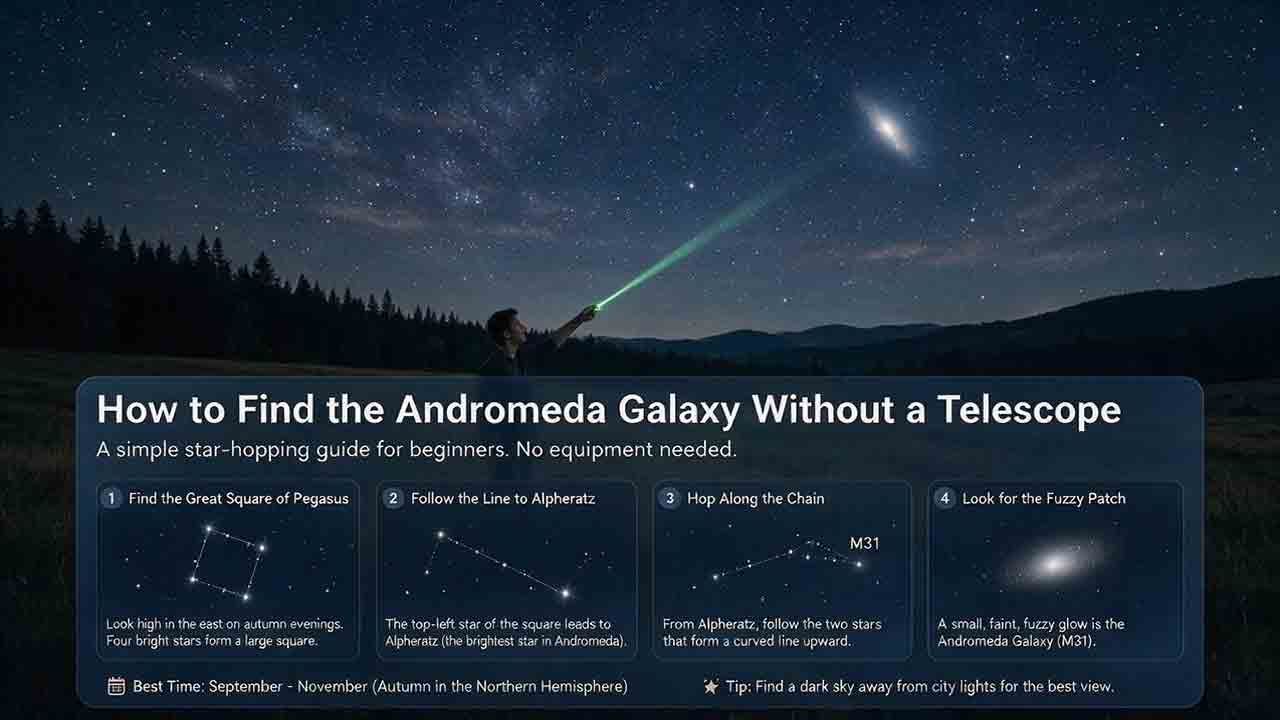
How to Find the Andromeda Galaxy Without a Telescope
Finding the Andromeda Galaxy without a telescope is possible when you know which stars to use as landmarks. This practical guide explains how to start at the Great Square of Pegasus, identify Alpheratz, follow the Andromeda star chain to Mirach, and use two nearly equal short hops to reach Mu Andromedae and M31. It also explains what the galaxy realistically looks like to the naked eye, why dark skies and averted vision matter, and how binoculars can help confirm the target. Beginners can use the six-point observing checklist, three-night practice method, troubleshooting guidance, and reusable observation log to improve each attempt. The guide distinguishes calculated angular distances from practical field estimates and clearly explains its source-checking process without claiming personal testing. It is designed primarily for Northern Hemisphere observers while also addressing visibility limitations from Southern Hemisphere locations.