How to Read a Star Chart

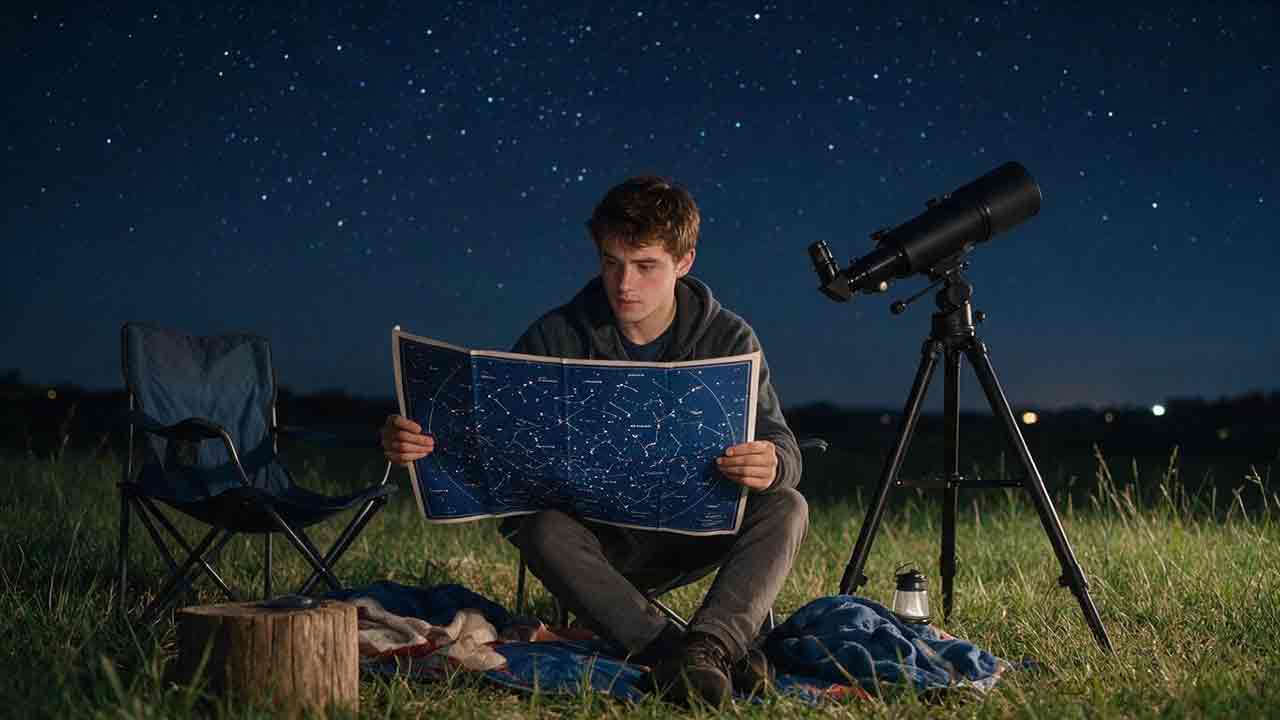
To read a star chart, set it for your location, date, and observing time, then rotate it so the horizon direction you are facing appears at the bottom. Match one bright star pattern, confirm its direction, brightness, and surrounding geometry, and move toward your target through short, recognizable steps rather than one long guess.
Key Takeaways
- Use a chart designed for your location or latitude, date, and local time.
- On a horizon-based all-sky chart, place the direction you are facing at the bottom.
- Start with bright stars and simple geometric patterns, not constellation artwork.
- Confirm an identification using direction, brightness, and nearby-star geometry.
- Check a current digital chart when looking for planets because their positions change.
A star chart becomes useful when you stop treating it like a road map. It represents the curved sky above and around you, so it must be oriented to your horizon before the printed patterns will make sense.
This guide explains the process from the first chart setting to a successful star hop. It also includes a five-minute field exercise, a chart-selection framework, a worked Orion example, and a practical system for diagnosing a chart that does not seem to match the sky.
What Does a Star Chart Show?
A star chart is a map of stars and other celestial objects as they appear on the imaginary celestial sphere surrounding Earth.
Different charts are made for different purposes. A beginner’s monthly sky map may show only bright stars and constellation lines, while a telescope atlas can contain thousands of stars, coordinate grids, and symbols for galaxies, nebulae, and star clusters.
The International Astronomical Union recognizes 88 constellations as defined regions that together cover the entire celestial sphere. The stick figures drawn between stars are optional visual guides; the official constellation boundaries are areas of sky.
Common Star Chart Features
| Chart feature | What it represents | How to use it |
|---|---|---|
| Large and small star dots | Relative apparent brightness | Begin with the largest plotted stars |
| Star names | Named bright or notable stars | Use them as navigation anchors |
| Constellation lines | Suggested patterns connecting stars | Compare the geometry rather than the imagined figure |
| Constellation boundaries | Officially defined areas of sky | Determine which constellation contains an object |
| Cardinal directions | North, east, south, and west | Rotate a horizon-based chart toward the direction you face |
| Edge of a circular all-sky chart | Sky near the horizon | Objects near the edge generally appear lower |
| Center of a horizon-based all-sky chart | Sky near the zenith | Objects near the center generally appear higher |
| Ecliptic | The Sun’s apparent yearly path | Look near it for the Moon and major planets |
| Magnitude key | The brightness range represented by each symbol size | Estimate which stars should be easiest to see |
| Coordinate grid | Altitude–azimuth or right ascension–declination | Locate objects more precisely |
| Deep-sky symbols | Clusters, nebulae, and galaxies | Check the legend because symbols differ among charts |
The edge–horizon and center–zenith relationship applies to circular charts that depict the visible sky above a local horizon. It does not apply to every atlas page, telescope field chart, equatorial map, or custom finder chart.
Always read the chart legend before interpreting its symbols or orientation.
How to Read a Star Chart Step by Step
The most dependable method moves from large, unmistakable features toward smaller and fainter targets.
1. Choose a Chart That Fits the Task
Before going outside, check whether the chart is appropriate for:
- Your hemisphere and approximate latitude
- The current date
- Your local observing time
- Naked-eye, binocular, or telescope use
- The amount of visible detail
- The object you want to find
A planisphere designed for one latitude range may show an inaccurate horizon when used far outside that range. A detailed telescope atlas may also show so many faint stars that it becomes confusing during a naked-eye session.
For a digital planetarium, verify the observing location, time zone, date, and time. The official Stellarium documentation describes a configurable sky that changes with location and time; incorrect settings can place objects in the wrong part of the displayed sky.
2. Identify the Direction You Are Facing
Use a compass, a calibrated phone compass, or a familiar landscape reference to establish north, east, south, and west.
Phone compasses can be affected by:
- Cars
- Metal railings
- Speakers or magnets
- Reinforced structures
- Some electronic equipment
If the displayed direction seems inconsistent with the landscape, move away from nearby metal and recalibrate the device.
3. Rotate the Chart Toward the Horizon
For a horizon-based circular all-sky chart, move the direction you are facing to the bottom.
For example:
- Facing south: place South at the bottom.
- Facing east: place East at the bottom.
- Facing west: place West at the bottom.
- Facing north: place North at the bottom.
The lower edge now corresponds to the horizon in front of you. The region near the chart’s center corresponds roughly to the sky overhead.
NASA’s Create a Star Wheel activity uses the same operating principle: set the date and time, locate the desired constellation, turn the closest horizon to the bottom, and hold the map toward the sky.
Why Does East Sometimes Appear on the Left?
On many celestial charts with north at the top, east appears on the left because the chart represents a view outward at the sky rather than a view downward at Earth.
After you rotate an all-sky chart toward the horizon you are facing, its directions should make sense from that viewing position. For example, when facing south in the Northern Hemisphere, east is physically to your left.
Do not memorize “east is always left” as a universal rule. Atlas projections, telescope views, finder scopes, photographs, and software displays may be rotated or mirrored. Trust the printed direction labels and chart legend.
Expect Some Projection Distortion
An all-sky chart flattens a curved dome of sky onto a page or screen. No flat projection can preserve every shape, angle, and distance perfectly across the entire sky.
Depending on the projection:
- Patterns near the edge may look stretched.
- Some star separations may appear compressed.
- Low-altitude constellations may look wider or narrower than expected.
- A familiar shape may seem distorted close to the horizon.
Use the chart’s directions and approximate angular separations rather than expecting every printed pattern to reproduce the real sky exactly.
4. Select One Bright Anchor
Do not begin with a faint star, galaxy, or unfamiliar deep-sky object.
Choose an obvious starting point such as:
- The Moon
- A bright named star
- A distinctive row or triangle
- A familiar asterism
- A bright planet confirmed on a current chart
The brightest point in the sky is not necessarily a star. Venus and Jupiter can appear brighter than nearly every star, and their positions will not remain fixed on a reusable printed chart.
5. Compare Geometry, Not Constellation Artwork
Constellation illustrations often make the sky look more organized than it appears outdoors.
Instead of searching for a hunter, lion, swan, or scorpion, look for basic geometry:
- Three stars in a row
- A broad triangle
- A curved arc
- A rectangle
- A compact diamond
- Two stars pointing toward a third
- A bright star beside a fainter pair
Compare relative spacing and angles. The pattern may appear tilted, sideways, enlarged, or almost upside down.
6. Move in Short Star Hops
Star hopping means navigating from a known star or pattern to another object through a sequence of recognizable intermediate steps.
A simple route might be:
- Start at a bright anchor star.
- Find two nearby stars that form a triangle with it.
- Follow a short line or curve toward the next pattern.
- Compare the spacing with the chart.
- Confirm the new pattern before continuing.
Short hops are more reliable than estimating one large jump across an unfamiliar part of the sky.
7. Confirm the Identification
Do not accept a match because one bright star appears to be in roughly the right place.
Confirm:
- The correct horizon direction
- Approximately correct brightness
- The correct arrangement of nearby stars
This is the basis of the Three-Anchor Verification Method.
The Three-Anchor Verification Method
The Three-Anchor Verification Method is a practical framework for reducing false identifications.
Before deciding that you have found a star, constellation, or starting point, check three independent anchors.
| Anchor | Question to ask | Typical mistake |
|---|---|---|
| Direction | Is the target in the correct part of the sky? | Looking southeast when the target is southwest |
| Brightness | Is it roughly as prominent as the chart suggests? | Mistaking a bright planet for a charted star |
| Geometry | Do at least two neighboring stars match the expected pattern? | Matching one isolated star by coincidence |
The Confidence Rule
- 0–1 matching anchors: Reset and choose a new starting point.
- 2 matching anchors: The identification is plausible but not secure.
- 3 matching anchors: You have a strong practical identification.
This is an editorial observing framework, not a formal scientific classification system. Its value is that it prevents one attractive but weak clue from deciding the entire match.
Under light pollution, some faint stars may be invisible. Direction and the geometry of the remaining bright stars can still provide a useful confirmation.
A Five-Minute Chart-to-Sky Exercise
This exercise teaches the essential movement from a flat chart to the real sky.
Minute 1: Set the Chart
Confirm:
- Observing location
- Approximate latitude
- Date
- Local time
- Time zone
For a planisphere, align the date with the observing time. For an app, confirm that automatic time and location settings are correct.
Minute 2: Choose One Clear Horizon
Pick a direction that is not heavily blocked by:
- Buildings
- Trees
- Hills
- Bright signs
- Direct street lighting
Confirm the direction with a compass or known landmark.
Minute 3: Rotate the Chart
Place the chosen horizon direction at the bottom.
For a circular all-sky chart, compare the lower edge with the real horizon and the center with the region overhead.
Minute 4: Match One Bright Pattern
Find the brightest plotted star or clearest pattern in that section of the chart.
Then locate two neighboring stars and compare:
- Their spacing
- Their relative brightness
- The angle they form with the anchor
Minute 5: Record the Result
Write down:
- Date and time
- Direction faced
- Anchor star or pattern
- Two confirming stars
- Any mismatch you noticed
One well-supported identification is more useful than several uncertain guesses.
Which Type of Star Chart Should You Use?
The best chart is the simplest one that still shows enough detail for your target.
| Chart type | Best use | Main advantage | Main limitation |
|---|---|---|---|
| Monthly all-sky map | First naked-eye sessions | Simple and easy to scan | Accurate only for a stated date or time range |
| Planisphere | Learning seasonal constellations | Reusable and battery-free | Must suit the observer’s approximate latitude |
| Mobile or web planetarium | Current planets and changing objects | Adjustable for place and time | Screen glare and sensor errors |
| Printed star atlas | Binocular and telescope navigation | Detailed and stable | Requires more practice |
| Custom finder chart | Locating one specific object | Focused and uncluttered | Covers only a small area |
| Telescope-control chart | Computer-assisted observing | Integrates coordinates and equipment | More complex than most beginners need |
A Practical Selection Framework
Choose a monthly all-sky map when you want to identify a few bright constellations tonight.
Choose a planisphere when you want to learn seasonal sky patterns without relying on a phone.
Choose a digital planetarium when you need the current positions of the Moon, planets, comets, or other moving solar-system objects.
Choose a detailed atlas or finder chart when navigating with binoculars or a telescope.
A useful combination is to plan indoors with a digital chart and observe outdoors with a simplified printed map. This provides accurate time-dependent information without making the entire session dependent on a bright screen or phone compass.
Reading Star Brightness Symbols
Apparent magnitude describes how bright an astronomical object appears from Earth.
The scale runs in the opposite direction from what many beginners expect:
- Lower numbers mean brighter objects.
- Negative values indicate especially bright objects.
- Higher positive values indicate fainter objects.
A difference of five magnitudes corresponds to a factor of exactly 100 in apparent brightness. The American Association of Variable Star Observers provides a detailed explanation of the modern magnitude scale.
Most star charts represent brightness by changing the size of the plotted star symbol:
- Large dot: brighter star
- Medium dot: moderately bright star
- Small dot: fainter star
The dot does not represent the star’s physical size. It is a graphic code for apparent brightness.
Different charts use different symbol scales, so check the magnitude legend before estimating how visible a plotted star should be.
Why a Plotted Star May Be Missing
A star shown on the chart may be hidden by:
- Artificial light
- Moonlight
- Haze or smoke
- Thin cloud
- Humidity
- Low altitude
- Limited dark adaptation
- A bright flashlight or phone screen
- A chart that extends beyond your sky’s visible magnitude limit
A missing faint star does not automatically mean the brighter pattern is wrong. Recheck direction and large-scale geometry first.
Celestial Coordinates for Beginners
You do not need to master celestial coordinates before using a basic star chart. However, recognizing the terms makes detailed maps and telescope instructions easier to understand.
Altitude and Azimuth
Altitude is an object’s angular height above the horizon.
- Horizon: 0°
- Halfway to the zenith: about 45°
- Zenith: 90°
Azimuth describes direction around the horizon, usually measured clockwise from north.
- North: 0°
- East: 90°
- South: 180°
- West: 270°
Altitude and azimuth depend on the observer’s location and change as Earth rotates.
Right Ascension and Declination
Declination, abbreviated Dec, is similar to latitude. It is measured north or south of the celestial equator.
- Celestial equator: 0°
- North celestial pole: +90°
- South celestial pole: −90°
Right ascension, abbreviated RA, is similar to longitude but is usually measured in hours, minutes, and seconds.
The full celestial circle contains 24 hours of right ascension, so one hour of RA corresponds to 15 degrees. NASA explains these coordinate systems in its guide to celestial reference systems.
| Coordinate system | Coordinates | Best use |
|---|---|---|
| Altitude–azimuth | Height above horizon and compass direction | Describing where a local observer should look now |
| Right ascension–declination | Coordinates fixed to the celestial sphere | Catalogs, atlases, telescope mounts, and object databases |
For a beginner’s first observing session, horizon directions and recognizable star patterns are generally more useful than RA and Dec.
Measuring Angular Distance by Hand
Distances in the sky are described as angular separations rather than kilometers or miles.
A complete circle contains 360°. The arc from the horizon to the zenith is 90°.
At arm’s length, your hand can provide approximate measurements:
| Hand reference | Approximate angle |
|---|---|
| Little-finger width | 1° |
| Three middle fingers | About 5° |
| Closed fist | About 10° |
| Thumb-to-little-finger span | About 20°–25° |
NASA’s Night Sky Network describes these hand measurements as approximate tools rather than precision instruments in Measure the Night Sky.
Worked Example
Suppose your chart places a target approximately 25° from a bright anchor star.
Using a closed fist as roughly 10°:
- One fist: about 10°
- Two fists: about 20°
- Another half-fist: about 25°
The target should be roughly two and a half fist widths from the anchor.
This narrows the search area but does not confirm the target. Apply the Three-Anchor Verification Method after making the estimate.
Calibrate Your Own Hand
Hand proportions and observing technique vary from person to person.
For more consistent estimates:
- Hold your arm fully extended.
- Compare your hand span with a known star separation.
- Record what your fist or finger width covers.
- Use that personal estimate consistently.
Do not identify an object using hand measurement alone. Direction and surrounding geometry remain essential.
Orion as a Worked Example
Orion is a useful practice constellation because its belt forms a compact row of three stars.
The apparent orientation of Orion changes with:
- Season
- Time of night
- Latitude
- Position above the horizon
The constellation may appear upright, tilted, horizontal, or close to upside down.
How to Confirm Orion
- Use a current chart to determine where Orion should be visible.
- Rotate that horizon direction to the bottom.
- Find three moderately bright stars in a short, nearly straight row.
- Look for brighter stars on opposite sides of the row.
- Compare the proportions of the larger pattern.
- Check whether nearby plotted stars occupy the expected positions.
Orion’s Belt supplies a strong geometry anchor. The surrounding bright stars provide the second level of confirmation.
If the belt is clear but much of Orion’s outline is missing, light pollution, haze, or moonlight may be hiding the fainter stars.
Using a Star Chart with Binoculars
Begin with the unaided eye before lifting the binoculars.
A dependable sequence is:
- Identify the anchor star without optical aid.
- Note the direction of the next charted pattern.
- Estimate the angular separation.
- Raise the binoculars without changing your body position.
- Locate the same anchor in the binocular field.
- Move through short pairs, curves, chains, or triangles.
- Lower the binoculars and reset if you lose your position.
Binoculars reveal many stars that are invisible to the unaided eye. A simple all-sky map may therefore show too little detail once you look through them.
Use a binocular atlas or finder chart that plots fainter stars, but avoid a chart so dense that the visible field becomes difficult to recognize.
For suitable first targets, see Binocular Stargazing: What Can You See?
Using a Star Chart with a Telescope
Telescope star hopping usually requires a more detailed chart and shorter movements.
Start with a star that is easy to recognize in the finder scope. Move toward the target through small patterns, confirming the field after each adjustment.
Expect the View to Rotate or Reverse
Depending on the telescope, diagonal, finder, and other accessories, the view may be:
- Upright
- Rotated
- Inverted
- Reversed left to right
- Both inverted and reversed
There is no single orientation rule for all optical systems.
At night, center a bright star and gently move the telescope in one direction. Observe which way the star appears to move in the eyepiece, then compare that motion with the chart or software display.
A distant terrestrial object can also be used during daylight, but it must be well away from the Sun. Do not sweep an optical instrument across the daytime sky near the Sun.
Solar safety warning: Never look at the Sun through binoculars, a finder scope, a telescope, or a camera lens without a securely attached, purpose-built solar filter mounted at the front of the optics. Ordinary sunglasses, clouds, smoked glass, eclipse glasses worn behind magnifying equipment, and eyepiece-end filters do not make unfiltered magnified viewing safe. The American Astronomical Society provides detailed guidance on solar filters for telescopes, binoculars, and cameras.
During properly supervised solar observing, all finder scopes and auxiliary optics must also be capped, removed, or safely filtered. Children should be supervised by an adult who understands the equipment and solar-viewing procedures.
Troubleshooting a Chart–Sky Mismatch
If the chart and sky do not agree, check the setup systematically before assuming the chart is inaccurate.
| What you see | Likely cause | What to do |
|---|---|---|
| The entire pattern looks rotated | Chart is not aligned with the horizon | Put the direction you face at the bottom |
| The expected constellation is absent | Wrong date, time, latitude, or hemisphere | Recheck all chart settings |
| The pattern matches but looks stretched | All-sky projection distortion near the edge | Compare angles and neighboring stars, not exact shape |
| Only the brightest stars are visible | Light pollution, haze, cloud, or moonlight | Use a simpler bright-star chart |
| A brilliant point is absent from the chart | It may be a planet | Check a current planetarium display |
| Too many stars appear in binoculars | Chart does not plot faint enough | Use a binocular atlas or deeper finder chart |
| The telescope field looks mirrored | Optical equipment changes the orientation | Rotate or mirror the chart display |
| A phone app points the wrong way | Compass interference or poor calibration | Move away from metal and recalibrate |
| A low target is difficult to recognize | Obstruction, haze, refraction, or chart-edge distortion | Choose a target higher in the sky |
| Stars fade after checking the chart | Screen or flashlight is too bright | Reduce brightness and use restrained red light |
| A pattern has moved since you found it | Earth’s rotation changed its position | Update the chart time and reorient it |
Common Mistakes to Avoid
The most frequent errors are:
- Holding the chart like a ground map with north permanently at the top
- Beginning with a target that is too faint
- Searching for constellation artwork instead of star geometry
- Ignoring date, time, or latitude
- Assuming every bright object is a star
- Using a chart with too much or too little detail
- Accepting one matching star as proof
- Attempting a long star hop without checkpoints
- Repeatedly viewing a bright screen
When uncertain, return to the last confirmed anchor rather than continuing from a questionable position.
Reading a Star Chart Under Light Pollution
Light pollution hides faint stars but does not change the relative positions of the brighter stars that remain visible.
Use a bright-star strategy:
- Find the brightest object in the correct direction.
- Check whether it may be a planet.
- Locate a second bright star.
- Compare their approximate separation.
- Add a third star to form a line or triangle.
- Ignore faint printed stars that are not visible.
- Continue only after the large-scale geometry agrees.
A detailed dark-sky atlas may be less useful in a city than a simple chart with a brighter limiting magnitude.
For realistic naked-eye targets, see What Can You See in the Night Sky Without a Telescope?
A Simple Star-Chart Field Log
A short record helps you learn which clues were reliable and where confusion began.
| Field | What to record |
|---|---|
| Date and local time | When the observation took place |
| General location | City, region, or approximate latitude—not a private address |
| Sky conditions | Clear, hazy, partly cloudy, bright Moon, or urban light |
| Chart type | Planisphere, monthly map, app, atlas, or finder chart |
| Direction faced | North, east, south, or west |
| First anchor | Bright star, Moon, planet, or asterism |
| Direction match | Yes, no, or uncertain |
| Brightness match | Yes, no, or uncertain |
| Geometry match | Yes, no, or uncertain |
| Result | Confirmed, probable, or reset required |
| Next useful step | Repeat the target or attempt one short star hop |
This log is a practical observation tool, not a scientific data sheet. Its purpose is to make your own navigation process repeatable without inventing certainty where the sky or chart was ambiguous.
Your First-Night Checklist
Before You Go Outside
- Check cloud cover and weather conditions.
- Choose a legal, accessible, and safe observing location.
- Use a chart suited to the correct hemisphere or latitude.
- Set the correct date, local time, and time zone.
- Choose one bright constellation or pattern.
- Bring suitable clothing and stable footwear.
- Pack a dim red flashlight.
- Bring binoculars only if they suit the planned target.
At the Observing Site
- Confirm the direction you are facing.
- Rotate that direction to the bottom of the all-sky chart.
- Select one bright anchor.
- Confirm two neighboring stars.
- Check direction, brightness, and geometry.
- Complete one short star hop.
- Record the result.
Night-Site Safety
Avoid road shoulders, vehicle routes, steep terrain, restricted property, and unfamiliar isolated areas.
Red light can help preserve dark adaptation, but it may not reveal every obstacle. Use adequate lighting while walking, setting up equipment, or crossing uneven ground.
The Practical Conclusion
Learning to read a star chart is not a test of how many star names you can memorize. The core skill is building a chain of reliable matches between the printed chart and the real sky.
For your first session:
- Set the correct location and time.
- Face one clear horizon.
- Rotate the chart toward that horizon.
- Match one bright pattern.
- Confirm all three anchors.
- Make one short star hop.
New observers can continue with How to Start Stargazing: A Beginner’s Guide. Northern Hemisphere observers who want a dependable navigation landmark can practice with How to Find the North Star.
Stop after one or two successful matches rather than turning the session into a long list of uncertain targets. Familiarity grows more quickly from repeated, confirmed observations than from guessing across the entire sky.
Frequently Asked Questions
Can I use the same star chart all year?
A complete atlas can contain stars visible in every season, but a fixed all-sky view does not automatically show which part of the sky is above your horizon at a particular date and time. A planisphere, monthly chart, or digital planetarium is more convenient for routine year-round observing.
Why does a constellation look upside down?
Constellations do not have a permanently upright orientation. Their apparent angle changes as Earth rotates, as they cross different parts of the sky, and as observers view them from different latitudes. Rotate the chart toward the horizon instead of expecting the constellation to match a fixed illustration.
Do printed star charts show planets?
Some monthly maps include planets for a specific date, but reusable planispheres and static atlases generally cannot show permanent planet positions. Planets move relative to the background stars, so use a current chart or correctly configured planetarium when an unusually bright point is missing from the printed map.
Why can’t I see every star printed on the chart?
The chart may include stars fainter than your conditions allow you to see. Artificial light, moonlight, haze, smoke, thin cloud, low altitude, limited dark adaptation, and individual vision differences can all reduce visibility. Match the brighter geometry first and treat faint stars as additional confirmation.
Do I need right ascension and declination to find constellations?
No. Beginners can locate bright constellations using horizon directions, relative brightness, geometric patterns, and angular distance. Right ascension and declination become more useful with detailed atlases, object catalogs, equatorial mounts, and telescope targets requiring precise coordinates.
How accurate are hand measurements in the sky?
They are rough estimates rather than precision measurements. A fist at arm’s length is often treated as approximately 10°, but individual hand proportions and technique vary. Calibrate your own hand, use the measurement to narrow the search area, and confirm the target through direction and surrounding geometry.
How This Guide Was Reviewed
This guide was reviewed on August 3, 2026, against authoritative astronomy and safety references covering:
- The official number and definition of constellations
- Star-wheel and all-sky-chart orientation
- Horizon, zenith, altitude, and azimuth
- Right ascension and declination
- The apparent-magnitude scale
- Approximate hand-based angular measurements
- Digital planetarium location and time settings
- Solar-filter safety for magnifying optical equipment
Specific planet positions were intentionally excluded because they change with date, time, and observing location. Readers should use a current chart or properly configured planetarium program for moving solar-system objects.
The Three-Anchor Verification Method, its confidence rule, the Five-Minute Chart-to-Sky Exercise, and the field-log format are original editorial frameworks created for this guide. They organize established observing practices into repeatable beginner tools. They are not formal astronomical standards, controlled research results, or evidence of product testing.
This article does not claim hands-on testing of a specific star chart, app, binocular, telescope, or optical accessory.
Sources
International Astronomical Union — The Constellations
Official background on the 88 recognized constellations and their defined boundaries.NASA Science — Create a Star Wheel Activity
Instructions for setting a star wheel and placing the relevant horizon at the bottom.NASA Science — Reference Systems
Definitions of the celestial sphere, zenith, right ascension, declination, altitude, and azimuth.American Association of Variable Star Observers — Magnitudes
Explanation of apparent magnitude and the brightness relationship between magnitude values.Stellarium — Official Astronomy Software
Official information about location-aware, time-adjustable planetarium displays and chart features.NASA Night Sky Network — Measure the Night Sky
Approximate angular measurements using fingers and hands at arm’s length.American Astronomical Society — Solar Filters for Optics
Safety guidance for using solar filters with telescopes, binoculars, cameras, and finder scopes.
More from Night Sky Guides
What Is the Best Time of Night for Stargazing?
The best time of night for stargazing is not a fixed hour such as midnight. It is the clearest, darkest period when the Moon causes minimal interference and your chosen target is high enough above the horizon. This practical guide explains how astronomical twilight, moonrise and moonset, target altitude, cloud cover, transparency, atmospheric seeing, light pollution, season, and latitude affect observing conditions. It also introduces the CosmoBasics Five-Filter Night Window, a straightforward planning framework for combining darkness, Moon conditions, target position, weather, and safe site access. Readers can use the included worked example, decision guidance, checklist, and fill-in planning table to calculate a realistic observing window for a specific night. Separate recommendations cover the Moon, planets, the Milky Way, galaxies, nebulae, meteor showers, beginners, urban observers, families, and astrophotographers, with safety guidance for observing Mercury and Venus near the Sun’s direction.
Binocular Stargazing: What Can You See?
This guide explains what beginners can realistically see through binoculars at night and how to get the most from a simple astronomy setup. It covers practical targets including the Moon, Jupiter’s Galilean moons, open star clusters, nebulae, galaxies, Milky Way star fields, and bright comets. The article compares common binocular sizes such as 8x42 and 10x50, explains how magnification, objective diameter, exit pupil, and stability affect observations, and provides a practical framework for choosing suitable targets. It also introduces original tools including a Binocular Target Fit Score, a Jupiter moon tracking table, and a visibility log to help observers understand whether limitations come from sky conditions, target size, or equipment handling. Based on NASA guidance, professional astronomy resources, and official optical documentation, this article focuses on realistic expectations rather than exaggerated views, helping beginners build better observing habits and decide when binoculars are enough or when a telescope may be the next step.
What Can You See in the Night Sky Without a Telescope?
You do not need a telescope to begin exploring the night sky. This practical guide explains which objects can be seen with unaided eyes, from the Moon, Mercury, Venus, Mars, Jupiter, and Saturn to bright stars, constellations, star clusters, meteors, and artificial satellites. It also describes the darker conditions needed to find the Milky Way, the Andromeda Galaxy, the Orion Nebula, and the Magellanic Clouds. Readers will learn what these objects realistically look like, why astronomical photographs show more color and detail than human vision, and how light pollution, moonlight, altitude, haze, season, and latitude affect visibility. The guide includes a Naked-Eye Visibility Ladder, a realistic 30-minute observing session, location-based target recommendations, a practical checklist, and troubleshooting advice. It also clearly separates dependable beginner targets from advanced challenges while providing essential safety guidance for solar and daytime observing.
Explore More Topics
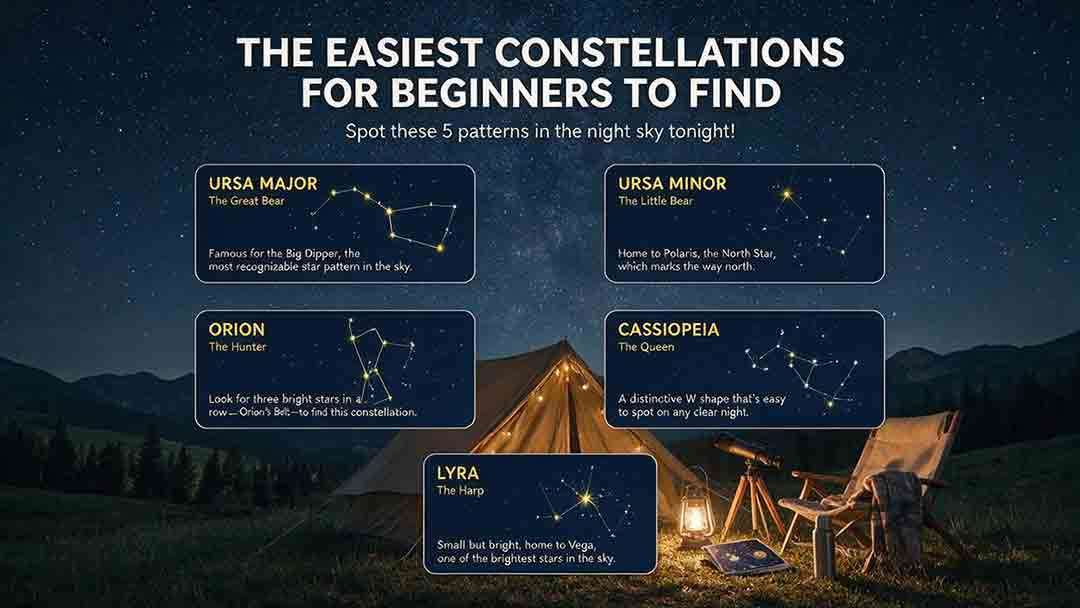
The Easiest Constellations for Beginners to Find
This beginner-friendly guide explains how to find Orion, Ursa Major through the Big Dipper, Cassiopeia, Cygnus, and Scorpius using clear naked-eye observing steps. It compares each pattern through an original Beginner Visibility Score and shows readers how to choose a first target based on season, latitude, light pollution, moonlight, and horizon visibility. The guide also clarifies the difference between constellations and asterisms, explains how the Big Dipper can point toward Polaris, and provides dedicated recommendations for Southern Hemisphere observers, including Crux. Practical tools include the Anchor-Pattern Method, the Three-Check Rule, a 10-minute observing session, city-sky guidance, troubleshooting advice, an equipment comparison, and a safety checklist. Authoritative references from the International Astronomical Union, NASA, NSF NOIRLab, and the European Southern Observatory support the key astronomical facts.
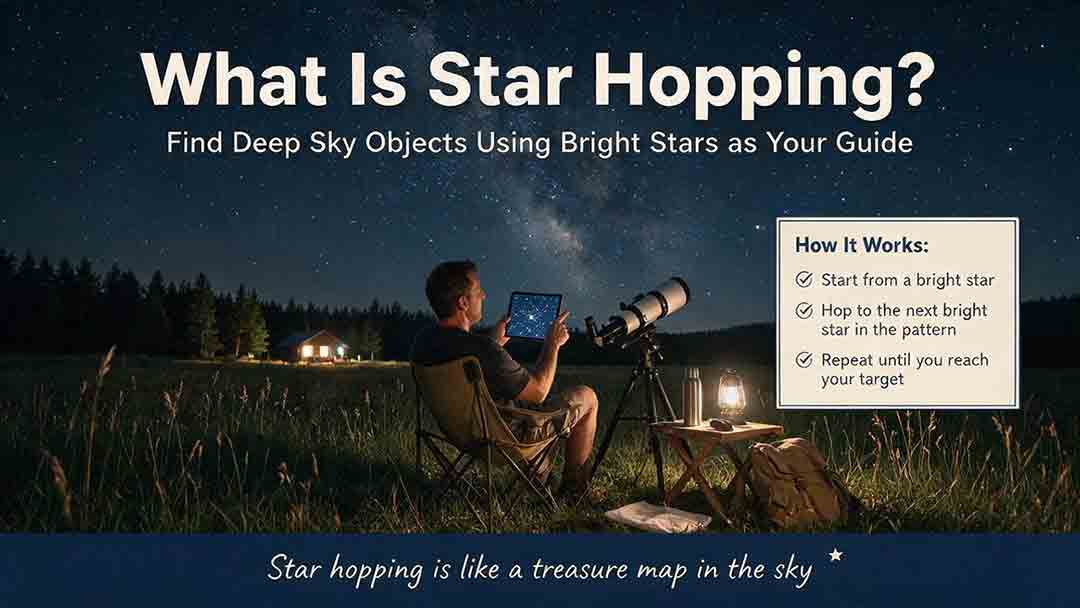
What Is Star Hopping and How Do You Do It?
Star hopping is a practical way to navigate the night sky by moving from a bright, recognizable star to a fainter target through a sequence of visible star patterns. This guide explains how beginners can plan a reliable route, align a finder, match a star chart to a telescope’s field of view, and recognize rotated or mirror-reversed images. It introduces the Anchor–Path–Field–Confirm method, provides a step-by-step observing process, and shows how field-of-view estimates can help determine a practical chart scale. A worked example demonstrates how to locate Messier 13 using the Keystone of Hercules, while the troubleshooting table addresses common problems such as finder misalignment, excessive magnification, incorrect chart orientation, and targets that remain invisible despite correct pointing. The included field checklist gives binocular and telescope users a repeatable method for planning and completing future star hops.
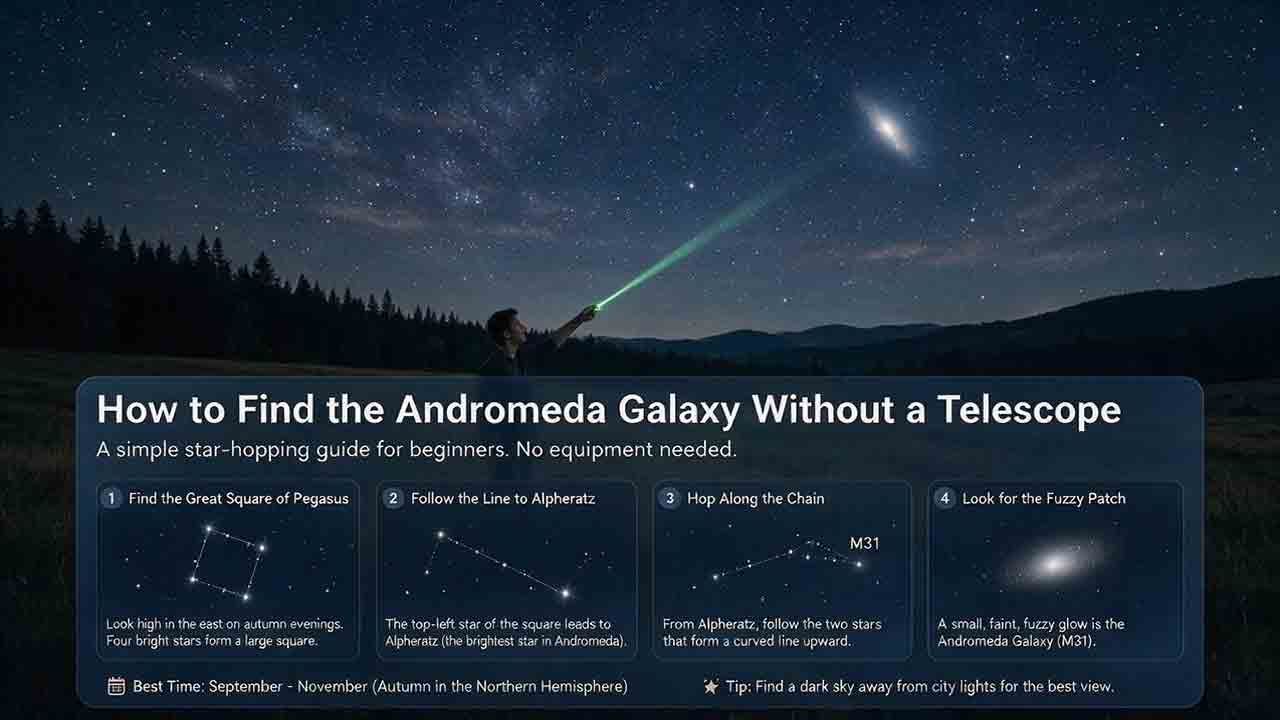
How to Find the Andromeda Galaxy Without a Telescope
Finding the Andromeda Galaxy without a telescope is possible when you know which stars to use as landmarks. This practical guide explains how to start at the Great Square of Pegasus, identify Alpheratz, follow the Andromeda star chain to Mirach, and use two nearly equal short hops to reach Mu Andromedae and M31. It also explains what the galaxy realistically looks like to the naked eye, why dark skies and averted vision matter, and how binoculars can help confirm the target. Beginners can use the six-point observing checklist, three-night practice method, troubleshooting guidance, and reusable observation log to improve each attempt. The guide distinguishes calculated angular distances from practical field estimates and clearly explains its source-checking process without claiming personal testing. It is designed primarily for Northern Hemisphere observers while also addressing visibility limitations from Southern Hemisphere locations.