Stargazing While Camping: A Practical Planning Guide

Plan the camping trip around legal access, weather, Moonlight, campground lighting, and a safe place to observe away from tents, fires, and vehicle traffic. Set up camp before dark, protect night vision with dim red light, store food according to local rules, and prepare a weather and lightning fallback. The best plan combines a comfortable campsite with a separate, low-impact observing area.
Key Takeaways
- Confirm the rules before choosing the sky. A dark location is not useful if overnight access, parking, camping, fires, or off-trail use is prohibited.
- Separate camp chores from astronomy. Cooking, bright lights, campfires, and vehicle movement should be completed or controlled before serious observing begins.
- Plan for the Moon and weather, not only the Bortle class. Moonlight, cloud, smoke, wind, humidity, and turbulence can change which targets are worthwhile.
- Design the campsite for darkness and safety. Keep tents, food, power cables, tripods, and walking routes in clearly defined zones.
- Protect the site and nearby campers. Follow quiet hours, food-storage rules, fire restrictions, wildlife guidance, and Leave No Trace principles.
This guide explains how to select a campground, organize a campsite, schedule the night, manage light and campfire impacts, protect astronomy equipment, and adapt when conditions change.
This guide is based on current public-agency guidance and practical trip-planning criteria. It is a general planning resource, not a substitute for current weather alerts, campground regulations, emergency instructions, or equipment-manufacturer guidance.
Is Camping a Good Way to Go Stargazing?
Yes. Camping removes the need to drive home immediately after a late observing session and can provide access to darker skies than most residential areas. It also creates new constraints: neighboring lights, quiet hours, food and wildlife rules, fire restrictions, condensation, limited power, and changing overnight weather.
The best camping location is not necessarily the darkest point on a map. A slightly brighter campground with legal access, safe roads, open horizons, reliable rules, and a sheltered observing area may be more useful than a remote site that is difficult to reach or unsafe after dark.
For understanding mapped sky darkness and field conditions, see What Is the Bortle Scale? A Guide to Light Pollution.
Which Type of Campground Is Best for Stargazing?
Choose the site type that matches the group’s experience, equipment, and need for services.
| Site type | Main advantages | Main limitations | Best suited for |
|---|---|---|---|
| Developed campground | Legal overnight stay, defined sites, restrooms, easier vehicle access | Neighbor lights, generators, campfires, quiet hours, reservations | Families, beginners, telescope users, short trips |
| Walk-in campground | Less vehicle traffic and fewer headlights | Gear must be carried farther; power may be limited | Binoculars, compact telescopes, simple photography |
| Backcountry campsite | Potentially darker, quieter, and more immersive | Permits, navigation, weather exposure, food storage, emergency planning | Experienced campers with lightweight gear |
| Dispersed camping area | Flexibility where legally allowed | Rules vary; no services; road and fire conditions may change | Experienced vehicle-based campers who verify regulations |
| Organized astronomy campground or star party | Light control, shared knowledge, astronomy-friendly layout | Event rules, registration, crowded observing field | Beginners, social observers, serious telescope sessions |
| Cabin or fixed lodging near a dark site | Weather shelter, charging, easier sleep | Exterior lights, property rules, travel to observing area | Families, photographers, multi-night trips |
Do not assume that undeveloped land permits camping. Land-management boundaries, seasonal closures, permits, fire restrictions, road access, and overnight-use rules can change. Check the current official land manager or campground page on the day of travel.
How Can the CAMP Framework Organize the Trip?
Use the CAMP framework to plan the trip in four stages. CAMP is an original decision system for combining camping logistics with astronomical conditions.
C — Confirm Access, Rules, and a Safe Shelter Plan
Before reserving or driving, verify:
- Campground opening dates and check-in rules
- Reservation or permit requirements
- Vehicle length or road restrictions
- Nighttime gate access
- Quiet hours and generator hours
- Fire and stove restrictions
- Food-storage requirements
- Pet rules
- Trail and area closures
- Whether telescopes or photography are allowed in the intended area
- The nearest substantial building or hard-topped vehicle available during a thunderstorm
- Mobile coverage and emergency contact options
NASA recommends inspecting an unfamiliar stargazing location during daylight and checking whether the area is legally open after dark. See How to Find Good Places to Stargaze.
Campground rules can differ even within the same park or forest. A social-media post, old trip report, or map pin should not replace the current official page.
A — Align the Moon, Weather, and Targets
A dark campsite does not guarantee a productive night. Plan around the conditions that matter for the intended targets.
Check:
- Sunset and the end of astronomical twilight
- Moon phase, Moon altitude, moonrise, and moonset
- Total, low, middle, and high cloud layers
- Smoke, dust, haze, or air-quality alerts
- Wind and gusts
- Air temperature and dew point
- Thunderstorm risk
- Target altitude and direction
- Expected campground lighting or nearby cities
Use How Clouds, Humidity, and Air Turbulence Affect Stargazing to distinguish cloud cover, transparency, dew risk, and atmospheric seeing.
M — Map the Campsite Into Functional Zones
Organize the site before darkness rather than placing equipment wherever space remains.
Use three zones:
- Sleep zone: tents, bedding, personal gear, and quiet access.
- Service zone: food preparation, approved food storage, water, trash, and any permitted fire or stove.
- Sky zone: telescope, camera, chairs, charts, power, and a clear path for observers.
The zones do not need fixed universal distances. Follow the campground’s food-storage and wildlife rules, then keep astronomy equipment away from smoke, cooking spills, bright lanterns, vehicle traffic, and sleeping areas.
P — Prepare Power, Protection, and a Fallback
Test the complete astronomy setup before leaving home.
Prepare:
- Charged batteries
- Correct cables and adapters
- Dew protection
- Backup light
- Offline maps
- Weather access
- Warm layers
- A simplified observing plan
- A no-telescope fallback
- A thunderstorm and evacuation plan
- A quiet shutdown routine
- A safe return or overnight sleep plan
The fallback may be binocular observing, constellation learning, lunar viewing, or ending the session. A successful trip does not require forcing the original plan through unsafe or unsuitable conditions.
How Should You Choose the Exact Campsite?
Choose a legal site with stable ground, manageable lighting, a useful horizon, and safe nighttime movement.
Check the Horizon
A broad view is useful, but an exposed ridge or open field may increase wind and lightning exposure. Avoid cliffs, unstable slopes, dead trees, drainage channels, and places where vehicles may enter unexpectedly.
The National Park Service advises selecting level ground away from cliffs, dead trees, and locations that may flood. See Finding and Setting Up a Campsite.
Check Local Lights
Look for restroom lights, entrance stations, RV lighting, road headlights, security fixtures, campfires, and automatic vehicle lights. A site with a permitted visual barrier may outperform a more open site with direct glare.
Do not move into prohibited vegetation, attach materials to trees, or create an unauthorized barrier.
Check Ground and Walking Routes
The observing area should support tripod feet, chairs, and safe movement. Soft sand, mud, roots, rocks, cactus, and hidden holes can cause instability or injury.
Walk every route in daylight:
- Tent to restroom
- Tent to observing area
- Observing area to vehicle
- Observing area to food storage
- Emergency route to shelter
Check Neighbor Impact
A telescope aimed across another campsite, a camera tripod in a shared path, or late-night conversation can disturb others even when no rule is technically broken.
Choose a layout that minimizes white light spill, headlight exposure, noise, trip hazards, movement through neighboring sites, and smoke drifting into other camps.
Should You Observe From the Campsite or a Separate Area?
The answer depends on rules, safety, and the amount of local light.
| Option | Advantages | Disadvantages | Choose it when |
|---|---|---|---|
| Inside the campsite | Equipment, shelter, food, and vehicle remain close | Camp lights, smoke, trees, neighbors, and foot traffic may interfere | The site has a clear dark edge and equipment will not obstruct others |
| Designated stargazing area | Better horizons, controlled lights, astronomy-friendly rules | Requires moving gear and returning after dark | The park or campground provides a legal observing area |
| Nearby legal turnout or overlook | May offer a clearer horizon away from campsites | Night driving, parking restrictions, wind, and road safety | Official rules permit nighttime parking and the location is safe |
| Short walk from camp | Reduces campsite light and noise | Equipment carrying, navigation, wildlife, and return-route risks | The route is legal, simple, and inspected in daylight |
| Backcountry clearing | Potentially dark and quiet | Highest navigation, weather, access, and emergency demands | The group has appropriate experience and permits |
Do not set up on a road shoulder, trail, emergency route, helipad, boat ramp, or closed overlook. Do not treat a dark map location as permission to enter.
How Should You Plan the Night Around the Moon?
Moonlight changes which targets are easiest, but it does not automatically cancel the trip.
| Moon condition | Strong target choices | Planning notes |
|---|---|---|
| New Moon or Moon below horizon | Milky Way, galaxies, nebulae, meteors, faint clusters | Best dark-sky window; navigation may be more difficult |
| Thin crescent | Faint deep-sky objects after the Moon sets or before it rises | Use the Moon as an early-evening target |
| First or last quarter | Moon, planets, double stars, brighter clusters | Plan faint objects for the darker part of the night |
| Bright gibbous Moon | Lunar details, planets, double stars | Thin cloud may scatter Moonlight across the sky |
| Full Moon | Moon, planets, bright targets, campsite-focused trip | Poor time for faint Milky Way structure and low-contrast galaxies |
The Moon’s altitude and timing matter as much as its phase. A bright Moon below the horizon does not illuminate the observing site, while a smaller Moon near a faint target can still reduce contrast.
What Is the Best Schedule for a Camping Stargazing Night?
Use an event sequence rather than fixed clock times because sunset, twilight, campground hours, and the Moon vary by date and location.
Before Departure
- Confirm reservation, access, and current alerts.
- Download maps and rules.
- Check the Moon and layered weather forecast.
- Test lights, power, optics, and dew control.
- Share the itinerary and expected return or check-in time.
Daylight Arrival
- Check in and read posted rules.
- Inspect the campsite and observing area.
- Identify the thunderstorm shelter plan.
- Set up the tent and sleep system first.
- Store food and scented items as required.
- Assemble heavy or complex astronomy equipment while there is daylight.
Before Sunset
- Prepare and finish the main meal.
- Secure food and trash.
- Complete necessary vehicle movement.
- Review the target list.
- Position chairs, charts, and accessories.
- Check the wind and dew-point trend.
Twilight
- Change from white work light to dim red light when safe.
- Align the finder or mount on bright objects.
- Begin with the Moon, planets, or bright stars.
- Allow eyes to adapt as the sky darkens.
Main Observing Window
- Observe targets near their highest altitude.
- Monitor clouds, wind, dew, smoke, wildlife, and nearby activity.
- Keep voices and equipment sounds within campground rules.
- Use the simplest suitable target when conditions are mixed.
Quiet Shutdown
- End powered equipment before batteries are exhausted.
- Cap optics and inventory small parts.
- Do not use a bright searchlight unless safety requires it.
- Store equipment where condensation and wildlife cannot damage it.
- Avoid carrying heavy gear through sleeping areas unnecessarily.
Morning
- Inspect equipment for moisture.
- Allow wet cases or fabrics to dry when conditions and manufacturer instructions permit.
- Check the site for caps, screws, cable ties, wrappers, and food.
- Restore the campsite and pack out all waste.
How Should You Manage Lights at a Campground?
Use dim, shielded red light for routine astronomy tasks, but use adequate white light whenever safety requires clear vision.
Red light is useful for reading a chart, changing eyepieces, adjusting a tripod, walking on a known level path, and finding labeled accessories.
White light is appropriate for an injury, complex terrain, wildlife concerns, vehicle movement, electrical inspection, emergency evacuation, finding a missing person, or any situation where red light is not sufficient.
The National Park Service explains that bright white lights can disrupt dark adaptation and that red light has less impact on many observers. See Stargazing 101.
The NPS also recommends shielding campground lights and pointing them downward so other visitors can enjoy darkness. See Camp Etiquette.
How Can You Reduce Vehicle-Light Problems?
Before dark:
- Park in the direction requested by campground staff.
- Unload necessary equipment.
- Plan whether the vehicle will need to leave early.
- Keep keys accessible without repeatedly unlocking the vehicle.
- Tell nearby observers before unavoidable headlight use when practical.
Do not disable legally required lights, obstruct a roadway, or operate a vehicle unsafely to preserve night vision.
How Should Campfires Fit Into the Stargazing Plan?
A campfire can conflict with astronomy because it produces bright light, smoke, heat, sparks, and activity.
The simplest options are:
- Skip the fire on the main observing night.
- Use a permitted fire earlier, then fully extinguish it before serious observing.
- Place the observing area where permitted smoke and light will not interfere.
- Use only the fire ring, fuel, and procedures allowed by the current site rules.
Fire restrictions can change quickly because of wind, drought, and local fire danger. Check the official land manager on the day of travel.
The National Park Service advises campers to know local rules, control the fire, and fully extinguish it. See Campfires.
Never leave a fire unattended to operate a telescope or camera elsewhere.
How Should You Manage Food and Wildlife?
Food, trash, drinks, toiletries, pet food, and other scented items may be regulated as wildlife attractants.
Follow the specific campground’s instructions for food lockers, hard-sided containers, vehicle storage, backcountry canisters, cooking areas, trash, dishwater, toiletries, pet food, coolers, and cookware.
Do not assume that a cooler is approved wildlife storage. Requirements differ by park and campground.
The National Park Service emphasizes that food storage protects both visitors and wildlife and that food should not be left unattended. See Cooking in Camp.
Keep food and drinks away from telescope cases, cables, electronics, and optics. Never feed wildlife, and do not approach an animal for a photograph.
How Can You Protect Telescope and Camera Equipment Overnight?
Overnight camping increases exposure to dew, dust, temperature changes, wildlife, and accidental contact.
During the Session
- Use a dew shield or regulated heater when appropriate.
- Keep unused eyepieces capped.
- Close empty cases.
- Keep drinks away from equipment.
- Route power cables away from walking paths.
- Monitor front optics and camera windows for fogging.
At Shutdown
- Follow manufacturer guidance for wet equipment.
- Do not seal visibly wet optics in an airtight case for long-term storage.
- Avoid wiping coated optical surfaces repeatedly in the field.
- Remove exposed batteries if the manufacturer recommends it.
- Store small accessories in a closed container.
- Keep equipment out of food-storage areas.
In the Morning
Condensation can appear when cold equipment enters warm, humid air. Follow the equipment manufacturer’s guidance for gradual warming, caps, cases, and drying.
A detailed moisture-prevention workflow can help reduce dew on exposed optics during damp observing sessions.
How Much Power Should You Plan for Overnight Camping?
Separate astronomy power from essential communication and safety power.
Create three power groups:
- Critical: phone, emergency communication, navigation, required medical devices.
- Astronomy: mount, camera, computer, focuser, dew heaters.
- Comfort: decorative lights, entertainment, optional charging.
Protect the critical reserve first.
The basic energy estimate is:
Watt-hours required = average watts × operating hours
Example
Assume:
- Mount averages 5 W
- Camera and controller average 7 W
- Dew heaters average 10 W
Combined load:
5 W + 7 W + 10 W = 22 W
For five hours:
22 W × 5 hours = 110 Wh
The theoretical requirement is 110 Wh. Actual usable runtime may be lower because of temperature, conversion losses, battery age, protection systems, startup loads, and changing heater output.
Verify voltage, polarity, connector type, output limits, and charging procedures with the equipment and battery manufacturers. Do not run cables through tent doors or walking areas where they can be damaged.
Should You Use a Generator?
A generator may violate campground hours, disturb sleeping visitors, and damage the dark-sky experience.
Use it only where and when permitted. For nighttime astronomy, a tested battery system is usually quieter and easier to place safely. Recharge during allowed daytime periods if necessary.
How Can You Plan for Weather and Emergency Changes?
Create stopping conditions before the session begins.
Stop Immediately
End or suspend outdoor activity when:
- Thunder is heard
- Lightning is seen
- A weather alert requires action
- Wind makes equipment unstable
- Smoke or air-quality guidance makes prolonged exposure inappropriate
- Flooding, falling branches, wildfire, or wildlife creates danger
- A person is too cold, ill, injured, or unable to travel safely
The U.S. National Weather Service states that no place outside is safe during a thunderstorm. A tent, picnic shelter, or telescope canopy is not safe lightning shelter. Use a substantial building or hard-topped vehicle, and follow the current responsible weather authority. See NWS Lightning Safety.
Change Targets Rather Than Cancel
Continue with a modified plan when conditions are safe but astronomy is limited:
| Condition | Better plan |
|---|---|
| Thin cloud | Moon, planets, double stars |
| Poor seeing | Low-power clusters, galaxies, nebulae if transparency is good |
| Moderate haze | Moon, planets, brighter clusters |
| Bright Moon | Lunar observing, planets, double stars |
| Increasing dew risk | Shorter session with active dew control |
| Neighbor lights | Use a glare shield where permitted or move to a legal designated area |
| Wind vibration | Lower magnification, shorten tripod, or pack fragile equipment |
Smoke visibility is not a health test. Follow official air-quality guidance rather than deciding safety from how many stars remain visible.
What Does Leave No Trace Mean for Night-Sky Camping?
Night-sky recreation should leave the campsite, wildlife, and experience of other visitors as undisturbed as practical.
Apply the seven broad principles:
- Plan ahead and prepare.
- Travel and camp on durable surfaces.
- Dispose of waste properly.
- Leave natural and cultural objects where they are.
- Minimize campfire impacts.
- Respect wildlife.
- Be considerate of other visitors.
The National Park Service describes these principles as applicable to campgrounds, wilderness, local parks, and other outdoor settings. See Leave No Trace.
For astronomy specifically:
- Keep lights low and shielded.
- Observe quiet hours.
- Do not cut vegetation to improve a horizon.
- Do not move rocks or artifacts to level equipment.
- Do not attach equipment to protected structures or plants.
- Keep tripod feet on durable surfaces.
- Pack out tape, cable ties, batteries, food, and broken parts.
- Avoid recorded music and unnecessary equipment sounds.
- Do not use wildlife as foreground props.
How Should Families Plan a Camping Stargazing Session?
Keep the plan shorter, simpler, and more structured.
Before the Trip
- Choose a developed site with clear rules and services.
- Explain darkness, quiet hours, wildlife, and tripod hazards.
- Give each child a warm layer and a simple personal light.
- Select a small number of bright targets.
- Prepare a tent-based fallback activity.
At the Site
- Assign an adult to supervise children near equipment.
- Keep counterweights, cables, heaters, and power supplies out of play areas.
- Use low-power binoculars or telescope views first.
- Let children observe early targets before fatigue increases.
- End the session before cold or tiredness becomes a safety problem.
Children should not independently handle laser pointers, heavy mounts, electrical connectors, or hot cooking equipment.
What Are Common Camping Stargazing Mistakes?
| Mistake | Why it causes problems | Better approach |
|---|---|---|
| Choosing only by Bortle class | Ignores rules, roads, terrain, weather, and local lights | Compare darkness with legal access and safety |
| Setting up astronomy gear before the tent | Leaves shelter unfinished after dark or in bad weather | Establish sleep and food systems first |
| Cooking during the main observing window | Produces light, smoke, movement, and food odors | Finish the main meal before dark |
| Assuming the campsite is the best observing spot | Trees, RVs, fires, and lights may block the sky | Identify a legal separate observing area |
| Using only a phone for light and maps | Battery or service failure removes several tools at once | Carry independent light and offline information |
| Leaving food near the telescope | Attracts wildlife and risks spills | Store food according to campground rules |
| Running a generator at night | May violate rules and disturb others | Use tested battery power during quiet hours |
| Waiting for thunder before planning shelter | Leaves too little time to move people | Identify shelter before sunset |
| Packing equipment wet | Can trap moisture and damage cases or electronics | Follow manufacturer drying guidance |
| Ignoring the morning | Small parts and trash are easy to miss in darkness | Perform a daylight site and gear check |
A Practical Campsite Setup Checklist
Reservation and Rules
- Reservation, permit, or check-in requirements confirmed
- Night access confirmed
- Current road and trail conditions checked
- Quiet hours and generator hours checked
- Fire restrictions checked
- Food-storage rules checked
- Pet and wildlife rules checked
- Current alerts checked on the official site
Sky and Weather
- Moon phase, rise, set, and altitude checked
- Sunset and astronomical twilight checked
- Layered cloud forecast checked
- Wind and gusts checked
- Temperature and dew point checked
- Smoke and air-quality guidance checked
- Thunderstorm risk checked
- Target directions and altitudes checked
Daylight Setup
- Tent and sleep system completed
- Food and scented items stored correctly
- Cooking and fire area identified
- Observing zone inspected
- Walking routes inspected
- Tripod and cable hazards controlled
- Emergency shelter and exit route identified
- Neighbor-light and vehicle plan considered
Astronomy Equipment
- Red light and backup light
- White emergency light
- Target list and chart
- Telescope, binoculars, or camera
- Mount, tripod, and plates
- Eyepieces or lenses
- Finder
- Batteries and correct cables
- Dew control
- Chair and small table
- Caps and protective cases
Shutdown
- Small parts inventoried
- Optics checked for dew
- Batteries and cables secured
- Food and trash secured
- Equipment stored away from walking routes
- Fire fully extinguished when applicable
- Morning inspection planned
Example: A Two-Night Family Camping Plan
This is a hypothetical planning example, not a report of a tested campsite.
A family reserves a developed campground with Bortle 4 skies. The first night has a bright Moon and several neighboring campsites. The second night has a darker late-evening window after moonset.
Night One
- Complete camp setup and dinner before sunset.
- Use the Moon, Saturn, bright double stars, and constellations as targets.
- Test the telescope, red lights, and dew-control system.
- End early enough for the children and campground quiet hours.
Night Two
- Review the weather and Moon timing.
- Move only the necessary telescope equipment to a legal open observing area.
- Observe star clusters and brighter galaxies after moonset.
- Keep food secured at camp.
- Use a quiet shutdown list to avoid losing small accessories.
The first night is not wasted because it is brighter. It becomes a setup, skills, lunar, and family-orientation night that prepares the group for the darker window.
Should You Go, Modify the Plan, or Cancel?
Use this decision tree:
Is camping and nighttime access legal and currently open?
- No: Choose another official site.
- Yes: Continue.
Are thunderstorms, wildfire, flooding, unsafe roads, or official closures a concern?
- Yes: Cancel, postpone, or follow the responsible authority’s instructions.
- No: Continue.
Can the group establish shelter, food storage, and a safe observing zone before dark?
- No: Simplify the astronomy plan or use the campsite without complex equipment.
- Yes: Continue.
Are transparency and Moonlight suitable for faint deep-sky targets?
- Yes: Use the dark-sky target list.
- No: Switch to the Moon, planets, double stars, clusters, or naked-eye activities.
Are dew, wind, neighbor lights, or fatigue becoming difficult to manage?
- Yes: Shorten, relocate legally, simplify, or end the session.
- No: Continue while monitoring conditions.
How Should You Plan Your Next Camping Stargazing Trip?
Start with a developed campground or organized astronomy event if this is the first overnight trip with a telescope. Learn how long camp setup, dark adaptation, equipment assembly, and quiet shutdown actually take.
For a family trip, prioritize a legal campsite, short target list, early bright objects, and a warm fallback. For astrophotography, prioritize a stable observing zone, tested battery plan, dew control, and a schedule that respects campground lighting and quiet hours. For backcountry trips, reduce equipment and follow the specific permit, food, fire, and emergency rules.
The strongest plan treats camping and astronomy as one system: shelter first, site rules always, the sky when conditions allow, and a low-impact departure in daylight.
Frequently Asked Questions
Can I set up a telescope at any campsite?
Not automatically. The telescope must remain within the rules for the campsite and must not block roads, paths, emergency access, neighboring sites, or protected areas. Ask the campground or land manager when the rules are unclear.
Is a campfire compatible with stargazing?
It can be, but firelight and smoke reduce dark adaptation and may affect nearby observers. Use a fire only where currently permitted, keep it supervised, and consider finishing and fully extinguishing it before the main observing window.
Do I need a new Moon for camping stargazing?
No. A new Moon is helpful for faint galaxies, nebulae, the Milky Way, and meteors. Bright Moon nights remain useful for lunar observing, planets, double stars, family learning, and testing equipment.
How far should the telescope be from the tent?
There is no universal distance. Place it far enough to avoid tent lines, doors, smoke, cooking activity, and sleeping visitors, but close enough for safe legal access. Follow site-specific food, wildlife, and campsite-boundary rules.
Can I leave a telescope set up overnight?
Only when weather, security, wildlife, campground rules, and the manufacturer’s guidance make it appropriate. Dew, wind, sprinklers, dust, temperature changes, and accidental contact can damage equipment. Many campers should pack or securely cover equipment after use.
What should I do if neighboring lights affect the view?
First use a shielded observing position within the rules, politely discuss the issue when appropriate, or move to an official observing area. Do not confront visitors aggressively, enter another campsite, disable lights, or create unsafe barriers.
Sources
NASA Science — How to Find Good Places to Stargaze
Supports daylight site inspection, legal access checks, weather planning, Moon planning, and safe observing-location selection.U.S. National Park Service — Astronomy
Supports red-light use, dark adaptation, clear-sky planning, and Moon timing.U.S. National Park Service — Finding and Setting Up a Campsite
Supports campsite selection, terrain hazards, flooding awareness, and site organization.U.S. National Park Service — Camp Etiquette
Supports quiet hours, shielded campsite lighting, and consideration for neighboring campers.U.S. National Park Service — Cooking in Camp
Supports food storage, clean camps, wildlife protection, and campground cooking practices.U.S. National Park Service — Campfires
Supports checking local fire rules and safely managing and extinguishing permitted campfires.U.S. National Park Service — Leave No Trace
Supports planning, durable surfaces, waste disposal, minimizing fire impacts, respecting wildlife, and visitor consideration.U.S. National Weather Service — Lightning Safety Overview
Supports stopping outdoor activity, using substantial buildings or hard-topped vehicles, and avoiding tents as lightning shelter.
More from Dark-Sky Trips & Gear
How to Stay Warm and Comfortable During Winter Stargazing
Winter stargazing requires more preparation than wearing one heavy coat because observers often remain nearly motionless for long periods. This guide explains how to check temperature, wind chill, road conditions, snow, and shelter before leaving; build a moisture-managing base, insulating middle, and wind-resistant outer layer; and protect hands, feet, head, face, chair, and ground contact. Readers will learn how to combine liner gloves with mittens, avoid sweat, plan warm-up breaks, use heated clothing safely, manage food and hydration, protect batteries, and prevent condensation when cold equipment returns indoors. The article also includes the WARMER planning framework, clothing and glove comparisons, a three-hour worked example, cold-stress warning signs, troubleshooting guidance, departure rules, FAQs, and a complete winter stargazing checklist.
Red Flashlights for Stargazing: Why Astronomers Use Them
Astronomers use dim red flashlights because dark-adapted rod vision is less sensitive to long-wavelength red light than to much of the visible spectrum. A controlled red beam can illuminate charts, eyepieces, cables, and walking paths while causing less disruption than a typical white flashlight. This guide explains how rods, cones, rhodopsin, wavelength, brightness, exposure time, and beam direction shape the result. Readers will learn why red light is not harmless, how to compare handheld lights and headlamps, which product features prevent accidental white-light activation, how to configure a phone screen, and when safety requires a white emergency light. The article also includes the RED-SAFE buying framework, a task-lighting table, a worked observing example, DIY filter guidance, star-party etiquette, troubleshooting advice, FAQs, and complete purchase and field-use checklists.
How to Find a Dark-Sky Site Near You
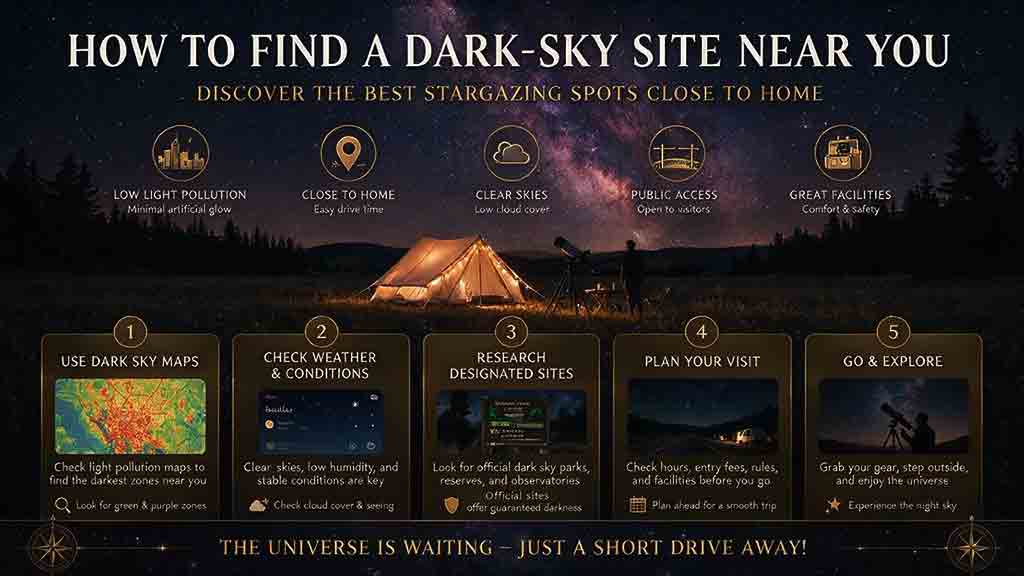
Finding a dark-sky site requires more than selecting the darkest color on a light-pollution map. This guide explains how to identify promising regions, search certified Dark Sky Places and official public-land directories, verify legal nighttime access, inspect roads and horizons, check Moon and weather conditions, and validate a location in daylight and after dark. Readers will learn how satellite nighttime-light data differs from ground-level sky quality, what a Bortle estimate can and cannot reveal, when a sky quality meter is useful, and how to compare parks, campgrounds, observatories, club fields, and remote public lands. The article also includes the DARK-SITE decision framework, a three-location worked example, a trip-value calculation, safety and etiquette guidance, gear recommendations, troubleshooting advice, FAQs, and a complete site-selection checklist.
Explore More Topics
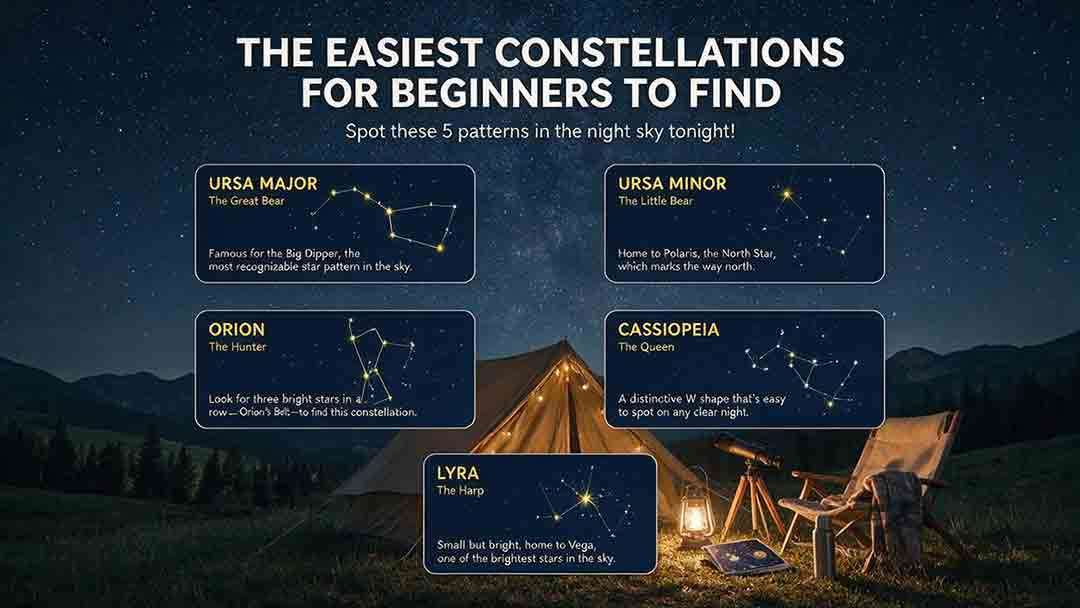
The Easiest Constellations for Beginners to Find
This beginner-friendly guide explains how to find Orion, Ursa Major through the Big Dipper, Cassiopeia, Cygnus, and Scorpius using clear naked-eye observing steps. It compares each pattern through an original Beginner Visibility Score and shows readers how to choose a first target based on season, latitude, light pollution, moonlight, and horizon visibility. The guide also clarifies the difference between constellations and asterisms, explains how the Big Dipper can point toward Polaris, and provides dedicated recommendations for Southern Hemisphere observers, including Crux. Practical tools include the Anchor-Pattern Method, the Three-Check Rule, a 10-minute observing session, city-sky guidance, troubleshooting advice, an equipment comparison, and a safety checklist. Authoritative references from the International Astronomical Union, NASA, NSF NOIRLab, and the European Southern Observatory support the key astronomical facts.
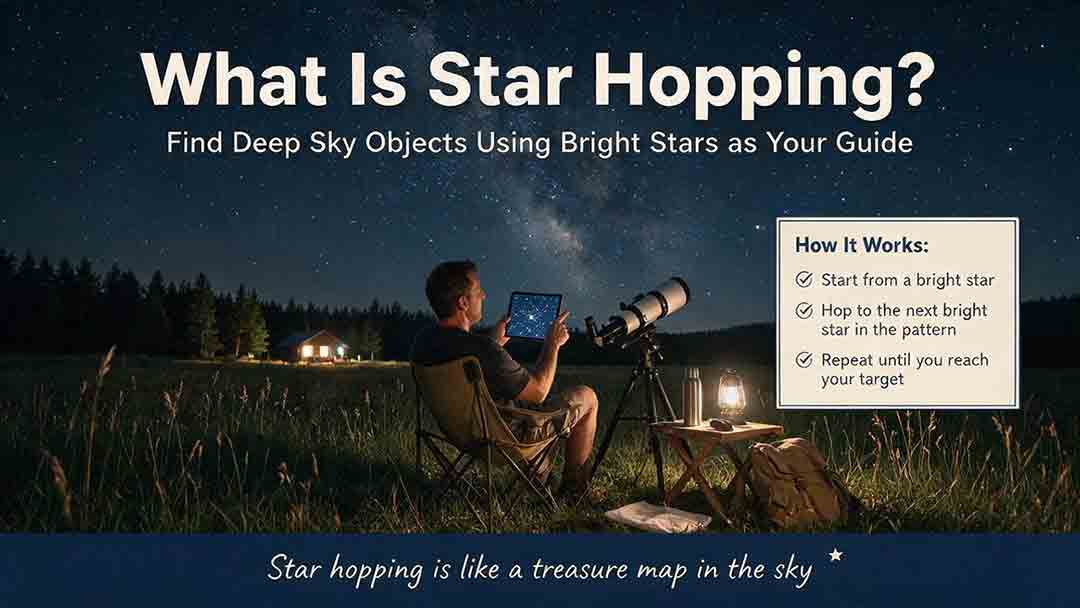
What Is Star Hopping and How Do You Do It?
Star hopping is a practical way to navigate the night sky by moving from a bright, recognizable star to a fainter target through a sequence of visible star patterns. This guide explains how beginners can plan a reliable route, align a finder, match a star chart to a telescope’s field of view, and recognize rotated or mirror-reversed images. It introduces the Anchor–Path–Field–Confirm method, provides a step-by-step observing process, and shows how field-of-view estimates can help determine a practical chart scale. A worked example demonstrates how to locate Messier 13 using the Keystone of Hercules, while the troubleshooting table addresses common problems such as finder misalignment, excessive magnification, incorrect chart orientation, and targets that remain invisible despite correct pointing. The included field checklist gives binocular and telescope users a repeatable method for planning and completing future star hops.
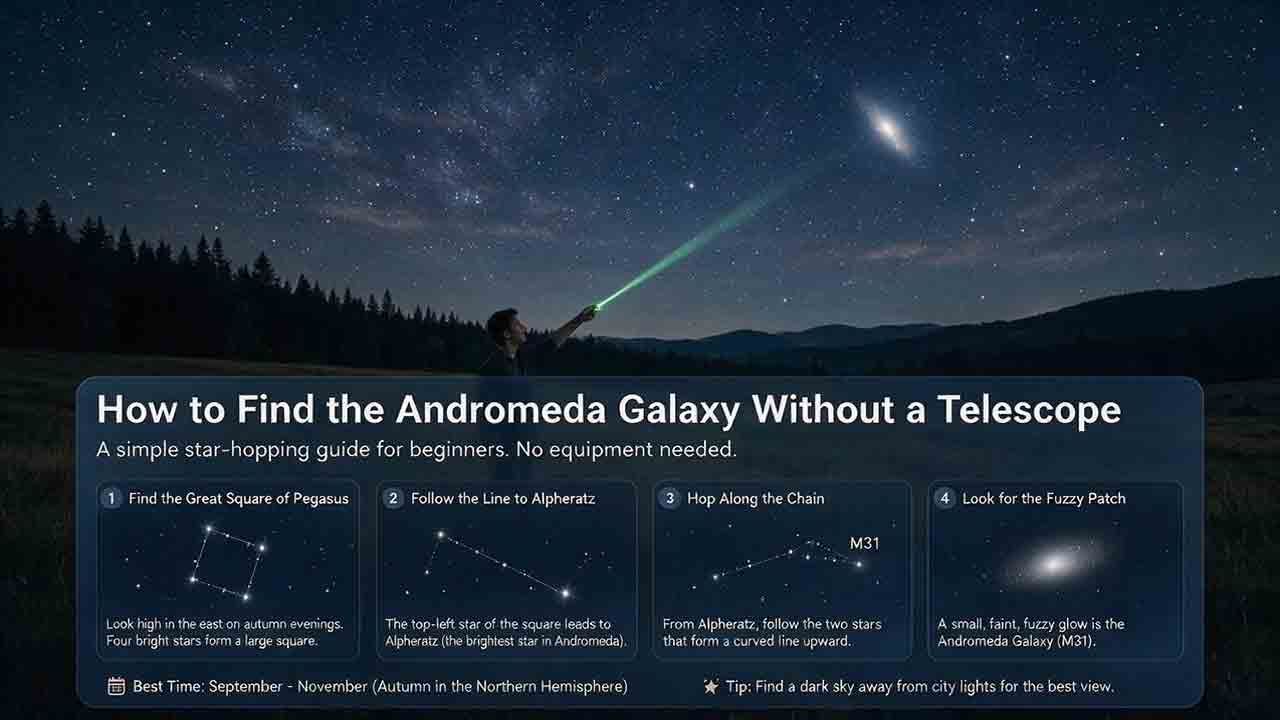
How to Find the Andromeda Galaxy Without a Telescope
Finding the Andromeda Galaxy without a telescope is possible when you know which stars to use as landmarks. This practical guide explains how to start at the Great Square of Pegasus, identify Alpheratz, follow the Andromeda star chain to Mirach, and use two nearly equal short hops to reach Mu Andromedae and M31. It also explains what the galaxy realistically looks like to the naked eye, why dark skies and averted vision matter, and how binoculars can help confirm the target. Beginners can use the six-point observing checklist, three-night practice method, troubleshooting guidance, and reusable observation log to improve each attempt. The guide distinguishes calculated angular distances from practical field estimates and clearly explains its source-checking process without claiming personal testing. It is designed primarily for Northern Hemisphere observers while also addressing visibility limitations from Southern Hemisphere locations.