Red Flashlights for Stargazing: Why Astronomers Use Them

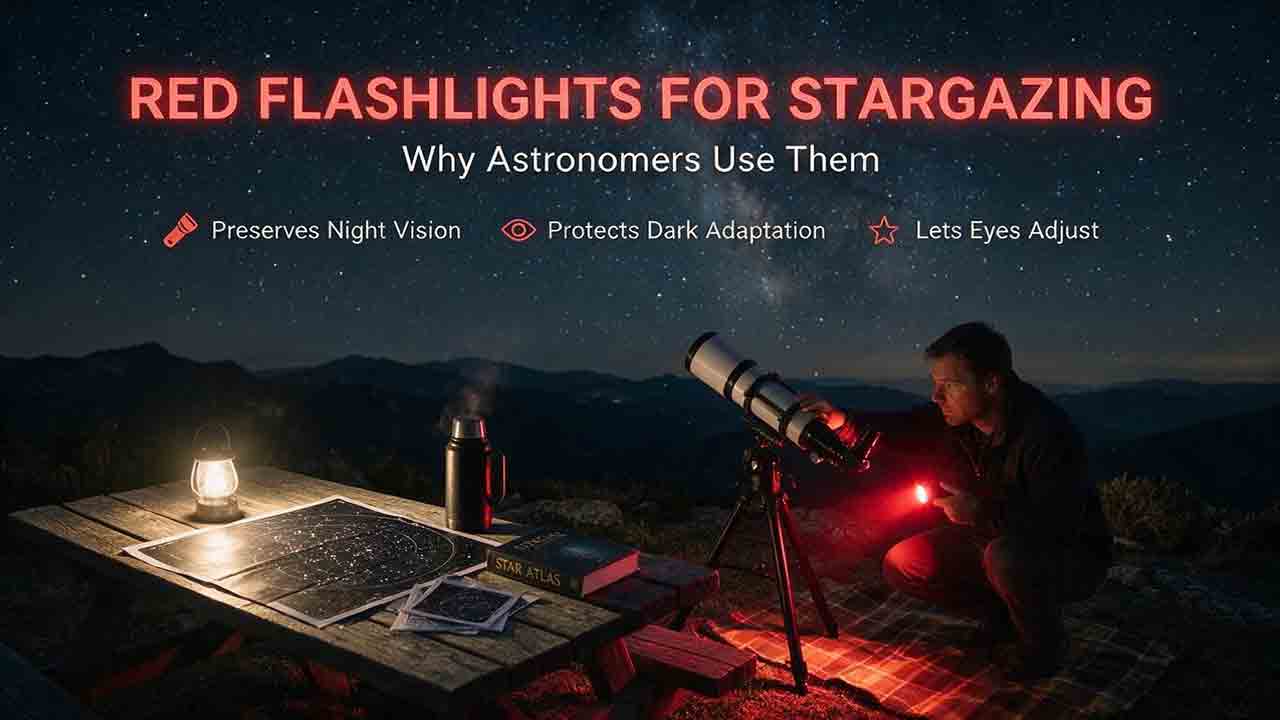
Astronomers use dim red flashlights because dark-adapted rod vision is less sensitive to long-wavelength red light than to much of the visible spectrum. A properly dimmed red beam can illuminate charts and equipment while causing less disruption than a bright white light. Red is not harmless, however: excessive brightness, long exposure, and accidental white-light activation can still reduce night vision.
Key Takeaways
- Red light is used to reduce, not eliminate, disruption to dark adaptation.
- Brightness matters as much as color; a bright red lamp can be worse than a carefully controlled dim light.
- The best astronomy flashlight starts in red mode, offers very low adjustable output, and prevents accidental white-light activation.
- A narrow, downward-pointed beam protects nearby observers better than a wide flood.
- White emergency light still belongs in a safety kit for hazards, injuries, navigation, and vehicle problems.
This guide explains how red flashlights support night vision, how to choose and use one, what red light cannot do, and how to follow good lighting etiquette at a dark-sky site or star party.
This guide is based on vision-science references, government night-sky guidance, and practical selection criteria rather than hands-on testing of every flashlight model.
Why Do Astronomers Use Red Flashlights?
Astronomers use red flashlights to complete necessary tasks while preserving more of the eye’s sensitivity to faint light. Typical tasks include reading a star chart, changing an eyepiece, finding a dropped cap, checking a tripod leg, or walking carefully between observing stations.
The human retina contains rods and cones. Cones provide detailed color vision under brighter conditions, while rods are more sensitive in dim conditions and support much of faint-light vision.[1][2]
Rod-based vision is less sensitive to long-wavelength red light than to shorter visible wavelengths under dark-adapted conditions.[1] This makes a low-output red light a practical compromise: enough illumination for close work, with less disturbance than a typical white flashlight.
The U.S. National Park Service recommends dim red lighting for astronomy activities and warns that even red light can interfere when it is too bright.[3] Star-party guidance from Joshua Tree National Park similarly asks visitors to avoid white lights and keep red lights controlled.[4]
Does Red Light Preserve Night Vision Completely?
No. Red light does not make the eye immune to brightness.
Any visible light can affect dark adaptation when it is bright enough, fills a large part of the visual field, or remains on for long enough. The effect depends on:
- Wavelength
- Brightness at the eye
- Exposure duration
- Beam size
- Viewing distance
- Whether the source is seen directly
- The observer’s level of dark adaptation
- The retinal area exposed
A dim red beam aimed at the ground is usually less disruptive than a white beam aimed at the face. A powerful red headlamp shining directly into another observer’s eyes can still cause glare and reduce sensitivity.
The Most Important Rule
Use the least amount of light that allows the task to be completed safely.
Color is a secondary control. Brightness, direction, and duration remain essential.
How Does Dark Adaptation Work?
Dark adaptation is the gradual recovery of visual sensitivity after exposure to brighter light. It is not a single process or a fixed countdown.
Pupil Dilation
The pupil enlarges as the environment becomes darker, allowing more light to reach the retina. This change begins quickly, but pupil size alone does not explain the full improvement in faint-light vision.[2]
Cone Adaptation
Cone-mediated sensitivity improves during the earlier phase of dark adaptation. Cones remain useful for reading detail and distinguishing color when enough light is available.
Rod Adaptation
Rod-mediated sensitivity develops over a longer period and supports detection of very faint objects. Rod vision has limited color discrimination, which is why extremely dim scenes often appear mostly gray.
The National Library of Medicine’s Webvision reference describes separate cone- and rod-mediated phases and explains that the dark-adaptation curve changes with stimulus wavelength, prior light exposure, retinal location, and test conditions.[1]
Visual Pigment Recovery
Rhodopsin is a light-sensitive pigment used by rod cells. Bright exposure changes the pigment’s state, and the visual cycle gradually restores rod sensitivity in darkness.
Dark adaptation also includes retinal signaling and neural processing. It should not be described as only “making more rhodopsin.”
Why Is Red Less Disruptive to Rod Vision?
Dark-adapted rods are most sensitive to shorter wavelengths than the peak sensitivity of daylight cone vision. Long-wavelength red light stimulates the rod system less efficiently than many blue-green wavelengths at comparable physical conditions.[1][5]
This does not mean all red lights are equal.
A red flashlight can differ in:
- Peak wavelength
- Spectral width
- Optical filtering
- Beam intensity
- Pulse-width modulation
- Diffuser design
- Output regulation
- Lens tint
- White-light leakage
A flashlight marketed as “red” may use a dedicated red LED or may place a red filter over a white source. Both can be usable, but neither should be assumed to preserve night vision at unlimited brightness.
Which Is More Important: Red Color or Low Brightness?
Low brightness is the first practical priority.
| Lighting condition | Likely effect on an adapted observer | Recommended use |
|---|---|---|
| Very dim red, directed downward | Low disruption for close tasks | Charts, eyepieces, cables |
| Bright red, seen directly | Glare and noticeable loss of sensitivity | Avoid except when safety requires it |
| Dim white, shielded and brief | More disruptive than a comparable red task light, but sometimes necessary | Color identification or precise repairs |
| Bright white | Strong disruption and wide glare | Emergencies, hazards, teardown away from observers |
| Phone in red mode at high brightness | Still a bright luminous surface | Reduce brightness and exposure |
| No light | Best for faint-object sensitivity | Seated observing when the area is already safe |
A red light that is too dim to reveal a trip hazard is not safe. A light that illuminates the entire observing field is unnecessarily bright.
Why Do White Flashlights Cause More Problems at a Star Party?
A white flashlight emits a broad range of visible wavelengths and is often designed for high brightness. It can affect the person holding it and every observer in the beam.
Common problems include:
- Loss of sensitivity to faint stars and nebulae
- Glare in telescope eyepieces
- Ruined observing sketches
- Bright contamination in long-exposure photographs
- Disorientation after the light switches off
- Conflict with established star-party etiquette
- Increased trip risk for people temporarily blinded by glare
A single accidental white-light flash may affect several observing stations. This is why many organized events require red-only task lighting in the telescope area.[4]
Are Green or Amber Lights Better Than Red?
Not universally. The best color depends on the task, brightness, visual sensitivity, and whether color recognition is needed.
Red Light
Advantages
- Conventional at astronomy events
- Lower rod sensitivity at long wavelengths
- Easy for other observers to recognize as astronomy-safe intent
- Widely available in headlamps and handheld flashlights
Limitations
- Poor color discrimination
- Red printing or symbols may become hard to see
- Excessive brightness still disrupts adaptation
- Some products activate white light before red
- A narrow red spectrum may make certain objects nearly invisible
Green or Blue-Green Light
Human scotopic vision is highly sensitive in the blue-green region, so a very small physical output can appear bright to dark-adapted rods.[1][5] This can make low-output green lighting efficient for some tasks, but it can also disturb rod vision strongly if not carefully controlled.
Some technical discussions argue that another color at a substantially lower luminance may perform a task efficiently. For ordinary public astronomy, however, dim red remains the most recognizable and widely accepted convention.
Amber Light
Amber may provide better color and detail recognition than deep red for some users. It is still capable of disrupting dark adaptation and may not meet the etiquette rules of a red-only event.
Practical Conclusion
Follow the host site’s lighting rules. At a public star party that requires red light, do not substitute another color based on personal preference.
How Bright Should a Red Flashlight Be?
There is no universal lumen setting that works for every observer, distance, chart, and site. Product specifications can also be difficult to compare at very low output.
Use a task-based adjustment:
- Turn the light on while pointing it at the ground.
- Start at the lowest available setting.
- Let your eyes settle for a moment.
- Increase only until the task becomes possible.
- Reduce it again when moving closer to the object.
- Switch it off immediately after the task.
A Simple Field Test
A red flashlight is probably too bright for routine astronomy use when:
- The beam lights multiple observing stations.
- Nearby observers turn away or shield their eyes.
- The ground remains brightly visible after the beam moves away.
- Faint stars become noticeably harder to see.
- The beam creates reflections on telescope tubes or vehicle windows.
- The light can be read from far across the observing field.
- The holder points it at eye level to see nearby equipment.
This is an editorial field test, not a calibrated photometric measurement.
What Features Should an Astronomy Red Flashlight Have?
Red-First Activation
The flashlight should activate red mode directly. A device that turns on in bright white before cycling to red creates an avoidable failure point.
Prefer:
- A dedicated red button
- A physical red/white selector
- Mode memory that reliably returns to red
- A lockout for white output
Do not assume an electronic mode memory will behave identically after battery replacement or a long period without power. Test it at home.
A Very Low Starting Mode
The lowest mode matters more than the highest red output for most astronomy tasks.
A useful low setting should support:
- Reading a chart at close range
- Identifying eyepieces
- Checking tripod legs
- Writing short notes
- Finding caps and cables
Smooth or Multi-Step Dimming
Adjustability helps match the output to the task.
Smooth dimming offers fine control, while stepped levels are easier to repeat. Either is suitable when the lowest level is genuinely low and the control is predictable in gloves.
Controlled Beam Shape
A narrow or shielded beam limits spill.
A flood beam may be useful for setup before observing begins, but it can disturb a larger area after dark adaptation. A diffuser should be removable or carefully controlled.
Simple Controls
Controls should be usable without looking at the flashlight.
Look for:
- Tactile button differences
- No surprise strobe
- No complex double-click sequence
- No mandatory white-light cycle
- Easy operation with gloves
- Accidental-activation lockout
Reliable Power
Battery choice depends on trip length and charging access.
Consider:
- Replaceable battery availability
- Rechargeable runtime
- Cold-weather performance
- Low-battery indication
- Spare power strategy
- Whether the charging port is protected from dust and moisture
Do not rely on a single rechargeable light for a remote trip without backup power.
Weather and Drop Resistance
Dark-sky trips can involve dew, dust, frost, and uneven ground. A robust housing, sealed controls, and a secure lanyard reduce the chance of failure.
Separate Emergency White Light
A low-output red astronomy light is not always suitable for:
- First aid
- Wildlife identification
- Roadside repair
- Hazard inspection
- Emergency signaling
- Searching a large area
- Evacuating over difficult terrain
Carry a separate white emergency flashlight, or use a dual-color device with a dependable white-light lockout during observing.
A RED-SAFE Buying Framework
Use the RED-SAFE framework when comparing a flashlight or headlamp.
| Letter | Criterion | What to check |
|---|---|---|
| R | Red-first start | Can the device turn on directly in red mode? |
| E | Extremely low output | Is the minimum setting suitable for close-range charts? |
| D | Dimming control | Can brightness be adjusted predictably? |
| S | Shielded beam | Can the beam be kept narrow and directed downward? |
| A | Accidental-white prevention | Is white mode separated, locked, or difficult to trigger unintentionally? |
| F | Field-friendly controls | Can the device be used with gloves and without looking? |
| E | Emergency backup | Is there a separate safe white-light plan? |
The framework emphasizes usability and failure prevention rather than maximum output or marketing claims.
Handheld Flashlight or Red Headlamp: Which Is Better?
Handheld Red Flashlight
Pros
- Easy to point precisely
- Simple to shield with a hand
- Less likely to shine into someone’s face when talking
- Can be placed beside a chart
- Often has straightforward controls
Cons
- Occupies one hand
- Easier to drop
- Less convenient during equipment assembly
- Can roll away unless designed with anti-roll features
Red Headlamp
Pros
- Keeps both hands free
- Useful for cables, tripods, and packing
- Beam follows the task
- Convenient for walking
Cons
- Turns toward other people when the wearer looks up
- Easy to shine directly into an observer’s eyes
- Some models activate white mode accidentally
- Broad beams can illuminate too much area
- Brightness may be difficult to judge while wearing it
Practical Recommendation
Use a headlamp for controlled setup and walking, but tilt it sharply downward and switch it off before speaking face-to-face. A handheld red light is often easier to control within a shared telescope field.
Can a Phone’s Red-Screen Mode Replace a Flashlight?
A phone can display charts in a red or night mode, but it is still a luminous screen.
Potential problems include:
- High minimum brightness
- Bright notifications
- White lock-screen flashes
- Keyboard or system menus outside the astronomy app
- Large illuminated surface area
- Face-recognition illumination
- Accidental camera flash
- A display that returns to normal color after an update or restart
Safer Phone Setup
- Enable the astronomy application’s night mode.
- Lower system brightness to the minimum practical level.
- Enable a system color filter when available.
- Disable notifications and camera flash.
- Use a dark wallpaper and simple lock screen.
- Cover the display with a physical red film if needed.
- Test every screen used during the session.
- Keep the phone face down when not in use.
A red flashlight is often more predictable for walking and physical equipment tasks.
Can You Make a Red Flashlight From a White One?
Yes, a red filter can convert a white flashlight into a useful temporary astronomy light, provided the result is dim and secure.
The National Park Service suggests covering a flashlight with red material as an improvised option for astronomy events.[3][4]
Materials That May Work
- Multiple layers of red cellophane
- Red lighting gel
- A purpose-made red filter cap
- Red translucent plastic
- Red fabric combined with a secure diffuser
DIY Limitations
- Filter material may leak white light.
- A powerful white LED may remain too bright.
- Heat may damage inappropriate materials.
- Tape can loosen in cold or humid conditions.
- Color can vary between materials.
- A loose filter can fall off at the worst time.
- The beam may still be too broad.
Do not permanently paint or modify an expensive safety light unless the modification can be reversed and does not create overheating or reliability problems.
How Should You Use a Red Flashlight at a Star Party?
Before Arrival
- Learn the event’s lighting rules.
- Test red-first activation.
- Lower the default brightness.
- Lock out white mode.
- Cover vehicle interior lights when permitted and safe.
- Turn off automatic phone brightness and notifications.
- Arrive before dark when possible.
In the Observing Field
- Point the beam downward.
- Cup a hand around the light for close tasks.
- Keep the beam below waist level when practical.
- Switch the light off immediately after use.
- Do not sweep the beam across telescopes.
- Do not point a headlamp at people.
- Move away from observers before using a bright screen.
- Ask before using any laser pointer.
When Arriving or Leaving Late
Follow the event’s vehicle procedure. Organizers may designate:
- Parking outside the telescope field
- Specific arrival and departure windows
- Covered headlights
- Parking-light-only movement
- A guide who walks in front of the vehicle
- No vehicle movement after dark
Do not improvise vehicle lighting procedures. Safety and host instructions take priority.
What Is the Right Light for Each Task?
| Task | Recommended starting light | Notes |
|---|---|---|
| Reading a paper chart | Very dim red | Hold close and shield the page |
| Checking an eyepiece label | Very dim red | Red labels may be difficult to distinguish |
| Walking on familiar flat ground | Low red, pointed down | Increase only when hazards require it |
| Crossing rough or unknown terrain | Appropriate safety light | White light may be necessary |
| Writing observing notes | Dim red with narrow beam | Use high-contrast paper and large writing |
| Changing camera settings | Dimmed red screen or covered display | Disable bright previews |
| Searching for a dropped screw | Narrow red beam first | Use white light away from observers if required |
| First aid | White emergency light | Accurate assessment and safety take priority |
| Roadside repair | White task light | Move away from the observing field |
| Packing after the event | Red while observers remain active | Use white only after permission or away from the field |
A lighting rule should never prevent a person from responding safely to an emergency.
Worked Example: One Light Is Not Enough for Every Task
This hypothetical example shows how an observer uses two separate lights during a dark-sky trip.
Equipment
- Small dimmable red handheld flashlight
- White emergency headlamp stored in a closed bag
- Phone configured in red night mode
During Setup
The observer arrives before full darkness and completes most assembly without artificial light. As the sky darkens, the red flashlight is used at its lowest setting to route cables and identify eyepieces.
During Observing
The flashlight remains off except for brief chart checks. The beam is shielded with one hand and pointed at the page from close range.
During a Minor Equipment Problem
A small screw falls under the tripod. The observer first uses the narrow red beam. When the screw cannot be located, the observer informs nearby participants and moves the equipment issue to a designated area before using white light.
During an Emergency
A person trips near the parking boundary. The white emergency light is used immediately to assess the area and provide help.
What the Example Shows
Red light is a tool for routine observing tasks. It is not a replacement for adequate emergency illumination.
What Common Red-Flashlight Mistakes Should You Avoid?
Buying for Maximum Brightness
A high-output specification may be useful for emergencies but says little about whether the lowest mode is suitable for astronomy.
Using a Device That Starts in White
One accidental activation can disturb an entire observing group.
Wearing a Headlamp at Eye Level
The wearer may forget that every head movement directs the beam toward another person.
Assuming Red Means Harmless
A bright red light still creates glare and can reduce dark-adapted sensitivity.
Leaving the Light On
Continuous low light can be more disruptive than a brief, well-controlled use.
Reading From Too Far Away
Bringing the light and chart closer often allows a lower setting.
Ignoring Color-Legibility Problems
Red text, red symbols, and color-coded wires may be difficult to distinguish under red illumination.
Relying on One Light
A failed battery or dropped flashlight can create a safety problem at a remote site.
Using a Red Phone Screen at Full Brightness
Color filtering does not compensate for excessive screen luminance.
Why Is My Red Flashlight Still Ruining Night Vision?
| Problem | Likely cause | Practical fix |
|---|---|---|
| Faint stars disappear after use | Output is too bright or exposure is too long | Lower brightness and shorten use |
| Nearby observers complain | Beam is wide, high, or pointed toward people | Shield it and aim downward |
| Chart is unreadable | Red text or low contrast | Use black-on-white charts or larger print |
| Light turns on white first | Interface design is unsuitable | Lock out white or replace the task light |
| Headlamp flashes people | Beam follows head movement | Tilt down or use a handheld light |
| DIY filter looks pink or white | Filter is too thin or leaks | Add an appropriate filter layer and reduce output |
| Phone still feels bright | Large screen and system elements remain luminous | Add a physical filter and lower brightness |
| Controls are confusing | Too many modes or hidden shortcuts | Choose simpler red-first controls |
| Light dies in cold weather | Battery performance or charge is inadequate | Carry compatible spare power |
| Beam reflects from equipment | Glossy surfaces and excess output | Move closer, dim, and change the beam angle |
When Should You Use White Light Instead?
Use white light when accurate vision and immediate safety matter more than preserving dark adaptation.
Examples include:
- Medical emergencies
- Identifying a dangerous animal
- Inspecting unstable ground
- Finding a lost person
- Roadside repair
- Checking electrical damage
- Responding to smoke or fire
- Navigating a difficult evacuation route
- Identifying color-coded safety equipment
Warn nearby observers when possible and direct the light away from the telescope field. Do not delay emergency action to protect night vision.
Red Flashlight Checklist
Before Buying
- Red mode activates directly
- The minimum red level is genuinely low
- Brightness is adjustable
- White mode has a lockout or separate control
- No unavoidable strobe or flashing sequence
- Controls can be used with gloves
- Beam can be narrowed or shielded
- Battery strategy fits the trip
- Housing suits dew, dust, and cold
- A separate emergency-light plan exists
Before the Session
- Test every mode at home
- Confirm the light starts in red
- Set the lowest practical brightness
- Charge batteries and pack spares
- Attach a lanyard or secure clip
- Configure phone night mode
- Disable bright notifications
- Review event lighting rules
- Pack a white emergency light separately
At the Site
- Point the beam downward
- Use the shortest practical exposure
- Shield the beam for close work
- Keep headlamps away from faces
- Turn the light off immediately after use
- Move away before using a bright screen
- Warn others before necessary white light
- Put safety ahead of dark adaptation
Use Red Light as a Controlled Tool
Astronomers use red flashlights because dim long-wavelength light can support routine tasks while disturbing rod-based night vision less than typical white lighting. The benefit depends on control: the beam must be dim, brief, directed downward, and prevented from switching accidentally to white.
For solo backyard observing, a simple dimmable red handheld light may be enough. For a public star party, prioritize red-first activation and strict beam control. For a remote dark-sky trip, add a separate white emergency light, spare power, and a lighting plan that protects both night vision and personal safety.
Recommended Next Step by User Type
- Beginner: Choose a simple red-first light with a genuinely low mode and practice using it before the trip.
- Star-party visitor: Follow the organizer’s rules and avoid any device that cycles through white.
- Telescope observer: Prefer a narrow handheld beam for eyepieces, charts, and cables.
- Astrophotographer: Control phone, camera, intervalometer, and laptop displays as carefully as the flashlight.
- Family group: Give each person a dim red light and explain where white emergency lighting is stored.
- Remote traveler: Carry redundant red task lighting and a separate reliable white emergency light.
Frequently Asked Questions
Does Red Light Reset Dark Adaptation?
It can reduce adaptation when it is bright, direct, or prolonged. A very dim red light is generally less disruptive to rod-based vision than a typical white flashlight, but it is not invisible to the eye.
What Color Red Is Best for Stargazing?
A long-wavelength deep red is commonly used, but wavelength alone does not determine performance. Low brightness, controlled direction, short exposure, and a red-first interface are more important than choosing a product by color name.
How Many Lumens Should a Red Astronomy Flashlight Have?
There is no universal lumen requirement, and very low modes are not always measured consistently across products. Choose a light that can be reduced until it illuminates only the nearby task without lighting the wider observing area.
Is a Red Headlamp Better Than a Handheld Flashlight?
A headlamp keeps both hands free, but it can shine into other observers’ eyes whenever the wearer turns. A handheld flashlight provides better directional control. Many observers carry both and use each for a different task.
Can I Cover a White Flashlight With Red Tape?
A secure red filter can work as a temporary solution, but the source may remain too bright or leak white light. Test the result in darkness, use multiple appropriate filter layers if necessary, and ensure the material does not create heat or reliability problems.
Why Can’t I Read Red Printing Under a Red Flashlight?
Red illumination provides little contrast between red ink and the surrounding page because both may reflect similar wavelengths. Use black text, high-contrast charts, larger symbols, or a brief controlled white light away from other observers when accurate color recognition is necessary.
Sources
- National Library of Medicine, Webvision, Light and Dark Adaptation. Accessed August 4, 2026.
- American Academy of Ophthalmology, Night Vision. Accessed August 4, 2026.
- U.S. National Park Service, Dark Adaptation of the Human Eye and the Value of Red Flashlights. Last updated March 1, 2021. Accessed August 4, 2026.
- U.S. National Park Service, Joshua Tree National Park, Night Sky Viewing: Etiquette and Advice. Accessed August 4, 2026.
- Royal Astronomical Society of Canada, Guidelines for Outdoor Lighting in Dark-Sky Preserves. 2018. Accessed August 4, 2026.
More from Dark-Sky Trips & Gear
How to Stay Warm and Comfortable During Winter Stargazing
Winter stargazing requires more preparation than wearing one heavy coat because observers often remain nearly motionless for long periods. This guide explains how to check temperature, wind chill, road conditions, snow, and shelter before leaving; build a moisture-managing base, insulating middle, and wind-resistant outer layer; and protect hands, feet, head, face, chair, and ground contact. Readers will learn how to combine liner gloves with mittens, avoid sweat, plan warm-up breaks, use heated clothing safely, manage food and hydration, protect batteries, and prevent condensation when cold equipment returns indoors. The article also includes the WARMER planning framework, clothing and glove comparisons, a three-hour worked example, cold-stress warning signs, troubleshooting guidance, departure rules, FAQs, and a complete winter stargazing checklist.

Stargazing While Camping: A Practical Planning Guide
Camping can provide long, convenient access to dark skies, but a successful astronomy trip requires more than choosing the darkest location on a map. This guide explains how to combine campground rules, weather, Moon timing, food storage, wildlife protection, quiet hours, power, dew control, and telescope setup into one workable plan. It introduces the original CAMP framework—Confirm access, Align conditions, Map functional zones, and Prepare fallbacks—plus a three-zone campsite layout separating sleeping, service, and observing areas. Readers can compare developed, walk-in, backcountry, dispersed, and astronomy-focused campgrounds; build a night schedule from daylight arrival through morning pack-up; and use practical decision tables for Moonlight, cloud, wind, dew, neighboring lights, and campfire impacts. The article also includes a hypothetical two-night family plan, a go/modify/cancel decision tree, troubleshooting guidance, and a complete campsite checklist grounded in NASA, National Park Service, and National Weather Service resources.
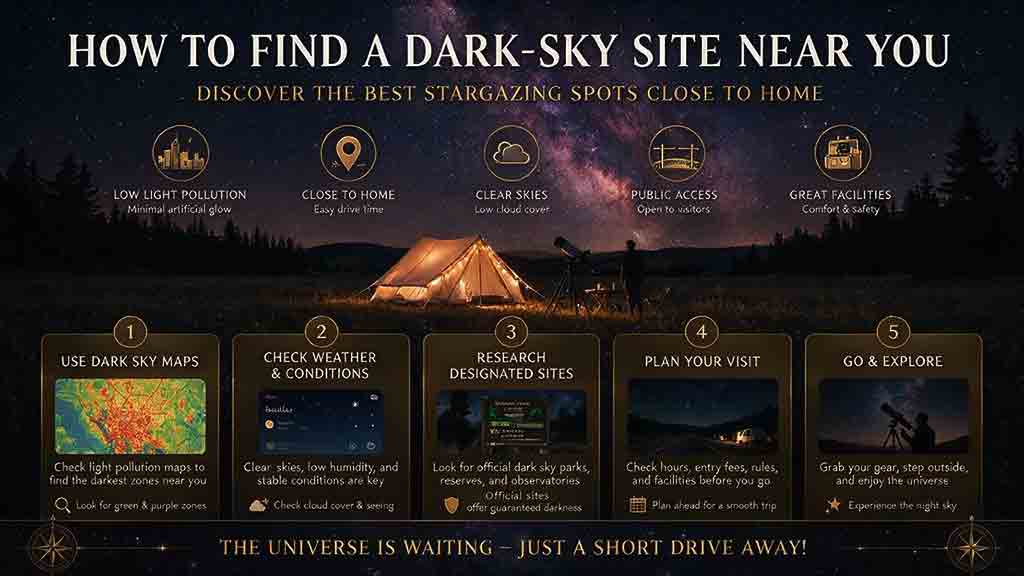
How to Find a Dark-Sky Site Near You
Finding a dark-sky site requires more than selecting the darkest color on a light-pollution map. This guide explains how to identify promising regions, search certified Dark Sky Places and official public-land directories, verify legal nighttime access, inspect roads and horizons, check Moon and weather conditions, and validate a location in daylight and after dark. Readers will learn how satellite nighttime-light data differs from ground-level sky quality, what a Bortle estimate can and cannot reveal, when a sky quality meter is useful, and how to compare parks, campgrounds, observatories, club fields, and remote public lands. The article also includes the DARK-SITE decision framework, a three-location worked example, a trip-value calculation, safety and etiquette guidance, gear recommendations, troubleshooting advice, FAQs, and a complete site-selection checklist.
Explore More Topics
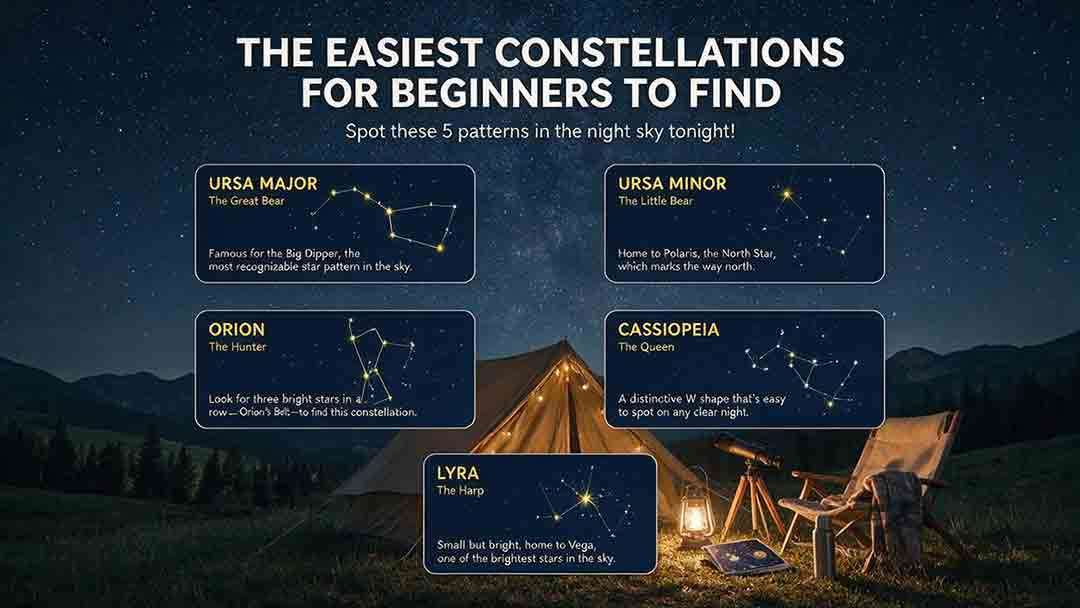
The Easiest Constellations for Beginners to Find
This beginner-friendly guide explains how to find Orion, Ursa Major through the Big Dipper, Cassiopeia, Cygnus, and Scorpius using clear naked-eye observing steps. It compares each pattern through an original Beginner Visibility Score and shows readers how to choose a first target based on season, latitude, light pollution, moonlight, and horizon visibility. The guide also clarifies the difference between constellations and asterisms, explains how the Big Dipper can point toward Polaris, and provides dedicated recommendations for Southern Hemisphere observers, including Crux. Practical tools include the Anchor-Pattern Method, the Three-Check Rule, a 10-minute observing session, city-sky guidance, troubleshooting advice, an equipment comparison, and a safety checklist. Authoritative references from the International Astronomical Union, NASA, NSF NOIRLab, and the European Southern Observatory support the key astronomical facts.
What Is Star Hopping and How Do You Do It?
Star hopping is a practical way to navigate the night sky by moving from a bright, recognizable star to a fainter target through a sequence of visible star patterns. This guide explains how beginners can plan a reliable route, align a finder, match a star chart to a telescope’s field of view, and recognize rotated or mirror-reversed images. It introduces the Anchor–Path–Field–Confirm method, provides a step-by-step observing process, and shows how field-of-view estimates can help determine a practical chart scale. A worked example demonstrates how to locate Messier 13 using the Keystone of Hercules, while the troubleshooting table addresses common problems such as finder misalignment, excessive magnification, incorrect chart orientation, and targets that remain invisible despite correct pointing. The included field checklist gives binocular and telescope users a repeatable method for planning and completing future star hops.
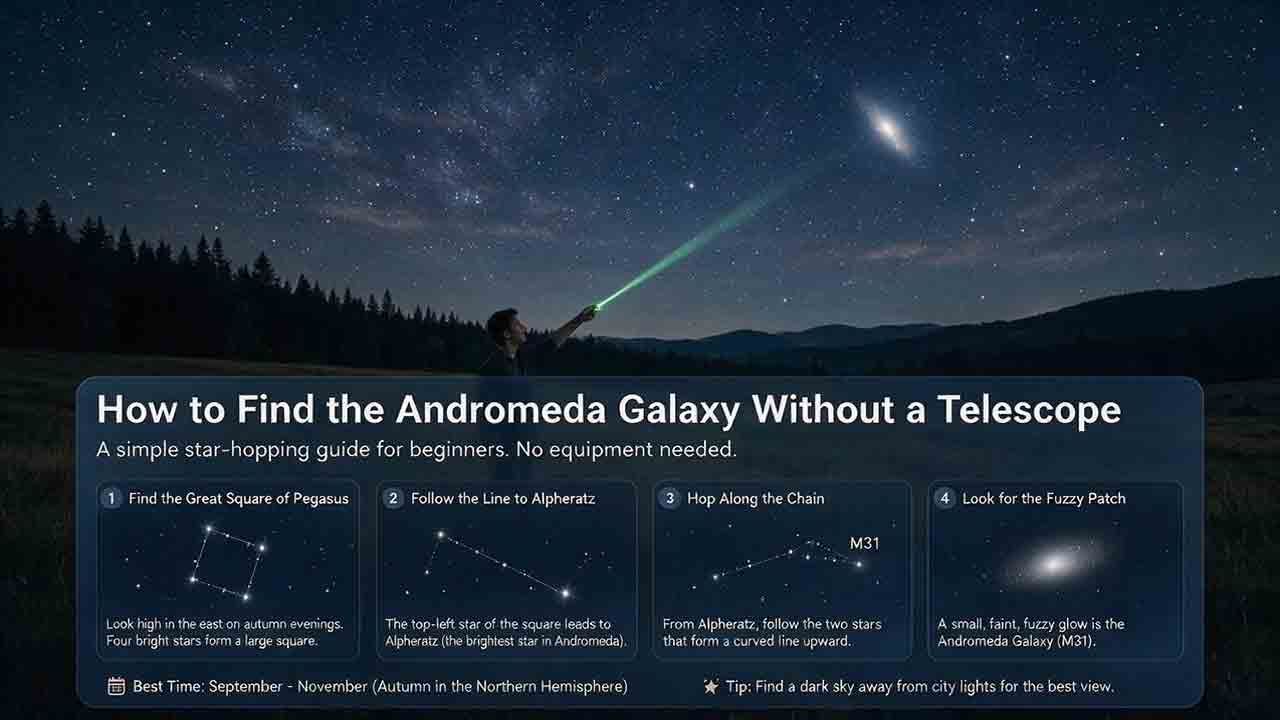
How to Find the Andromeda Galaxy Without a Telescope
Finding the Andromeda Galaxy without a telescope is possible when you know which stars to use as landmarks. This practical guide explains how to start at the Great Square of Pegasus, identify Alpheratz, follow the Andromeda star chain to Mirach, and use two nearly equal short hops to reach Mu Andromedae and M31. It also explains what the galaxy realistically looks like to the naked eye, why dark skies and averted vision matter, and how binoculars can help confirm the target. Beginners can use the six-point observing checklist, three-night practice method, troubleshooting guidance, and reusable observation log to improve each attempt. The guide distinguishes calculated angular distances from practical field estimates and clearly explains its source-checking process without claiming personal testing. It is designed primarily for Northern Hemisphere observers while also addressing visibility limitations from Southern Hemisphere locations.