How to Stay Warm and Comfortable During Winter Stargazing

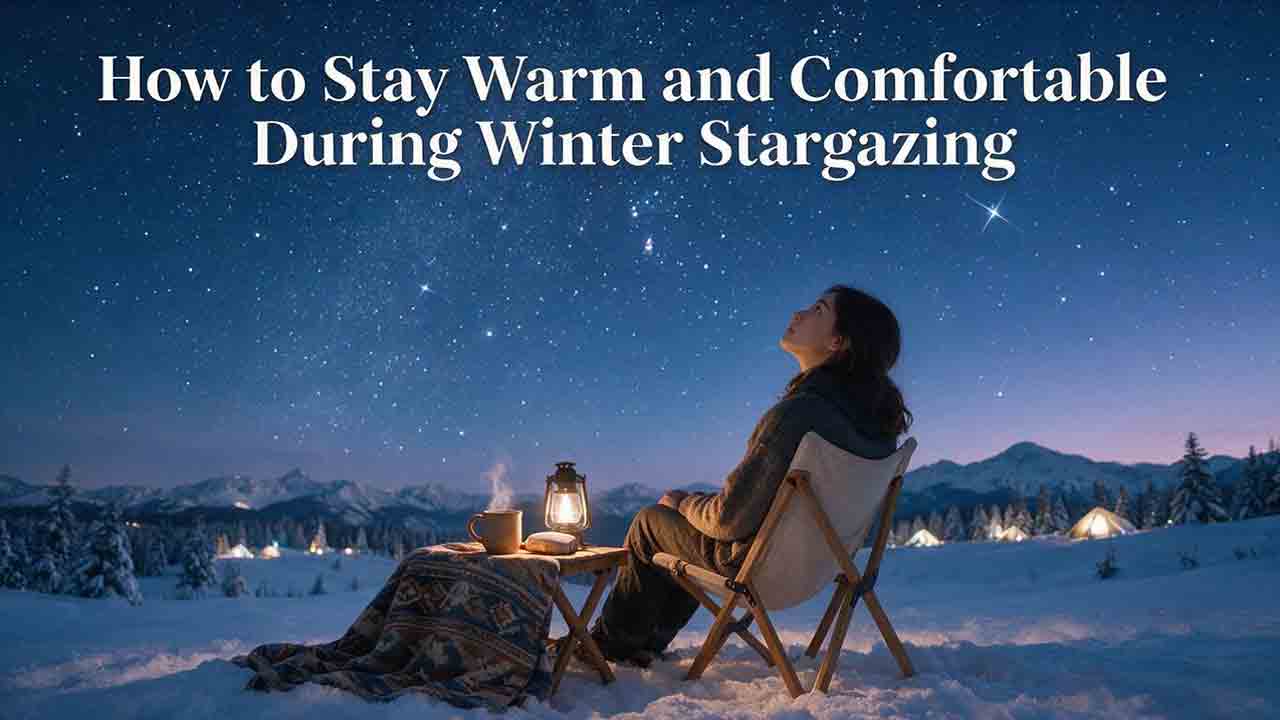
Stay warm during winter stargazing by dressing in loose moisture-managing layers, blocking wind, insulating your feet and seat from the ground, protecting your head and hands, and taking scheduled warm-up breaks before you feel deeply chilled. Check the wind chill and road conditions, carry dry backup clothing and emergency light, and end the session immediately if anyone develops confusion, slurred speech, persistent numbness, or unusual clumsiness.
Key Takeaways
- Dress for standing still, not for the short walk from the car; stargazing produces much less body heat than hiking.
- Use a base layer, insulating middle layers, and a wind-resistant outer shell, then adjust layers before sweat builds.
- Insulate downward with warm boots, thick socks, a closed-cell pad, and an observing chair; cold ground can drain comfort quickly.
- Mittens usually retain warmth better than gloves, while thin liner gloves preserve dexterity for focusers, eyepieces, and camera controls.
- Build warm breaks, a dry-clothing reserve, and a clear exit rule into the observing plan rather than waiting until someone is severely cold.
This guide explains how to evaluate winter conditions, build a practical clothing system, keep hands and feet functional, protect equipment in the cold, recognize cold-stress warning signs, and decide when to shorten or cancel a session.
This guide is based on government cold-weather guidance, official weather information, manufacturer documentation, and practical selection criteria rather than hands-on testing of every garment, heater, or battery system.
Why Does Winter Stargazing Feel Colder Than the Forecast Suggests?
Winter stargazing often involves long periods of sitting or standing with very little movement. A temperature that feels manageable during a walk can become uncomfortable after an hour at an eyepiece because the body is producing less heat.
Several factors combine:
- Wind increases heat loss from exposed skin.
- Cold ground draws heat from boots, knees, and the seat.
- Moisture from sweat, snow, or dew reduces insulation.
- Metal telescope parts feel extremely cold to bare skin.
- Long sessions allow small comfort problems to accumulate.
- Darkness makes it easier to overlook changing weather and physical symptoms.
- Remote sites may lack heated shelters, cell service, or quick assistance.
The National Weather Service defines wind chill as how cold conditions feel because wind increases the rate of heat loss from exposed skin.[1] Wind chill does not make equipment colder than the actual air temperature, but it can make exposed people cool much faster.
What Should You Check Before a Winter Stargazing Session?
Start with weather and access rather than clothing alone.
Check the Hourly Forecast
Review the exact observing location and hours for:
- Air temperature
- Wind speed and gusts
- Wind chill
- Snow, freezing rain, and precipitation
- Cloud cover
- Fog and visibility
- Road conditions
- Weather watches and warnings
- Temperature trend after midnight
- Sunrise and return-trip conditions
A calm evening can become much colder or windier after a front passes. Check the forecast again immediately before departure.
Check the Site
Confirm:
- Winter gate hours
- Plowed-road status
- Parking restrictions
- Snow depth
- Ice and traction needs
- Restroom availability
- Heated shelter availability
- Cell service
- Emergency access
- Whether the return route crosses exposed or mountainous roads
The U.S. National Park Service advises checking winter closures, road conditions, reduced services, and changing hazards before visiting parks.[2] A familiar summer site may function very differently when roads, shoulders, signs, or parking boundaries are covered by snow.
Check the Observing Plan
Ask:
- How much time will be spent standing still?
- Is the telescope close to the vehicle?
- Can the session be shortened without a complex teardown?
- Is there a warm building or heated car available?
- Does anyone in the group need extra protection from cold?
- Will gloves need to be removed for small controls?
- Is the return driver likely to be fatigued?
The best winter plan has an easy exit, not just a warm clothing list.
How Should You Dress for Winter Stargazing?
Use multiple loose layers that trap air, manage moisture, and can be adjusted without exposing the body for long. NIOSH recommends several layers of loose clothing, protection for the ears, face, hands, and feet, insulated waterproof boots, warm breaks, and spare cold-weather gear.[3]
Base Layer: Keep Moisture Away From the Skin
The base layer should move perspiration away from the body and dry reasonably quickly.
Useful materials include:
- Merino wool
- Synthetic polyester blends
- Purpose-made thermal fabrics
Avoid relying on cotton next to the skin during a cold outdoor session. Cotton absorbs moisture and loses much of its insulating value when wet. The National Park Service recommends wool or synthetic winter clothing over cotton for cold-weather recreation.[2]
A heavier base layer is not always better. If the drive, setup, or hike causes sweating, the dampness can become a problem once movement stops.
Mid Layer: Trap Warm Air
The insulating layer provides most of the warmth.
Common options include:
- Fleece
- Wool sweaters
- Synthetic insulated jackets
- Down jackets protected from moisture
- Insulated bibs or pants
Several moderate layers are often more flexible than one extremely bulky garment. Remove or unzip a layer during active setup, then add it again before sitting still.
Outer Layer: Block Wind and Moisture
The shell should reduce wind penetration and protect the insulation from snow, drizzle, or damp ground.
Look for:
- Wind resistance
- Water resistance appropriate to the forecast
- A hood that works with a hat
- Cuffs that close over or under gloves
- Enough room for insulating layers
- Quiet, flexible fabric around telescope controls
- Pockets that can be used with gloves
A tightly fitted shell can compress insulation and restrict circulation. Leave enough room for trapped air and movement.
How Much Clothing Is Enough?
There is no universal number of layers because temperature, wind, humidity, activity, body size, clothing materials, and personal cold tolerance vary.
Use this practical comparison:
| Session type | Clothing approach |
|---|---|
| 20-minute backyard look | Normal winter outerwear plus warm hat and gloves |
| One-hour binocular session | Full layers, insulated footwear, chair or ground pad |
| Multi-hour telescope session | Heavier insulation, mittens, spare layers, scheduled warm breaks |
| Remote dark-sky trip | Full clothing system, dry backup set, blanket, emergency shelter plan |
| Astrophotography with long automated exposures | Dress for near-total inactivity and repeated battery or equipment checks |
| Family outing | Plan for the coldest and least active person, not the most experienced adult |
Dress so that you feel comfortably warm before the first long stationary period, but not so hot during setup that you begin sweating.
What Is the WARMER Framework?
Use the WARMER framework to plan clothing and breaks.
| Letter | Check | Practical question |
|---|---|---|
| W | Weather and wind | What will the temperature, wind chill, precipitation, and road condition be during the full session? |
| A | Activity level | Will you hike, assemble equipment, sit, or stand still? |
| R | Remove moisture | Can you prevent sweat and replace wet clothing quickly? |
| M | Multiple loose layers | Can you add or remove insulation without compressing it? |
| E | Extremities and earth | Are the head, hands, feet, face, chair, and ground contact insulated? |
| R | Recovery and retreat | Where will warm breaks happen, and what conditions trigger departure? |
The framework is an editorial planning tool rather than a medical scoring system.
How Do You Keep Your Hands Warm Without Losing Dexterity?
Hands are difficult because astronomy often requires precise control of small objects. The warmest solution may be too bulky for eyepieces, focusers, camera buttons, and screws.
Use a Two-Layer Hand System
A practical combination is:
- Thin liner gloves for basic dexterity
- Insulated mittens or over-mitts for warmth between tasks
Mittens usually retain heat better because the fingers share warmth. The National Weather Service notes that mittens snug at the wrist are generally warmer than gloves.[1]
Organize Equipment for Gloved Use
Before dark:
- Loosen caps that are difficult to grip.
- Arrange eyepieces in a fixed order.
- Add tactile markers to frequently used controls.
- Use large knobs where compatible.
- Attach lanyards to small tools.
- Keep screws and adapters in shallow trays.
- Avoid placing metal parts directly on snow.
The fewer times gloves must be removed, the longer the hands remain functional.
Use Hand Warmers Carefully
Chemical hand warmers can add comfort inside pockets or mittens. Follow the manufacturer’s instructions and avoid direct prolonged contact with bare skin, especially when sensation is reduced.
Do not use a hand warmer to ignore persistent numbness or pain. Numb fingers need warming and reassessment, not simply more observing time.
Gloves or Mittens: Which Is Better?
| Option | Advantages | Limitations | Best use |
|---|---|---|---|
| Thin liner gloves | Good dexterity and touchscreen control | Limited insulation | Brief equipment adjustments |
| Insulated gloves | Balanced control and warmth | Fingers remain separated | General setup and walking |
| Mittens | Better shared-finger warmth | Poor fine control | Waiting at the eyepiece |
| Convertible fingerless mittens | Quick access to controls | Exposed fingertips can chill rapidly | Short, controlled adjustments |
| Over-mitts | Add wind and insulation over liners | Bulky | Long stationary sessions |
| Heated gloves | Active warmth | Batteries, fit, charging, and failure points | Users who understand the system and carry backup insulation |
Heated gloves should supplement, not replace, ordinary insulation and an exit plan.
How Do You Keep Your Feet Warm?
Cold feet often end a session before the telescope or sky does.
Choose Boots for Insulation and Space
Winter boots should be:
- Insulated
- Water resistant or waterproof for the conditions
- Large enough for socks without compressing the foot
- Compatible with snow or ice traction
- Stable on uneven ground
Tight boots and too many socks can restrict circulation and reduce warmth.
Use a Sock System
A common approach is:
- Thin moisture-managing liner sock, if comfortable
- Warm wool or synthetic outer sock
- Dry spare pair stored in a sealed bag
Change socks when they become damp. Do not wait for them to feel soaked.
Insulate From the Ground
Stand on a closed-cell foam pad, insulated mat, or other stable dry barrier. A mat can reduce heat transfer into snow, frozen soil, concrete, or pavement.
Make sure the mat does not create a trip hazard around tripod legs or cables.
Why Does an Observing Chair Make Such a Difference?
A chair reduces fatigue and makes it easier to observe steadily, but its material can also conduct heat away from the body.
Improve chair comfort with:
- An insulated seat pad
- A back pad
- A blanket that does not trail near equipment
- Adjustable height to reduce awkward posture
- Stable feet that will not sink into snow
- A dry layer between the chair and frozen ground
Avoid sitting directly on metal, stone, wet wood, or snow.
How Should You Protect Your Head, Face, and Neck?
Cover the head, ears, neck, and exposed facial areas without blocking vision or breathing.
Useful combinations include:
- Warm hat
- Hood
- Neck gaiter
- Balaclava
- Scarf or face covering
- Wind-resistant outer hood
Make sure fabric does not fog eyepieces, glasses, or camera viewfinders. Redirect exhaled moisture away from optics.
A face covering can help in strong wind, but it should not reduce awareness, obstruct peripheral vision, or interfere with safe walking.
How Can You Stay Warm Without Sweating?
Sweat can become a major source of cooling after activity stops.
During Setup
- Open the jacket before carrying equipment.
- Remove a hat briefly if safe.
- Work steadily rather than rushing.
- Carry smaller loads.
- Put the heaviest insulation on after setup.
- Avoid hiking in the full stationary-observing outfit.
During Observing
- Add a layer before shivering begins.
- Use short gentle movements between targets.
- Flex fingers and toes without disturbing the telescope.
- Take warm breaks on a schedule.
- Replace damp clothing immediately.
Do not use strenuous exercise as the main warming strategy beside delicate equipment or on icy ground.
How Often Should You Take Warm-Up Breaks?
There is no universal interval. The correct schedule depends on wind chill, clothing, individual response, session length, and shelter access.
A practical approach is:
- Set an initial break time before observing.
- Reassess after the first stationary period.
- Shorten the interval if hands, feet, face, or concentration are deteriorating.
- Warm up before anyone reaches persistent shivering or numbness.
- End the session if full comfort does not return during a break.
NIOSH recommends moving into warm locations during breaks, limiting time outdoors in extreme cold, and monitoring yourself and coworkers for cold-stress symptoms.[3]
Warm-Car Caution
A heated vehicle can be a useful shelter, but:
- Keep the exhaust area clear of snow.
- Never idle in an enclosed or poorly ventilated space.
- Keep headlights and interior lights from disrupting other observers.
- Do not assume a vehicle will start after hours of battery use.
- Avoid falling asleep in an unsafe setting.
- Follow local rules on idling and overnight parking.
What Should You Eat and Drink?
Cold conditions can reduce awareness of thirst, while dry air and activity still contribute to fluid loss.
Bring:
- Water in an insulated container
- Warm non-alcoholic drinks
- Easy-to-eat snacks
- Food that will not freeze solid
- Extra calories for a long trip
The National Park Service notes that dehydration and hunger can worsen exhaustion and reduce the body’s ability to stay warm.[2]
Avoid using alcohol as a warming strategy. CDC guidance identifies alcohol use as a risk factor for hypothermia and advises against alcoholic drinks when warming someone with suspected hypothermia.[4]
A warm drink can improve comfort, but it does not replace dry clothing, shelter, or medical care.
Are Heated Vests, Socks, and Blankets Worth Using?
Heated gear can improve comfort, especially during long stationary sessions, but it introduces batteries, wiring, charging, and failure risks.
Advantages
- Adjustable warmth
- Useful during stationary observing
- May reduce the amount of bulky insulation needed
- Targeted heating for torso, feet, or hands
Limitations
- Battery performance may fall in cold weather
- A cable or controller can fail
- Heating can encourage a user to stay out too long
- Hot spots may cause discomfort or skin injury
- Moisture and damaged wiring create additional concerns
- Some systems are awkward around telescope cables
Safe Use Principles
- Follow the manufacturer’s instructions.
- Inspect wiring and batteries before each trip.
- Use heated gear over an appropriate clothing layer, not as the only insulation.
- Carry passive backup layers.
- Do not sleep with gear that is not approved for that use.
- Stop using damaged, swollen, wet, or unusually hot batteries.
- Keep controls easy to reach with gloves.
Heated gear should improve comfort, not extend exposure beyond safe judgment.
How Does Cold Affect Stargazing Equipment?
Cold affects batteries, lubricants, plastics, cables, displays, and moisture behavior.
Batteries
Camera and electronics manufacturers note that battery performance can decrease at low temperatures and may improve again when the battery is safely warmed.[5][6]
Practical steps include:
- Start with fully charged batteries.
- Carry more capacity than the normal session requires.
- Keep spare batteries in a protected inner pocket.
- Prevent battery contacts from touching keys or other metal.
- Use insulated battery containers when appropriate.
- Follow the device manufacturer’s operating and charging limits.
- Do not charge a battery outside its permitted temperature range.
- Bring a non-powered fallback such as a paper chart and manual flashlight.
Displays and Controls
Cold can make screens respond slowly and cables become stiff. Test buttons, focusers, mounts, and connectors before leaving home.
Avoid forcing frozen or unusually stiff controls.
Metal Surfaces
Do not touch cold metal with bare skin. NIOSH specifically advises avoiding bare-skin contact with cold metal surfaces.[3]
Use gloves when handling:
- Tripod legs
- Counterweights
- Mount knobs
- Metal eyepiece barrels
- Vehicle tools
- Cases and latches
Condensation During Warm-Up
When cold equipment enters warm humid air, condensation can form on external and internal surfaces. Nikon advises caution when moving cold equipment into a warm, moist environment because moisture may affect optics and electronics.[6]
A common preventive method is:
- Cap the optics before entering.
- Place smaller cold equipment in a sealed bag or closed case outdoors.
- Bring it inside while sealed.
- Let it warm gradually.
- Open the container only after the equipment approaches indoor temperature.
Follow the manufacturer’s guidance for the specific camera, telescope, mount, and battery.
How Can You Prevent Eyepiece and Glasses Fogging?
Warm breath and facial moisture can fog cold optical surfaces.
Try:
- Directing exhaled air downward
- Adjusting a neck gaiter or mask
- Keeping eyepieces capped when not in use
- Using an eyepiece heater designed for the equipment
- Rotating between eyepieces stored in a protected case
- Keeping glasses clean and dry
- Avoiding breathing directly into the eyecup
Do not wipe frosted or gritty optical coatings aggressively. Allow ice to melt and follow the manufacturer’s cleaning procedure.
What Are the Warning Signs of Hypothermia?
Hypothermia occurs when the body loses heat faster than it can produce it. It can happen in extremely cold conditions and also in cool conditions when a person becomes wet from rain, sweat, or immersion.[4]
CDC warning signs in adults include:
- Shivering
- Exhaustion
- Confusion
- Fumbling hands
- Memory loss
- Slurred speech
- Drowsiness
A person with hypothermia may not recognize the problem because judgment and coordination can decline.
What Should You Do if Hypothermia Is Suspected?
If hypothermia is suspected:
- End the outdoor activity.
- Move the person to warm shelter.
- Remove wet clothing.
- Use dry layers, blankets, and appropriate core warming.
- Seek medical help promptly.
- Handle a severely affected person gently.
- Do not give alcohol.
- Do not give drinks to an unconscious person.
Hypothermia is a medical emergency. Follow emergency-service instructions and current first-aid guidance.[4]
What Are the Warning Signs of Frostbite?
Frostbite is a freezing injury that commonly affects fingers, toes, ears, cheeks, chin, and nose.
CDC warning signs include:
- Redness or pain as an early warning
- Numbness
- White or grayish-yellow skin
- Skin that feels unusually firm or waxy[7]
What Should You Do if Frostbite Is Suspected?
- Move to a warm place.
- Seek medical attention as soon as possible.
- Do not rub or massage the area.
- Do not use a fireplace, stove, heating pad, or other intense direct heat.
- Avoid walking on frostbitten feet or toes unless necessary for safety.
- Do not allow thawed tissue to refreeze.
Do not delay departure because the target is rare or the exposure is almost complete.
When Should You End the Session?
Set the exit conditions before the trip.
End Immediately When
- Someone becomes confused or unusually drowsy.
- Speech becomes slurred.
- Hands become too clumsy to manage equipment safely.
- Numbness persists after a warm break.
- Skin becomes pale, waxy, white, or grayish-yellow.
- Shivering becomes severe or unexpectedly stops while the person remains cold.
- Clothing becomes wet without a dry replacement.
- Wind, snow, freezing rain, fog, or road conditions worsen.
- The return driver is too fatigued or cold to drive safely.
- The vehicle, heater, phone, or essential lighting becomes unreliable.
Shorten or Modify the Session When
- Toes or fingers cool repeatedly.
- Dew or frost is affecting controls.
- Battery drain is much faster than expected.
- Wind makes the telescope unstable.
- Cloud cover leaves only short viewing gaps.
- A participant is no longer enjoying the session.
- Warm breaks are required more often than planned.
Comfort is a valid reason to stop. A winter observing session does not need to become an endurance test.
A Worked Example: Planning a Three-Hour Winter Session
This hypothetical example illustrates the planning process and is not a guarantee for any location or person.
Forecast
- Air temperature falls steadily after sunset
- Light wind early, stronger gusts later
- Dry conditions
- Vehicle parked close to the telescope area
- No heated building
- Three-hour observing goal
Clothing Plan
- Synthetic base layer
- Fleece mid layer
- Insulated jacket
- Wind-resistant shell
- Insulated pants
- Wool socks
- Winter boots
- Liner gloves and mittens
- Hat, hood, and neck gaiter
Comfort Plan
- Closed-cell standing mat
- Insulated chair pad
- Warm drink in an insulated bottle
- Dry socks and gloves in a sealed bag
- Chemical hand warmers
- Blanket in the vehicle
Session Sequence
- Assemble equipment while wearing fewer upper layers to avoid sweating.
- Add the insulated jacket and mittens before the first long observing period.
- Begin with bright targets while equipment reaches ambient temperature.
- Take a planned warm break after the first hour.
- Recheck wind, fingers, toes, concentration, batteries, and road forecast.
- End early if the wind increase makes the site uncomfortable or the return road uncertain.
What the Example Shows
Warmth depends on the full system: clothing, ground insulation, workload, breaks, shelter, equipment reliability, and a willingness to leave early.
What Common Winter Stargazing Mistakes Should You Avoid?
Dressing for Walking Instead of Standing
A brisk walk generates heat. Waiting at an eyepiece does not.
Wearing Cotton Next to the Skin
Damp cotton can remain cold and dry slowly.
Adding Too Many Tight Socks
Compressed insulation and restricted circulation can make feet colder.
Waiting Until Shivering to Add a Layer
Add insulation when comfort begins to decline, not after strong cooling.
Ignoring the Ground
Warm clothing cannot fully compensate for standing on frozen concrete or sitting on a cold chair.
Removing Gloves Repeatedly
Organize controls and equipment so that bare-hand time is minimal.
Depending Entirely on Heated Gear
Battery or wiring failure should not leave the user without passive insulation.
Keeping Wet Clothing On
Replace wet gloves, socks, or base layers promptly.
Assuming a Full Battery Will Perform Normally
Cold can reduce available runtime and cause an early low-battery indication.[5][6]
Staying Because the Sky Is Excellent
Clear skies do not make worsening cold stress safe.
Why Am I Still Cold Despite Wearing Several Layers?
| Problem | Likely cause | Practical response |
|---|---|---|
| Cold torso | Layers are compressed, damp, or exposed to wind | Add dry loft and block wind |
| Cold feet | Tight boots, damp socks, or cold ground | Loosen fit, change socks, add ground insulation |
| Cold hands | Gloves removed too often or insufficient insulation | Use liners plus mittens and reorganize controls |
| Cold back while seated | Chair conducts heat | Add an insulated seat and back pad |
| Sweaty during setup, cold later | Too much clothing during activity | Vent or remove a layer during setup |
| Face painfully cold | Wind exposure | Add a safe face covering and wind protection |
| Warm clothing but overall decline | Exposure time too long or cold stress developing | Move to shelter and reassess |
| Repeated numbness | Inadequate protection or possible cold injury | End exposure and seek medical guidance if symptoms persist |
| Phone or camera dies early | Cold-reduced battery performance | Warm a spare safely and reduce power use |
| Eyepieces fog | Breath or moisture reaches cold glass | Redirect breath and use suitable dew control |
Winter Stargazing Checklist
Forecast and Access
- Check hourly temperature, wind, and wind chill
- Check snow, ice, freezing rain, fog, and warnings
- Confirm winter road and gate status
- Confirm parking and overnight rules
- Check the return-route forecast
- Identify the nearest warm shelter
- Download offline maps
Clothing
- Moisture-managing base layers
- One or more insulating mid layers
- Wind- and weather-resistant shell
- Insulated pants
- Warm hat and hood
- Neck and face protection
- Liner gloves and mittens
- Insulated boots
- Wool or synthetic socks
- Dry backup clothing in a sealed bag
Comfort and Safety
- Insulated observing chair pad
- Closed-cell standing mat
- Warm non-alcoholic drink
- Water and snacks
- Hand warmers used according to instructions
- Blanket or emergency insulation
- White emergency light and dim red task light
- First-aid supplies
- Shared location and return time
- Clear warm-break and departure plan
Equipment
- Fully charged batteries
- Protected spare batteries
- Battery contacts covered
- Dew heaters and spare power
- Controls tested with gloves
- Paper chart or offline backup
- Caps and cases ready before warm indoor return
- Sealed-bag or closed-case condensation plan
Personal Checks
- Fingers and toes remain warm and functional
- Clothing remains dry
- Thinking and speech remain normal
- No persistent numbness or unusual skin color
- Warm breaks restore comfort
- Driver remains alert and capable
- Everyone is still comfortable enough to continue
Build Warmth Into the Plan
Winter stargazing is most comfortable when warmth is treated as a system rather than a single heavy coat. Check the wind and access, manage moisture, use loose layers, protect the extremities, insulate the chair and ground, carry dry backups, and schedule warm breaks before serious chilling begins.
For a short backyard session, focus on warm footwear, gloves, a hat, and an easy indoor retreat. For a multi-hour dark-sky trip, add full layering, passive backup insulation, redundant power, a warm shelter plan, and firm departure rules. End the session when cold begins to affect sensation, coordination, judgment, or safe travel.
Recommended Next Step by Observer Type
- Backyard beginner: Prepare a warm chair, boots, mittens, and a quick indoor warm-up route.
- Telescope observer: Use liner gloves plus mittens, tactile equipment organization, and an insulated standing mat.
- Astrophotographer: Dress for low activity, carry extra batteries, and plan for condensation when equipment returns indoors.
- Family group: Set shorter sessions, frequent warm breaks, and a departure rule based on the coldest participant.
- Remote traveler: Carry dry spare clothing, emergency insulation, offline navigation, redundant lighting, and a conservative return plan.
- Person with circulation, mobility, or health concerns: Discuss appropriate cold exposure with a qualified healthcare professional and choose a site with immediate warm shelter.
Frequently Asked Questions
How Many Layers Should I Wear for Winter Stargazing?
There is no universal number. Use a moisture-managing base layer, enough insulation for prolonged inactivity, and a wind-resistant outer layer. Adjust the system for temperature, wind, session length, personal cold tolerance, and access to shelter.
Are Gloves or Mittens Better for Astronomy?
Mittens are generally warmer, while gloves provide more dexterity. A practical system combines thin liner gloves for controls with insulated mittens worn between tasks.
Can I Use a Heated Vest While Stargazing?
Yes, when the garment is used according to its instructions and backed up by ordinary insulation. Inspect the battery and wiring, avoid damaged or wet components, and do not let powered warmth justify unsafe exposure.
Why Do My Feet Get Cold Even in Winter Boots?
Common causes include tight footwear, compressed socks, dampness, insufficient insulation, and heat loss into frozen ground. Use dry socks, leave room in the boots, and stand on an insulating pad.
Should I Drink Alcohol to Feel Warmer?
No. Alcohol is not a safe warming strategy and is associated with increased hypothermia risk. Bring warm non-alcoholic drinks, food, dry clothing, and access to shelter instead.[4]
How Do I Bring a Frozen Telescope or Camera Indoors Safely?
Cap the optics, place smaller equipment in a sealed bag or closed case while still cold, and let it warm gradually before opening the container. Follow the manufacturer’s instructions because condensation can affect optical and electronic components.[6]
Sources
- National Weather Service, Wind Chill Questions. Accessed August 4, 2026.
- U.S. National Park Service, Be Winter Ready for Your Adventure. Accessed August 4, 2026.
- Centers for Disease Control and Prevention, National Institute for Occupational Safety and Health, Cold and Work: Types, Causes, Preparation. Updated July 14, 2026. Accessed August 4, 2026.
- Centers for Disease Control and Prevention, Preventing Hypothermia. Updated February 7, 2024. Accessed August 4, 2026.
- Canon U.S.A., Precautions for Battery Use at Low Temperatures. Updated July 23, 2024. Accessed August 4, 2026.
- Nikon Support, Battery Life at Low Temperatures. Accessed August 4, 2026.
- Centers for Disease Control and Prevention, Avoid, Spot, Treat Frostbite and Hypothermia. Accessed August 4, 2026.
More from Dark-Sky Trips & Gear
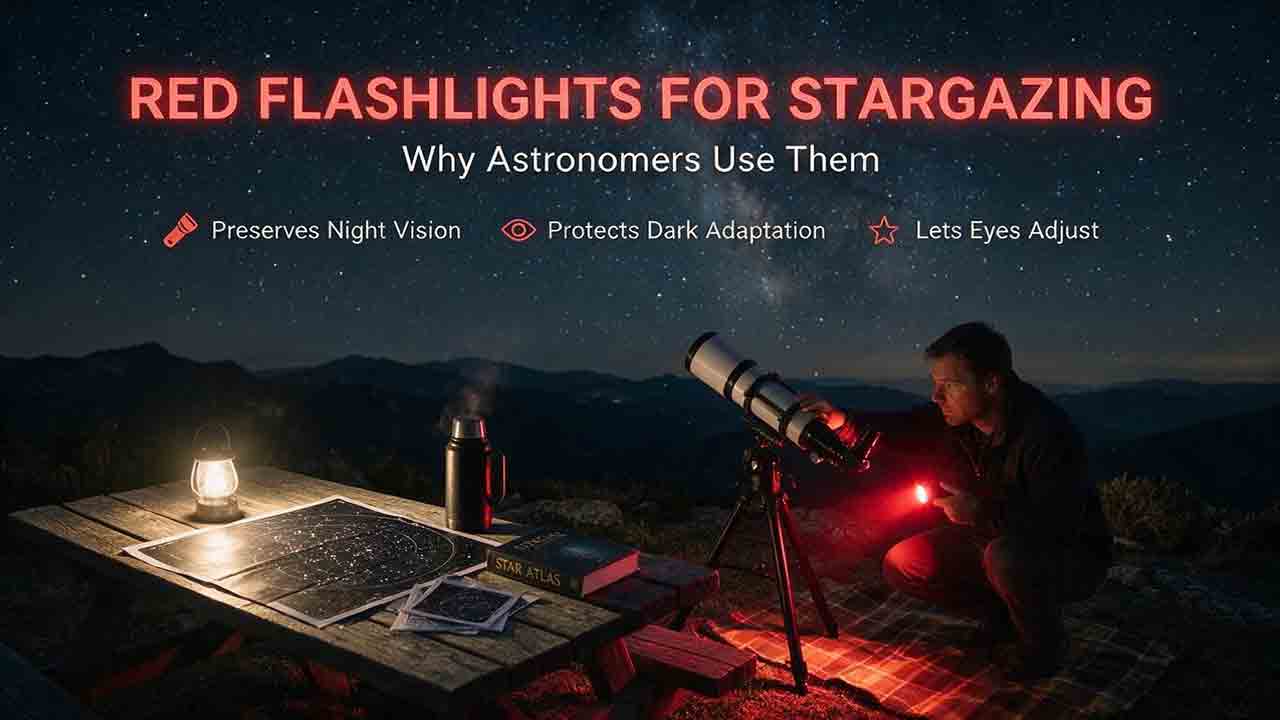
Red Flashlights for Stargazing: Why Astronomers Use Them
Astronomers use dim red flashlights because dark-adapted rod vision is less sensitive to long-wavelength red light than to much of the visible spectrum. A controlled red beam can illuminate charts, eyepieces, cables, and walking paths while causing less disruption than a typical white flashlight. This guide explains how rods, cones, rhodopsin, wavelength, brightness, exposure time, and beam direction shape the result. Readers will learn why red light is not harmless, how to compare handheld lights and headlamps, which product features prevent accidental white-light activation, how to configure a phone screen, and when safety requires a white emergency light. The article also includes the RED-SAFE buying framework, a task-lighting table, a worked observing example, DIY filter guidance, star-party etiquette, troubleshooting advice, FAQs, and complete purchase and field-use checklists.
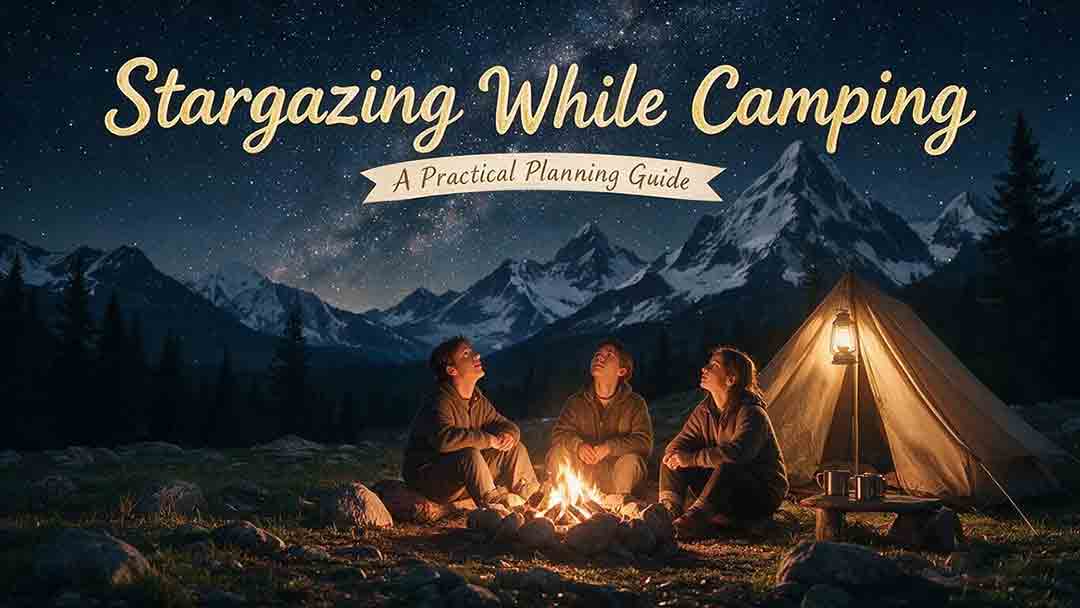
Stargazing While Camping: A Practical Planning Guide
Camping can provide long, convenient access to dark skies, but a successful astronomy trip requires more than choosing the darkest location on a map. This guide explains how to combine campground rules, weather, Moon timing, food storage, wildlife protection, quiet hours, power, dew control, and telescope setup into one workable plan. It introduces the original CAMP framework—Confirm access, Align conditions, Map functional zones, and Prepare fallbacks—plus a three-zone campsite layout separating sleeping, service, and observing areas. Readers can compare developed, walk-in, backcountry, dispersed, and astronomy-focused campgrounds; build a night schedule from daylight arrival through morning pack-up; and use practical decision tables for Moonlight, cloud, wind, dew, neighboring lights, and campfire impacts. The article also includes a hypothetical two-night family plan, a go/modify/cancel decision tree, troubleshooting guidance, and a complete campsite checklist grounded in NASA, National Park Service, and National Weather Service resources.
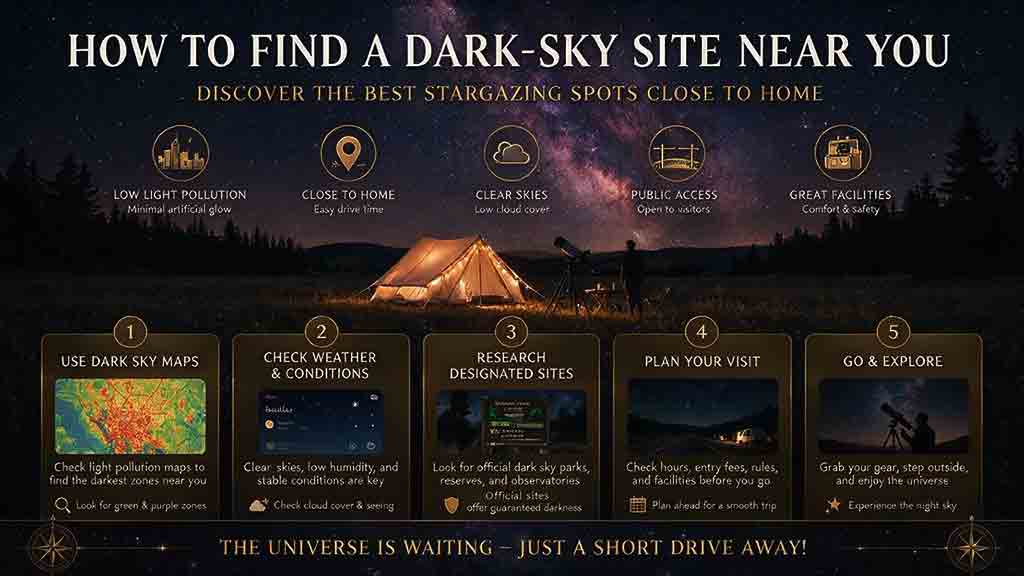
How to Find a Dark-Sky Site Near You
Finding a dark-sky site requires more than selecting the darkest color on a light-pollution map. This guide explains how to identify promising regions, search certified Dark Sky Places and official public-land directories, verify legal nighttime access, inspect roads and horizons, check Moon and weather conditions, and validate a location in daylight and after dark. Readers will learn how satellite nighttime-light data differs from ground-level sky quality, what a Bortle estimate can and cannot reveal, when a sky quality meter is useful, and how to compare parks, campgrounds, observatories, club fields, and remote public lands. The article also includes the DARK-SITE decision framework, a three-location worked example, a trip-value calculation, safety and etiquette guidance, gear recommendations, troubleshooting advice, FAQs, and a complete site-selection checklist.
Explore More Topics
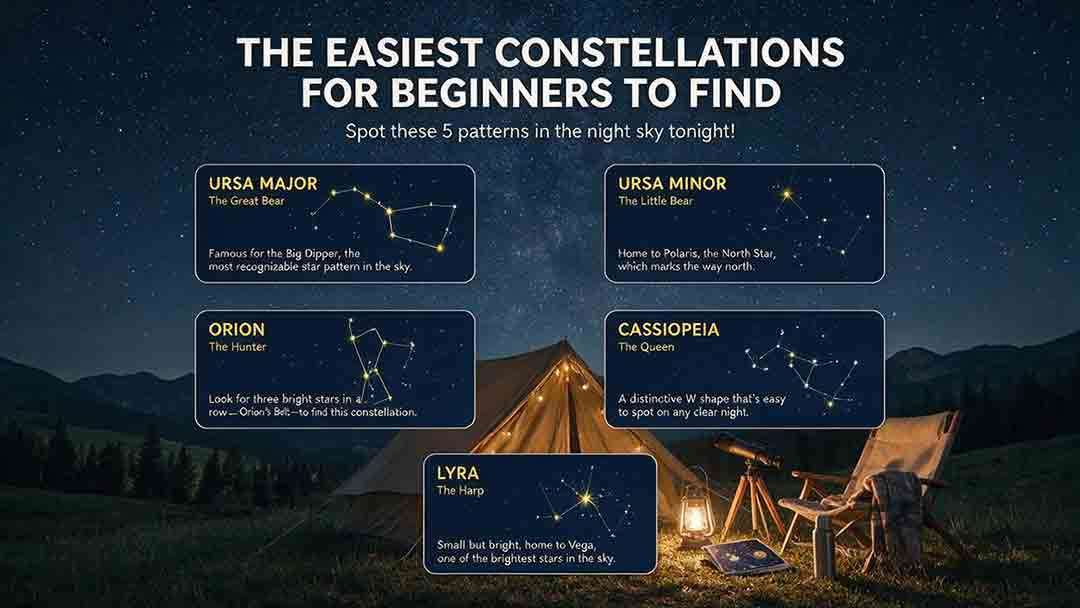
The Easiest Constellations for Beginners to Find
This beginner-friendly guide explains how to find Orion, Ursa Major through the Big Dipper, Cassiopeia, Cygnus, and Scorpius using clear naked-eye observing steps. It compares each pattern through an original Beginner Visibility Score and shows readers how to choose a first target based on season, latitude, light pollution, moonlight, and horizon visibility. The guide also clarifies the difference between constellations and asterisms, explains how the Big Dipper can point toward Polaris, and provides dedicated recommendations for Southern Hemisphere observers, including Crux. Practical tools include the Anchor-Pattern Method, the Three-Check Rule, a 10-minute observing session, city-sky guidance, troubleshooting advice, an equipment comparison, and a safety checklist. Authoritative references from the International Astronomical Union, NASA, NSF NOIRLab, and the European Southern Observatory support the key astronomical facts.
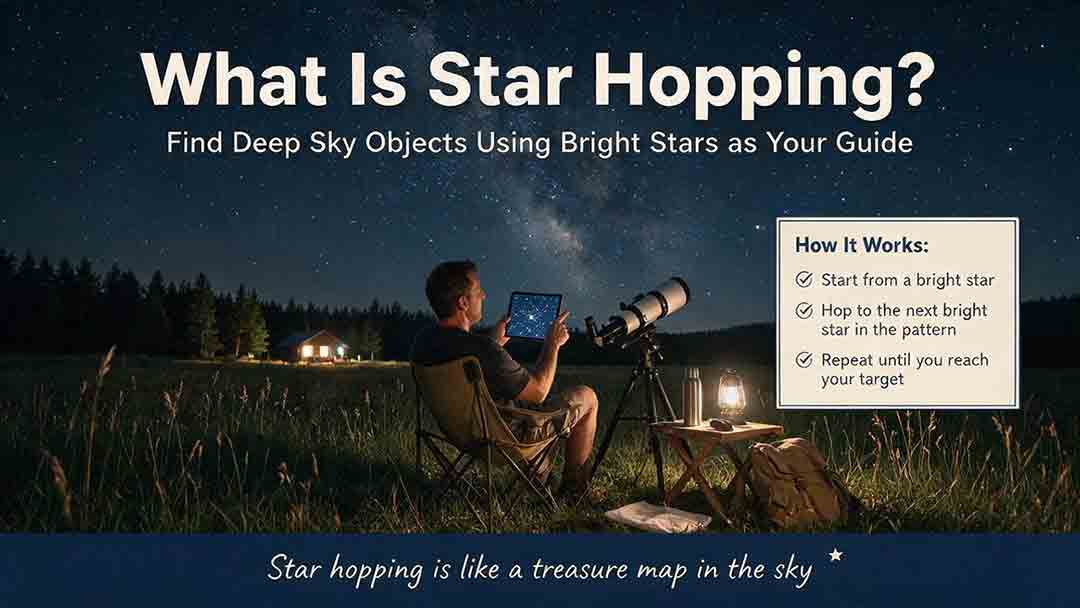
What Is Star Hopping and How Do You Do It?
Star hopping is a practical way to navigate the night sky by moving from a bright, recognizable star to a fainter target through a sequence of visible star patterns. This guide explains how beginners can plan a reliable route, align a finder, match a star chart to a telescope’s field of view, and recognize rotated or mirror-reversed images. It introduces the Anchor–Path–Field–Confirm method, provides a step-by-step observing process, and shows how field-of-view estimates can help determine a practical chart scale. A worked example demonstrates how to locate Messier 13 using the Keystone of Hercules, while the troubleshooting table addresses common problems such as finder misalignment, excessive magnification, incorrect chart orientation, and targets that remain invisible despite correct pointing. The included field checklist gives binocular and telescope users a repeatable method for planning and completing future star hops.
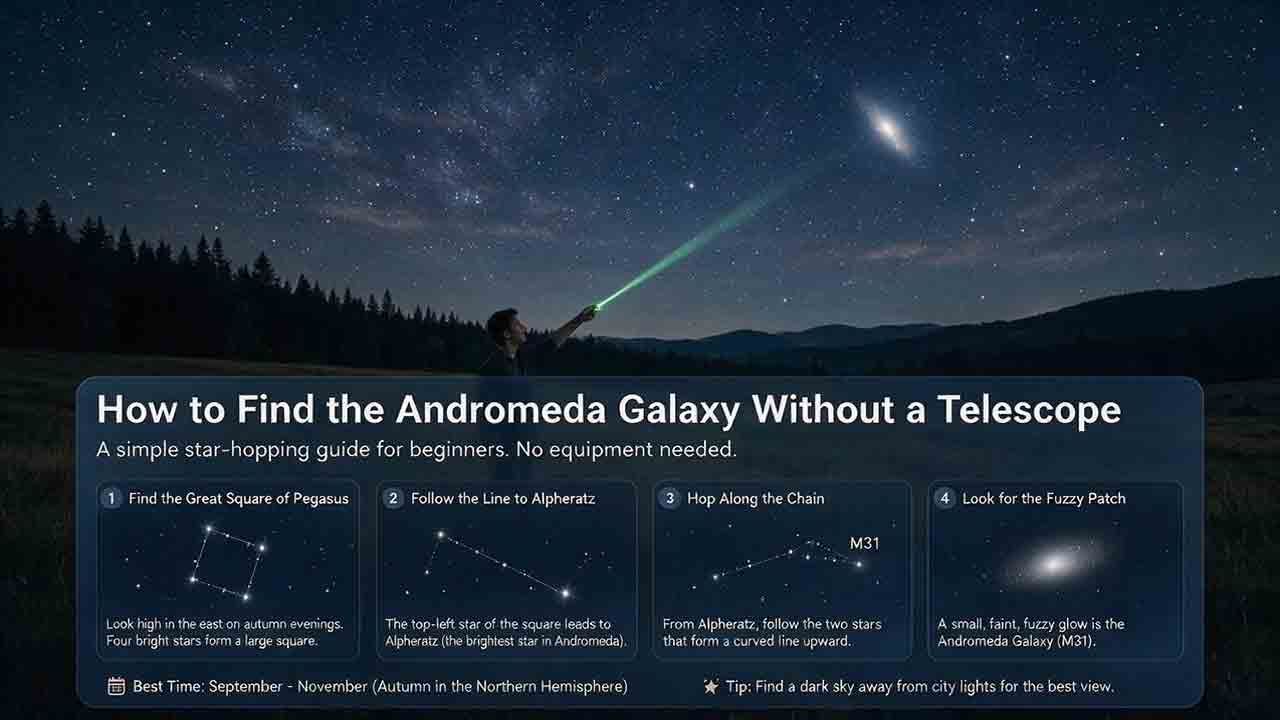
How to Find the Andromeda Galaxy Without a Telescope
Finding the Andromeda Galaxy without a telescope is possible when you know which stars to use as landmarks. This practical guide explains how to start at the Great Square of Pegasus, identify Alpheratz, follow the Andromeda star chain to Mirach, and use two nearly equal short hops to reach Mu Andromedae and M31. It also explains what the galaxy realistically looks like to the naked eye, why dark skies and averted vision matter, and how binoculars can help confirm the target. Beginners can use the six-point observing checklist, three-night practice method, troubleshooting guidance, and reusable observation log to improve each attempt. The guide distinguishes calculated angular distances from practical field estimates and clearly explains its source-checking process without claiming personal testing. It is designed primarily for Northern Hemisphere observers while also addressing visibility limitations from Southern Hemisphere locations.